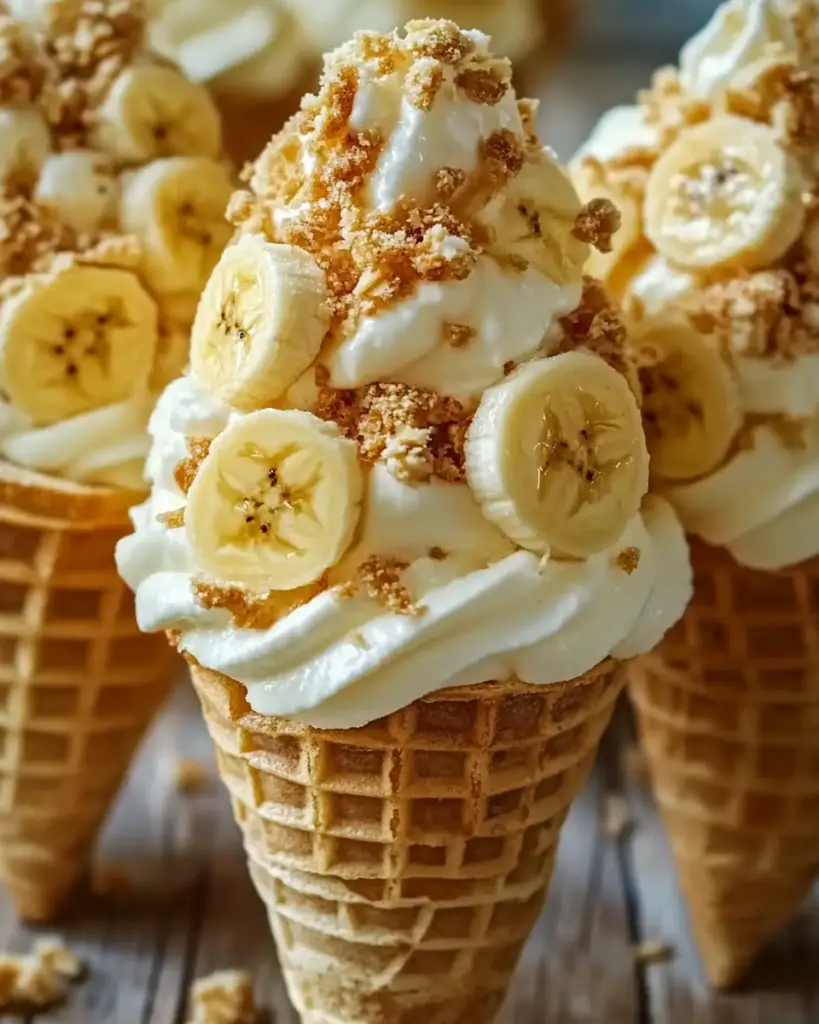
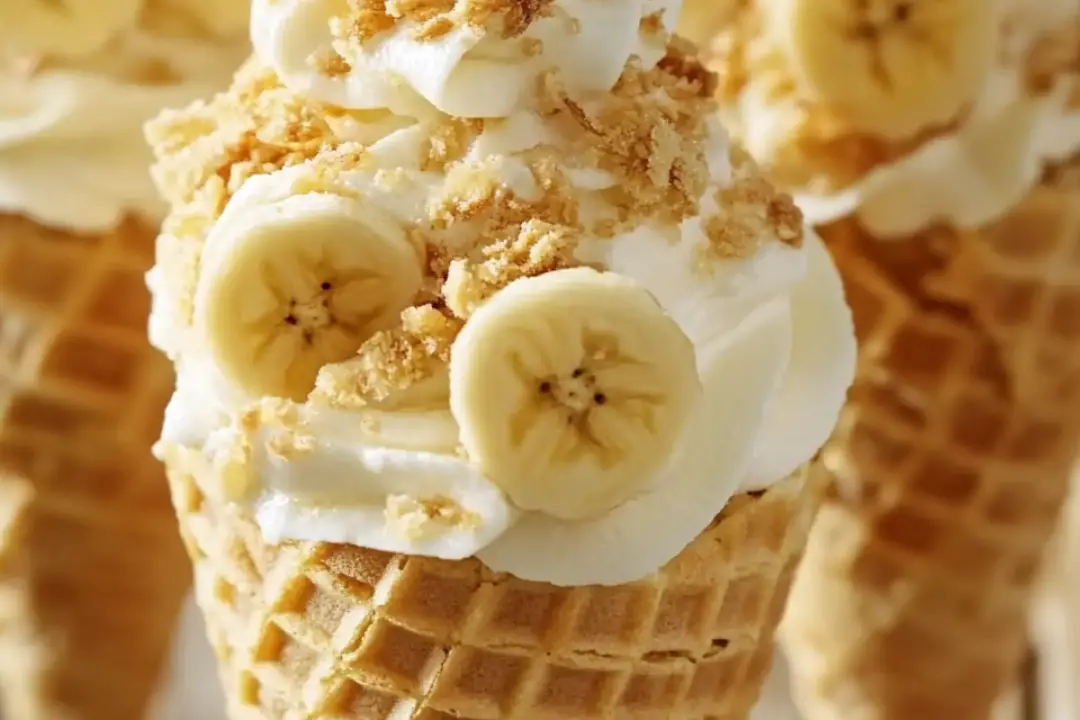
Who doesn’t love a good banana pudding? It’s the ultimate comfort dessert—creamy, sweet, and full of nostalgic vibes. But let’s take it up a notch and turn this classic into something fun and portable! Banana Pudding Cheesecake Cones are everything you love about banana pudding, but in the form of a cute little handheld treat. Imagine a crunchy waffle cone filled with a creamy cheesecake filling, topped with sweet banana slices and a sprinkle of vanilla wafer crumbs. Trust me, once you try these, you’ll never go back to traditional banana pudding again!
Why You’ll Love Banana Pudding Cheesecake Cones
Unique Twist on a Classic
We’ve all had banana pudding, but these cheesecake cones take it to a whole new level. The combination of cheesecake filling with fresh bananas and crunchy wafer crumbs in a cone is a playful spin on a traditional favorite.
Perfectly Portable
No bowls or spoons needed! These cones are the ultimate grab-and-go dessert, making them perfect for picnics, BBQs, or even just a fun snack at home. The best part? They’re super cute, too!
Customizable
Feel free to get creative! You can swap out the vanilla wafers for graham crackers or even add a drizzle of caramel sauce. Want to make them extra indulgent? Add a dollop of whipped cream on top!
No-Bake & Easy
Who has time for baking? These cones are no-bake and come together in minutes. You get all the flavor with none of the oven time, making them ideal for when you want a sweet treat without the hassle.

Disclosure: This post contains affiliate links.If you click and make a purchase, I may earn a small commission at no extra cost to you.
Ingredients in Banana Pudding Cheesecake Cones
These cones are made with simple, everyday ingredients you probably already have in your kitchen! Let’s break it down:
For the Cheesecake Filling:
- Cream Cheese: The creamy, tangy base of the filling that gives it that signature cheesecake flavor.
- Whipped Topping: Light and airy, it helps to lighten up the richness of the cream cheese and make the filling extra smooth.
- Powdered Sugar: A little sweetness to balance out the tanginess of the cream cheese.
- Vanilla Extract: A dash of vanilla adds a warm, fragrant undertone to the filling.
- Milk: Just enough to make the filling smooth and easy to pipe into the cones.
For the Cone Assembly:
- Waffle Cones: The crunchy, sweet vessel that holds all the deliciousness. Waffle cones are perfect for this dessert because they have the right texture and flavor to complement the creamy filling.
- Bananas: Fresh, ripe bananas are sliced and layered into the cones for that classic banana pudding taste.
- Vanilla Wafers: Crumbled vanilla wafers add crunch and that familiar banana pudding flavor.
(Note: The full ingredient list, including measurements, is provided in the recipe card directly below.)
Instructions
1. Make the Cheesecake Filling
In a large mixing bowl, beat the cream cheese until smooth and creamy. Add the powdered sugar, vanilla extract, and milk, and continue to beat until the mixture is smooth and fluffy. Fold in the whipped topping gently until everything is combined and the filling is light and airy.
2. Prepare the Bananas
Slice the bananas into thin rounds. Set them aside, making sure to choose bananas that are ripe but not overly soft to ensure they hold their shape.
3. Crumble the Vanilla Wafers
Take a few vanilla wafers and crush them into small crumbs. You can do this by placing them in a plastic bag and using a rolling pin to crush them or just using your hands to break them up. You want them to be small enough to sprinkle over the cones, but not so fine that they turn into powder.
4. Assemble the Cones
Start by filling each waffle cone with a spoonful of the cheesecake filling, making sure to fill it about halfway. Then, add a layer of sliced bananas on top of the filling. Top with more cheesecake filling, gently packing it in.
5. Add the Crunch
Sprinkle the crumbled vanilla wafers on top of the cheesecake filling to add that signature crunch and extra flavor. You can also add a little more banana or even a drizzle of caramel if you’re feeling fancy!
6. Chill
Place the cones upright in a cup or tall glass and refrigerate them for at least 30 minutes to let the filling firm up a bit and allow the flavors to meld together.
7. Serve & Enjoy!
Serve the cones chilled and enjoy the delicious combination of creamy cheesecake, fresh banana, and crunchy vanilla wafers. They’re perfect for any occasion, and the best part is they’re fun to eat!
Nutrition Facts
Servings: 6
Calories per serving: 280
Total Fat: 14g
Saturated Fat: 6g
Cholesterol: 30mg
Sodium: 150mg
Total Carbohydrates: 35g
Dietary Fiber: 1g
Sugars: 23g
Protein: 3g
Preparation Time
Prep Time: 15 minutes
Chill Time: 30 minutes
Total Time: 45 minutes
How to Serve Banana Pudding Cheesecake Cones
With a Side of Whipped Cream
Top these cones with a dollop of whipped cream for an extra indulgent touch. A sprinkle of cinnamon or nutmeg would be a nice touch too!
Pair with Coffee or Tea
These cones make a great dessert to serve alongside a warm cup of coffee or iced tea. The sweetness of the dessert pairs beautifully with a slightly bitter drink.
Serve at Parties
Banana Pudding Cheesecake Cones are the perfect party treat. They’re portable, easy to eat, and always a hit. Try serving them at your next BBQ or birthday party for a fun twist on a traditional dessert.
Additional Tips
Use Firm Bananas
Make sure your bananas are ripe but firm. Overripe bananas may become mushy and make the cones hard to eat.
Make Ahead
You can prepare the cheesecake filling and the vanilla wafer crumbles ahead of time and store them separately in the fridge. When you’re ready to assemble, just slice the bananas and fill the cones for a quick and easy dessert!
Experiment with Flavors
If you want to mix things up, you can add a layer of chocolate ganache or peanut butter to the cheesecake filling for a fun twist on this classic dessert.
Use Gluten-Free Cones
If you’re making these for someone with dietary restrictions, you can use gluten-free waffle cones, and the recipe will still be just as delicious!
FAQ Section
Q1: Can I make the cheesecake filling ahead of time?
A1: Absolutely! You can make the cheesecake filling a day in advance and store it in the fridge until you’re ready to assemble the cones.
Q2: Can I use sugar-free or low-fat ingredients?
A2: Yes! You can use sugar-free whipped topping, low-fat cream cheese, and even sugar substitutes if you prefer a lighter version of this dessert.
Q3: How long do these cones last in the fridge?
A3: These cones are best enjoyed within a day or two. The waffle cones may become soggy if stored too long, so I recommend eating them within 24 hours.
Q4: Can I freeze these cones?
A4: Freezing is not recommended for these cones, as the waffle cones can become soggy once thawed. However, you can freeze the cheesecake filling for later use!
Q5: Can I make these without cones?
A5: Sure! You can layer the cheesecake filling, banana slices, and wafer crumbs in a small bowl or glass instead of using cones, and it will be just as delicious.
Q6: Can I add other fruits?
A6: Yes! You could easily add other fruits like strawberries, blueberries, or even peaches to the filling for a fun twist.
Q7: Can I make the vanilla wafer crumbs myself?
A7: Definitely! If you can’t find crumbled vanilla wafers, you can crush whole ones yourself using a rolling pin or food processor.
Q8: How do I keep the cones from getting soggy?
A8: To prevent the cones from getting soggy, make sure to assemble them right before serving and refrigerate them only briefly before serving.
Q9: Can I use graham cracker crumbs instead of vanilla wafers?
A9: Yes! If you prefer graham cracker crumbs, feel free to swap them out. The flavor will be different, but still delicious.
Q10: How can I make these cones more indulgent?
A10: You could add a drizzle of caramel sauce, chocolate syrup, or even a sprinkle of toffee bits on top for an extra indulgent touch!
Conclusion
Banana Pudding Cheesecake Cones are a delightful twist on a beloved classic. They’re creamy, crunchy, and absolutely irresistible. Whether you’re serving them for a fun summer treat, at a party, or just as a quick dessert, these cones are sure to impress. So grab some cones, whip up the cheesecake filling, and enjoy a fresh, portable version of banana pudding that will have everyone coming back for more!
Print
A Delicious Twist on a Classic: Banana Pudding Cheesecake Cones
- Total Time: 0 hours
- Yield: 8 serving
- Diet: Vegetarian
Description
A fun and delicious twist on classic banana pudding, these Banana Pudding Cheesecake Cones are perfectly portable, packed with creamy banana goodness, and a delightful treat for any occasion.
Ingredients
- 8 waffle cones
- 1 (8 oz) package cream cheese, softened
- 1 cup powdered sugar
- 1 (3.4 oz) box instant banana pudding mix
- 2 cups cold milk
- 1 1/2 cups whipped topping
- 4 bananas, sliced
- Crushed vanilla wafers for topping
Instructions
- Prepare the Banana Pudding: In a mixing bowl, whisk together the instant banana pudding mix and cold milk until thickened, about 2-3 minutes. Set aside in the fridge to chill.
- Make the Cheesecake Filling: In another bowl, beat the softened cream cheese with powdered sugar until smooth. Gently fold in the whipped topping until fully incorporated and fluffy.
- Assemble the Cones: In a piping bag (or a zip-top bag with a corner cut), add the cheesecake mixture and pipe into the bottom of each waffle cone. Next, layer in a spoonful of banana pudding. Repeat the layers until the cone is full, leaving space for a banana slice garnish on top.
- Garnish and Serve: Top the cones with banana slices and a sprinkle of crushed vanilla wafers for that extra crunch. If you’re feeling fancy, drizzle a little caramel sauce on top.
- Chill & Enjoy: Pop them in the fridge for a quick chill before serving for an extra creamy, cool experience.
Notes
For extra banana flair, dip the edges of the waffle cones in melted white chocolate and crushed vanilla wafers before filling.
- Prep Time: 20 minutes
- Cook Time: None
- Category: Dessert
- Method: No-Bake
- Cuisine: American
Nutrition
- Serving Size: 1 cone
- Calories: 250
- Sugar: 22g
- Sodium: 150mg
- Fat: 12g
- Saturated Fat: 7g
- Unsaturated Fat: 4g
- Trans Fat: 0g
- Carbohydrates: 39g
- Fiber: 1g
- Protein: 3g
- Cholesterol: 30mg


