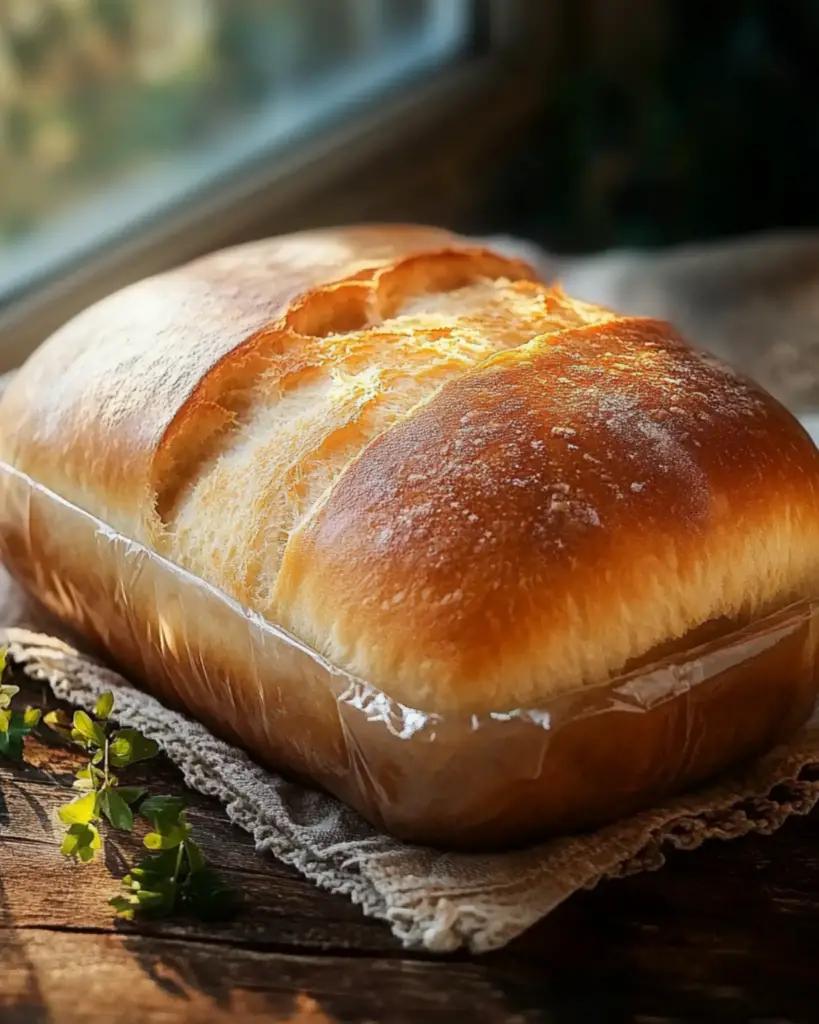
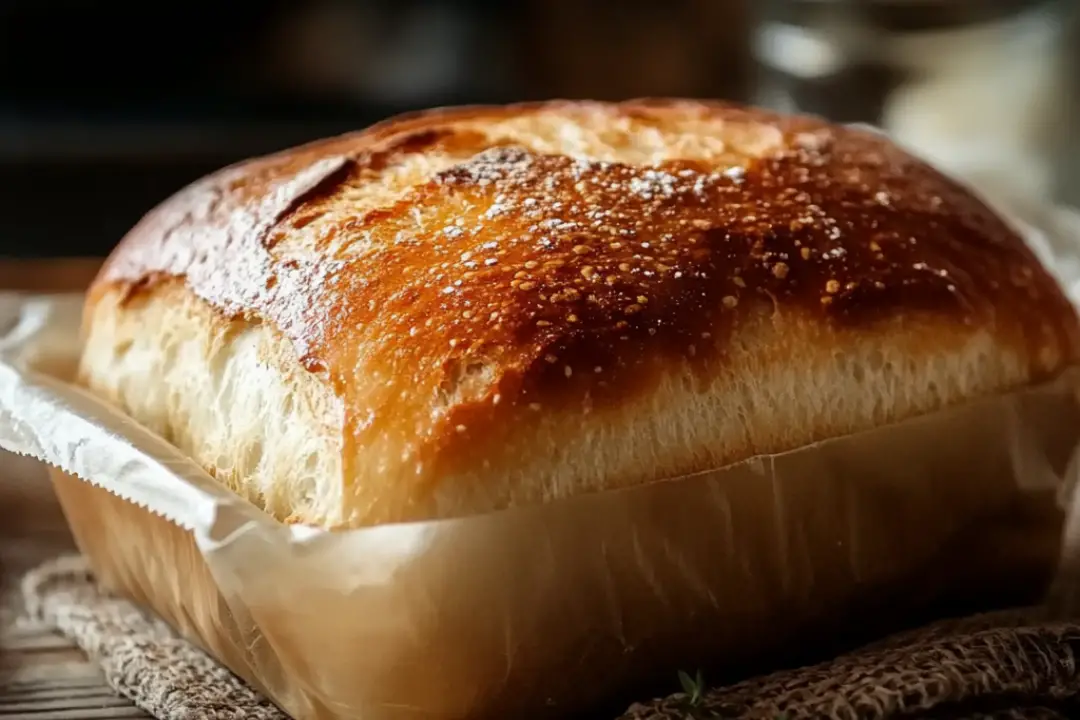
Looking for a fun and easy way to make homemade bread? Look no further! Bread in a Bag is the perfect recipe for those who want to bake their own bread without the stress of kneading or complicated steps. It’s a great project to do with the kids or just a cozy, low-effort way to make delicious bread that’ll fill your home with a mouthwatering aroma. It’s soft, fluffy, and perfect for sandwiches, toasting, or just slathering with butter. Trust me—this recipe is going to be your new favorite way to make bread!
The best part? It all comes together in a simple zip-top bag, making cleanup a breeze. Once you get the hang of it, you’ll find yourself making fresh, homemade bread on a regular basis!
Why You’ll Love Bread in a Bag
Simple and Fun
If you’ve always been intimidated by bread-making, this recipe is a game-changer. With just a few ingredients and a bag, you can have fresh bread in no time. Plus, it’s a fun process, and kids love getting involved!
No Kneading Required
Say goodbye to the hard work of kneading dough. The bag does all the work for you, and the result is still a soft, delicious loaf.
Quick and Easy
In about 90 minutes, you can have fresh bread ready to go. It’s a perfect weekend project or a weekday treat when you’re craving homemade goodness.
Customizable
Want to make it your own? Add herbs, garlic, or cheese to the dough for a flavorful twist. This recipe is versatile and can be adjusted to suit your tastes.
Great for Beginners
If you’re new to baking, this recipe is a perfect place to start. It’s straightforward, forgiving, and doesn’t require a lot of equipment.

Disclosure: This post contains affiliate links.If you click and make a purchase, I may earn a small commission at no extra cost to you.
Ingredients
Here’s what you’ll need to make this simple and tasty bread:
For the Bread:
- All-Purpose Flour: The foundation of your dough, providing that perfect chewy texture.
- Active Dry Yeast: Helps the bread rise, making it light and fluffy.
- Sugar: A little bit of sugar feeds the yeast and helps the dough rise.
- Warm Water: Essential to activate the yeast and make the dough soft and pliable.
- Vegetable Oil: Keeps the bread moist and adds richness.
- Salt: Enhances the flavor and strengthens the dough.
(Note: The full ingredients list, including measurements, is provided in the recipe card directly below.)
Nutrition Facts
Here’s an approximate breakdown of the nutrition per serving (based on 12 servings per loaf):
- Calories: 120
- Fat: 2g
- Saturated Fat: 0g
- Carbohydrates: 22g
- Fiber: 1g
- Sugars: 1g
- Protein: 3g
- Cholesterol: 0mg
- Sodium: 180mg
- Potassium: 40mg
- Calcium: 0% DV
- Iron: 6% DV
(Note: Nutritional values can vary based on specific ingredient choices and portion sizes.)
Preparation Time
- Prep Time: 10 minutes
- Rise Time: 60 minutes
- Bake Time: 25-30 minutes
- Total Time: 1 hour 45 minutes
Instructions
Ready to make your bread? Let’s get started!
Step 1: Mix the Dough
In a large zip-top bag, combine the warm water, sugar, and yeast. Seal the bag and gently shake it to mix. Let it sit for about 5 minutes until the yeast is activated and starts to foam.
Step 2: Add the Rest of the Ingredients
Once the yeast mixture is bubbly, add the flour, salt, and vegetable oil to the bag. Seal the bag again, and then knead it with your hands for about 3-5 minutes. The bag helps to evenly distribute the ingredients and get the dough nice and smooth. If the dough feels too sticky, add a little more flour, 1 tablespoon at a time.
Step 3: Let the Dough Rise
After kneading, leave the dough in the bag, and place it in a warm spot to rise for about 60 minutes. The dough should double in size.
Step 4: Shape the Dough
Once the dough has risen, remove it from the bag and shape it into a loaf. Place the loaf into a greased 9×5-inch loaf pan.
Step 5: Bake the Bread
Preheat the oven to 375°F (190°C). Bake the bread for 25-30 minutes, or until the top is golden brown and the bread sounds hollow when tapped on the bottom. If you have a kitchen thermometer, the internal temperature should reach 190°F (88°C).
Step 6: Let it Cool and Enjoy
Let the bread cool for a few minutes in the pan before transferring it to a wire rack to cool completely. Slice and serve with your favorite spreads or use it for sandwiches. Enjoy your fresh homemade bread!
How to Serve Bread in a Bag
As a Sandwich
Fresh homemade bread makes the perfect base for sandwiches. Pile on your favorite deli meats, cheeses, and veggies for a hearty, satisfying lunch.
With Butter or Jam
There’s nothing like a warm slice of bread slathered in butter or topped with your favorite fruit jam. It’s a simple but oh-so-delicious treat!
For Toast
This bread is perfect for toasting. Just butter it up and pop it in the toaster for a crispy, golden breakfast or snack.
With Soup or Stew
Serve this bread alongside a hearty soup or stew. It’s perfect for dipping into broths and sauces, soaking up every last drop.
Additional Tips
Add Flavors
If you want to get creative, try adding flavorings like garlic powder, dried herbs, or shredded cheese to the dough before kneading. It’ll infuse the bread with extra flavor!
Make it Whole Wheat
For a healthier option, swap half or all of the white flour for whole wheat flour. Just note that the bread might be a little denser, but still delicious!
Make Mini Loafs
You can divide the dough into smaller portions and make mini loaves. Just be sure to adjust the baking time to about 15-20 minutes, depending on the size of the loaves.
Storage Tips
Store your bread in an airtight container or plastic bag at room temperature for up to 3 days. For longer storage, freeze the bread for up to 3 months. To reheat, simply toast slices or warm the whole loaf in the oven for a few minutes.
FAQ Section
Q1: Can I use active dry yeast instead of instant yeast?
A1: Yes, you can! Just make sure to activate the active dry yeast in warm water with a pinch of sugar before adding it to the bag.
Q2: Can I add other ingredients, like cheese or herbs, to the bread?
A2: Absolutely! This bread is versatile. Add herbs, cheese, or even sun-dried tomatoes to customize the flavor.
Q3: My dough is too sticky, what do I do?
A3: No worries! Simply add a little more flour, one tablespoon at a time, until the dough is smooth and slightly tacky, but not too sticky.
Q4: Can I make this bread without a loaf pan?
A4: Yes, you can shape the dough into a round or oval loaf and bake it directly on a baking sheet. Just make sure to adjust the baking time slightly.
Q5: How do I know when my bread is done?
A5: The bread should be golden brown on top, and it will sound hollow when you tap the bottom. You can also use a kitchen thermometer—when the bread reaches 190°F (88°C), it’s done.
Q6: Can I freeze this bread?
A6: Yes, you can freeze the bread once it’s cooled completely. Wrap it tightly in plastic wrap or aluminum foil and store it in a freezer bag for up to 3 months.
Q7: Can I double the recipe?
A7: Absolutely! Just be sure to use a larger bag and adjust the baking time if you’re making more than one loaf.
Q8: How do I store leftover bread?
A8: Store the bread at room temperature in an airtight container or plastic bag for up to 3 days. You can also freeze it for longer storage.
Q9: Can I use milk instead of water?
A9: Yes, you can use milk for a richer flavor. Just keep in mind that it may result in a slightly denser loaf.
Q10: Can I make this recipe without a bag?
A10: If you prefer not to use a bag, you can mix and knead the dough in a bowl, then cover it with a damp towel while it rises.
Conclusion
Bread in a Bag is an incredibly easy and fun way to make fresh, homemade bread. Whether you’re a baking beginner or an experienced pro, this recipe simplifies the process without sacrificing flavor. Plus, it’s a great way to spend time in the kitchen with loved ones, creating something warm and delicious together. Give it a try and enjoy the satisfaction of making bread from scratch—you won’t be disappointed!
Print
Bread in a Bag
- Total Time: 0 hours
- Yield: 1 loaf
Description
Bread in a Bag is an easy and fun way to make homemade bread without the mess of traditional kneading. Perfect for beginners and kids, this recipe involves mixing all the ingredients in a resealable plastic bag and then letting it rise and bake to perfection. This simple recipe results in soft, delicious bread that’s perfect for sandwiches or served alongside your favorite meal.
Ingredients
- 1 packet (2 1/4 tsp) active dry yeast
- 1/4 cup warm water (110°F)
- 3 cups all-purpose flour
- 1/4 cup vegetable oil (or melted butter)
- 1/4 cup sugar
- 1 tsp salt
- 1/2 cup warm milk (110°F)
- 1/4 cup warm water (for dissolving yeast)
Instructions
- In a small bowl, dissolve the yeast and sugar in 1/4 cup warm water. Let it sit for about 5 minutes until it becomes bubbly.
- In a large resealable plastic bag, add 3 cups of flour, 1/4 cup vegetable oil, salt, and 1/2 cup warm milk.
- Pour the yeast mixture into the bag, seal it, and gently knead the bag for 3-5 minutes until the dough comes together.
- Let the dough rest in the bag for about 1 hour in a warm place, allowing it to rise and double in size.
- Once the dough has risen, gently remove it from the bag and shape it into a loaf.
- Preheat your oven to 350°F (175°C).
- Grease a loaf pan and place the shaped dough inside. Let it rise for another 20-30 minutes, or until it has doubled in size.
- Bake for 25-30 minutes, or until the top is golden brown and the loaf sounds hollow when tapped.
- Remove the bread from the oven and let it cool on a wire rack before slicing.
Notes
- You can easily customize this bread by adding herbs, garlic, or cheese to the dough before baking for added flavor.
- If you don’t have a loaf pan, you can shape the dough into a round loaf and bake it on a baking sheet.
- For a softer crust, cover the loaf with aluminum foil during the last 10 minutes of baking.
- Prep Time: 15 minutes
- Cook Time: 25-30 minutes
- Category: Bread, Side Dish
- Method: Baking
- Cuisine: American
Nutrition
- Serving Size: 1 slice (based on 12 slices per loaf)
- Calories: 140
- Sugar: 3g
- Sodium: 180mg
- Fat: 6g
- Saturated Fat: 0.5
- Unsaturated Fat: 5g
- Trans Fat: 0g
- Carbohydrates: 19g
- Fiber: 1g
- Protein: 3g
- Cholesterol: 0g


