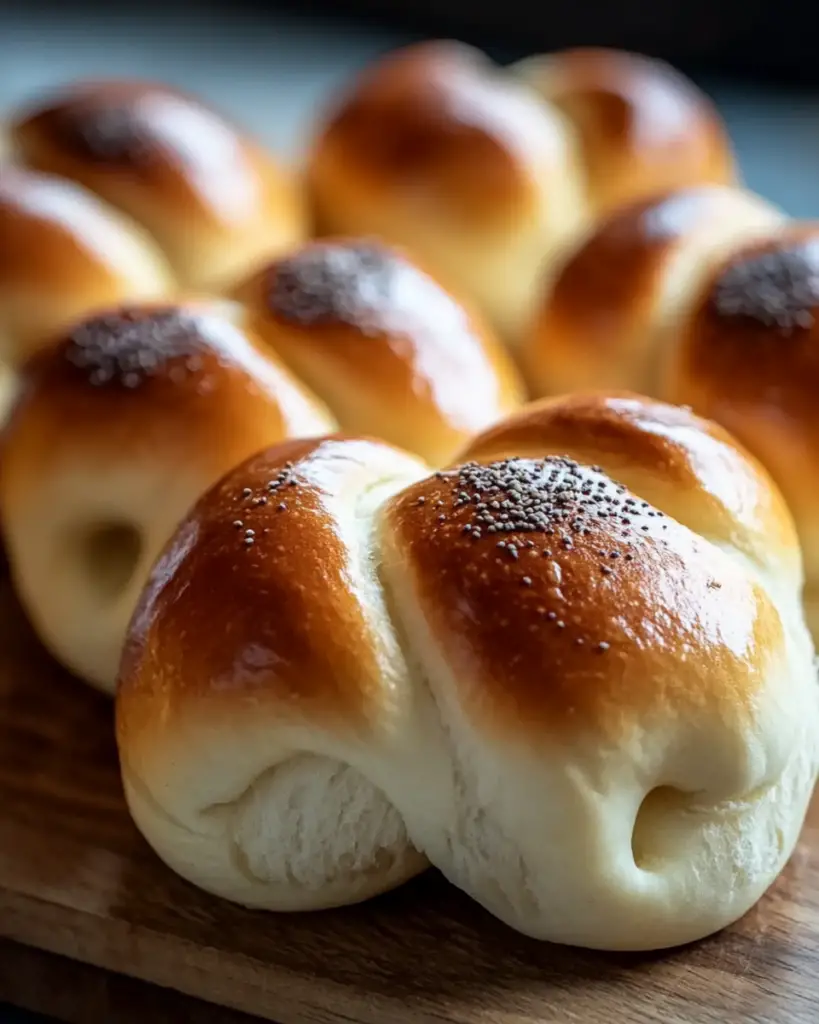
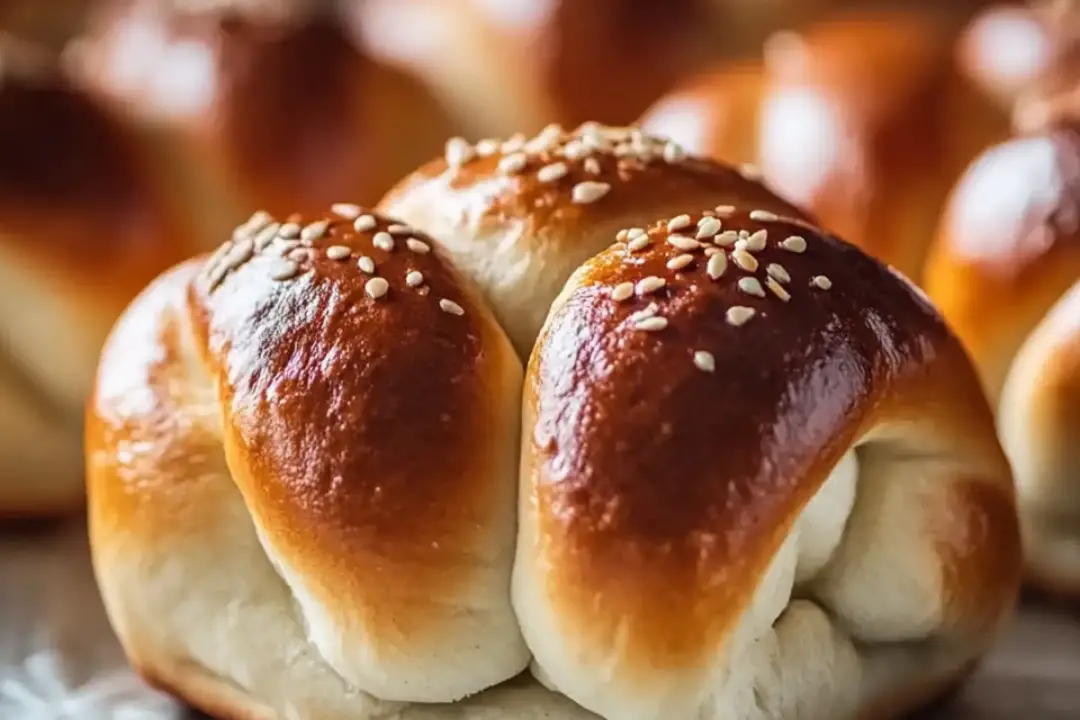
If you’re looking for a fun and festive way to brighten up your day (or a holiday gathering), then Bunny Buns are the way to go! These adorable, fluffy, and slightly sweet rolls are shaped like bunnies and are perfect for springtime celebrations or just adding a little whimsy to your breakfast or brunch spread. Picture warm, soft rolls that pull apart like a dream, with a hint of sweetness that’s perfect on its own or with a dollop of butter. Whether you’re making them for Easter, a family breakfast, or simply because you feel like baking something fun, these bunny-shaped buns will bring smiles all around. Trust me, once you see these little guys, you won’t be able to resist!
Why You’ll Love Bunny Buns
Fun and Festive: These buns are shaped like cute little bunnies, making them perfect for holidays like Easter, or any time you want to add a bit of whimsy to your meal. It’s like a fun, edible craft project!
Soft and Fluffy: They’re soft, pillowy, and just the right amount of sweet. These buns are perfect for breakfast, brunch, or a fun snack. You can pull them apart, enjoy the tender texture, and savor each bite.
Great for Kids (and Adults, Too!): Kids will love the bunny shapes, but adults will appreciate how delicious these buns are. It’s a perfect way to get everyone involved in the kitchen—and get everyone excited to eat!
Customizable: You can fill the buns with a variety of goodies like chocolate chips, fruit preserves, or a drizzle of frosting to make them even more indulgent.
Perfect for Sharing: Bunny Buns are great for family gatherings or serving at a party. They’re easy to pass around, and everyone loves a good, cute, and delicious bun!

Disclosure: This post contains affiliate links.If you click and make a purchase, I may earn a small commission at no extra cost to you.
Ingredients
You’ll need the following ingredients to make these adorable Bunny Buns:
For the Dough:
- Warm milk
- Active dry yeast
- Sugar (to help the yeast bloom)
- All-purpose flour
- Salt
- Butter (for richness)
- Egg (to give the dough that golden color)
- A little vanilla extract for flavor
For the Bunny Shape Details:
- Chocolate chips (for the eyes and noses)
- Cinnamon or sugar (optional, for a sweet coating)
- Melted butter (for brushing the buns before baking)
(Note: Full ingredient measurements are provided in the recipe card above.)
Instructions
Ready to bring these little bunny buns to life? Follow these easy steps, and you’ll have a batch of irresistible, fluffy bunny-shaped rolls in no time!
1. Prepare the Yeast Mixture
In a small bowl, combine the warm milk, sugar, and yeast. Let it sit for about 5 minutes until it’s frothy and bubbly. This means the yeast is activated and ready to work its magic.
2. Make the Dough
In a large mixing bowl, combine the flour and salt. Add the yeast mixture, butter, egg, and vanilla extract. Stir everything together until it forms a dough. Knead the dough on a floured surface for about 5-7 minutes, or until it’s smooth and elastic.
3. Let the Dough Rise
Place the dough in a greased bowl and cover it with a damp towel. Let it rise in a warm place for about 1 hour, or until it doubles in size. The dough should look fluffy and puffy when it’s ready to go.
4. Shape the Bunny Buns
Once your dough has risen, punch it down to release any air bubbles. Then, divide the dough into small portions (about 10-12). Roll each portion into a ball and shape them into little bunny heads by pinching the top of the dough to create the “ears.” You can shape the bodies by rolling smaller balls for the bunny’s body and attaching them underneath the head.
Add a few chocolate chips to form the eyes and noses of the bunnies.
5. Second Rise
Place the shaped bunny buns on a greased baking sheet, leaving a little space between them. Cover them with a clean towel and let them rise again for 30 minutes.
6. Bake the Buns
Preheat your oven to 350°F (175°C). Once the buns have risen, brush them lightly with melted butter for a golden, shiny finish. Bake the bunny buns for 12-15 minutes, or until they are golden brown on top.
7. Serve and Enjoy
Once they’re baked, remove the bunny buns from the oven and let them cool slightly before serving. If you want to get extra festive, you can drizzle them with a simple glaze or sprinkle them with a little cinnamon-sugar. These buns are best served warm, so enjoy them fresh out of the oven!
Nutrition Facts
Servings: 12
Calories per serving: 180
Total Fat: 6g
- Saturated Fat: 3g
-
Trans Fat: 0g
Cholesterol: 30mg
Sodium: 100mg
Total Carbohydrates: 27g - Dietary Fiber: 1g
-
Sugars: 6g
Protein: 4g
Vitamin A: 4%
Calcium: 4%
Iron: 8%
Potassium: 90mg
Preparation Time
Prep Time: 25 minutes
Cook Time: 15 minutes
Total Time: 1 hour 45 minutes (including rising time)
How to Serve Bunny Buns
These adorable Bunny Buns can be enjoyed in so many ways:
- For Breakfast or Brunch: Serve them with a side of fresh fruit, a cup of coffee, or a glass of juice.
- With Jam or Butter: These buns are delicious on their own, but if you want an extra touch of sweetness, serve them with fruit preserves, jam, or just a dollop of butter.
- For Special Occasions: These buns are perfect for Easter or springtime gatherings. They make a fun centerpiece and a sweet treat for kids and adults alike.
- As a Snack: These buns are great as a quick snack during the day, especially when served warm. Add a little icing or a sprinkle of cinnamon for extra sweetness.
Additional Tips
- Customize Your Buns: Feel free to add a filling inside the buns! You can use chocolate chips, cinnamon sugar, or even fruit preserves for a sweet surprise in every bite.
- Make Them Smaller: If you want to make these for a party or to serve as finger foods, you can shape them into mini bunny buns by dividing the dough into smaller portions.
- Use a Simple Glaze: Drizzle these buns with a quick icing made from powdered sugar and milk for an extra touch of sweetness.
- Add Decorations: For even more fun, you can pipe little bunny whiskers and a smile using icing or chocolate syrup.
FAQ Section
Q1: Can I make these buns ahead of time?
A1: Yes! You can make the dough and let it rise overnight in the fridge. Shape the buns the next day and let them rise before baking.
Q2: Can I use a different type of flour?
A2: You can use whole wheat flour for a slightly denser texture, but it may change the flavor a bit. For the fluffiest buns, all-purpose flour is recommended.
Q3: Can I freeze Bunny Buns?
A3: Yes! Freeze the baked buns in an airtight container for up to 3 months. Reheat them in the oven at 350°F for a few minutes before serving.
Q4: How do I store leftover buns?
A4: Store leftover Bunny Buns in an airtight container at room temperature for up to 3 days.
Q5: Can I make these buns without chocolate chips?
A5: Yes! You can leave out the chocolate chips and simply form the bunnies with a small piece of dough for the eyes and nose, or even decorate with icing later.
Q6: How can I make these buns vegan?
A6: To make these buns vegan, simply swap out the milk for almond or oat milk, use dairy-free butter, and replace the egg with a flax egg (1 tbsp ground flaxseed + 2.5 tbsp water).
Q7: How can I make these buns sweeter?
A7: You can add more sugar to the dough or brush the buns with a sugar glaze once they come out of the oven.
Q8: What’s the best way to reheat Bunny Buns?
A8: Reheat the buns in the oven at 350°F for about 5 minutes, or microwave them for 15-20 seconds for a quick fix.
Q9: Can I fill the buns with something like chocolate or jam?
A9: Absolutely! You can add a small spoonful of chocolate chips or fruit jam inside before rolling them up for a sweet surprise.
Q10: Can I make a larger batch?
A10: Yes! Just double the ingredients and divide the dough into more portions. You may need to bake them in two batches if they don’t all fit on one tray.
There you have it—Bunny Buns, the sweetest little treat that’s both fun and delicious. Whether you’re celebrating a holiday or just need an excuse to bake something cute, these buns are sure to steal the show. Happy baking!
Print
Bunny Buns
- Total Time: 0 hours
- Yield: 12 servings
Description
These adorable Bunny Buns are soft, fluffy, and the perfect treat for Easter or springtime! Filled with sweet cinnamon or chocolate filling, they’re sure to bring a smile to everyone’s face. Perfect for breakfast or as a fun dessert!
Ingredients
1 package (2 1/4 tsp) active dry yeast
1/2 cup warm milk (about 110°F)
1/4 cup granulated sugar
1/2 cup unsalted butter (melted)
1/2 tsp salt
2 large eggs
3 1/2 cups all-purpose flour (plus extra for rolling)
1 tsp vanilla extract
1/2 cup brown sugar (for filling)
2 tsp cinnamon (for filling)
1/4 cup unsalted butter (softened, for filling)
1/4 cup chocolate chips (optional, for filling)
1 egg (for egg wash)
1/4 cup powdered sugar (for icing, optional)
1 tbsp milk (for icing, optional)
Instructions
-
In a small bowl, combine warm milk, sugar, and yeast. Stir to dissolve and let sit for about 5 minutes, or until frothy.
-
In a large bowl, mix melted butter, salt, and eggs. Add the yeast mixture and vanilla extract. Gradually add the flour, one cup at a time, until the dough forms a ball.
-
Knead the dough on a floured surface for about 5-7 minutes until smooth and elastic. Place the dough in a lightly greased bowl, cover, and let it rise for 1-1.5 hours or until doubled in size.
-
Preheat the oven to 375°F (190°C) and grease a baking dish or line it with parchment paper.
-
Punch down the dough and roll it out into a large rectangle (about 12×18 inches).
-
Spread softened butter over the dough, then sprinkle the brown sugar and cinnamon mixture evenly over the top. Add chocolate chips if using.
-
Roll the dough tightly into a log and cut it into 12 equal pieces.
-
To shape the bunny buns, take each piece and roll it into a ball. For each ball, cut two small slits at the top to form bunny ears, then pinch the sides together to shape the body and head of the bunny.
-
Place the shaped buns on the prepared baking dish, leaving space between each bun. Cover with a clean towel and let rise for 30-45 minutes.
-
Brush the buns with the egg wash (1 beaten egg with a splash of water).
-
Bake for 15-18 minutes or until golden brown and cooked through.
-
While the buns are baking, mix powdered sugar and milk together to make an optional glaze for icing.
-
Let the buns cool slightly, then drizzle with the glaze or enjoy as is.
Notes
-
You can fill the buns with your favorite filling, such as cinnamon sugar, chocolate chips, or fruit preserves.
-
If you want to make them ahead, prepare the buns up to the point of baking, then refrigerate them overnight. Let them come to room temperature before baking.
-
For a fun twist, you can add small candy eyes and a pink icing nose to make the bunnies even more adorable!
- Prep Time: 20 minutes
- Cook Time: 18-20 minutes
- Category: Dessert
- Method: Baking
- Cuisine: American
Nutrition
- Serving Size: 1 bun (assuming 12 servings)
- Calories: 230 kcal (approx.)
- Sugar: 15g
- Sodium: 150mg
- Fat: 10g
- Saturated Fat: 5g
- Unsaturated Fat: 5g
- Trans Fat: 0g
- Carbohydrates: 30g
- Fiber: 1g
- Protein: 4g
- Cholesterol: 35mg


