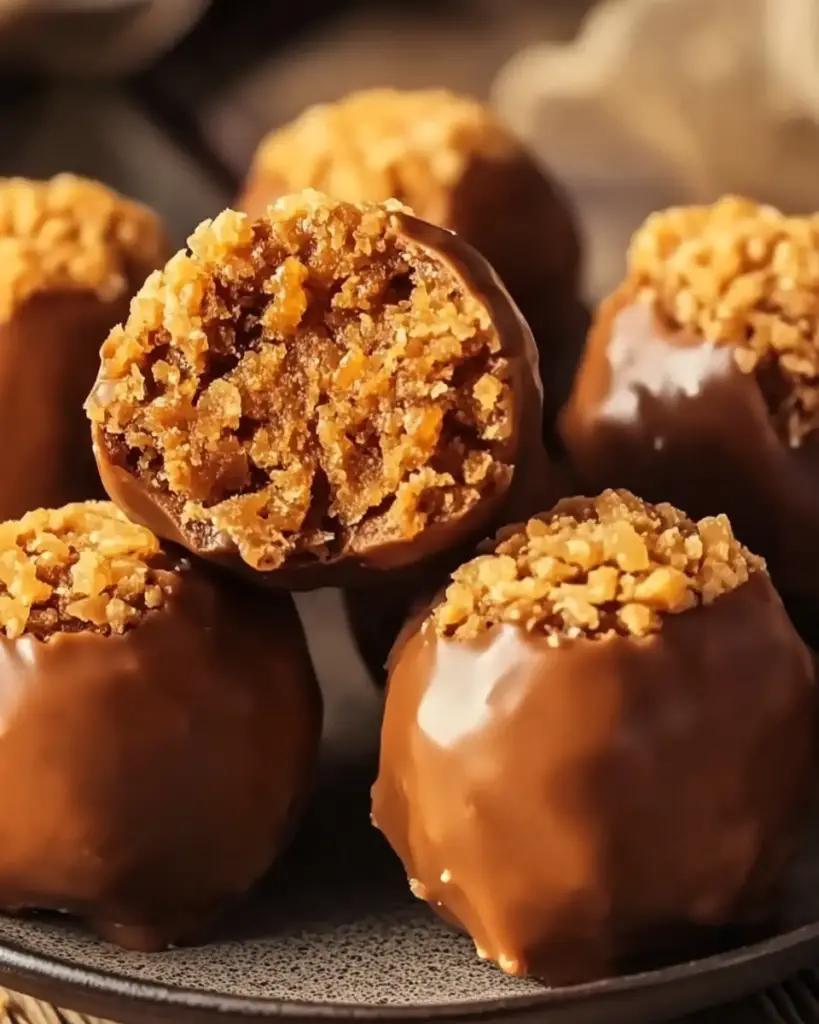
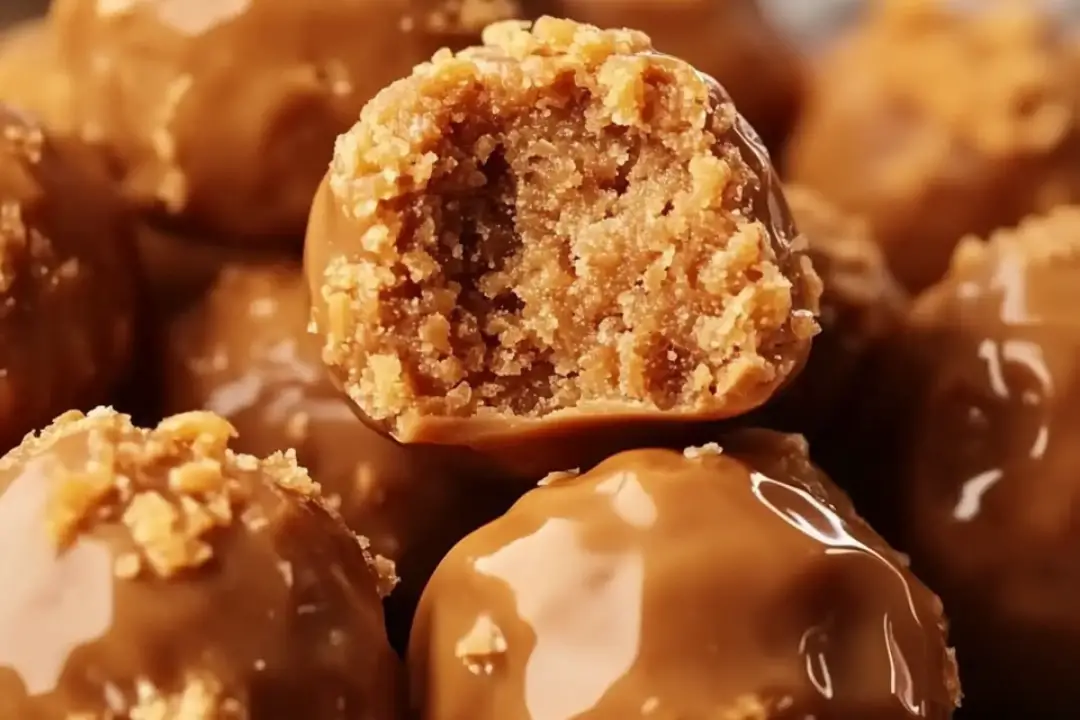
Calling all candy lovers! If you’ve ever dreamed of combining the irresistible crunch of Butterfingers with the creamy indulgence of a dessert ball, then these Butterfinger Balls are your new best friend. They’re rich, sweet, and just the right amount of salty—perfect for satisfying your sweet tooth in one bite. Picture creamy peanut butter, crushed Butterfingers, and a luscious chocolate coating that just melts in your mouth. Trust me, you’re going to want to make a double batch because they disappear fast! Whether you’re bringing them to a party or just indulging in a treat, these little bites of heaven will steal the show. Let’s dive into why these are the best thing since sliced bread.
Why You’ll Love Butterfinger Balls
Here’s the lowdown on why these Butterfinger Balls are going to be your new favorite treat:
- Crispy, Crunchy Goodness: The crushed Butterfingers add a satisfying crunch that perfectly complements the smooth, creamy peanut butter center.
- Sweet and Salty Perfection: These little bites strike the perfect balance between salty peanut butter and sweet, chocolatey goodness.
- No-Bake: That’s right, no oven required! Just mix, roll, and chill. It’s an easy treat with minimal effort.
- Perfect for Any Occasion: Whether you’re hosting a party, packing a lunch, or simply craving a sweet snack, these balls are sure to impress.
- Kid-Approved: These little bites are a hit with both kids and adults alike. It’s hard to stop at just one!

Disclosure: This post contains affiliate links.If you click and make a purchase, I may earn a small commission at no extra cost to you.
Ingredients
Here’s everything you need to make these irresistible Butterfinger Balls:
- Butterfinger Candy Bars: Crushed into small bits to give these balls that signature crunch.
- Creamy Peanut Butter: The base that brings everything together and gives these treats that creamy, dreamy texture.
- Powdered Sugar: To sweeten things up and help form the perfect consistency for rolling.
- Butter: Adds richness and helps bind everything together.
- Chocolate Chips: To coat the balls for a delicious chocolatey finish. You can use milk chocolate, dark chocolate, or even white chocolate depending on your preference.
(Note: The full ingredient list, including measurements, is provided in the recipe card directly below.)
Instructions
Let’s get to making these sweet and salty beauties!
Crush the Butterfingers:
Start by unwrapping the Butterfinger bars and crushing them into small pieces. You can do this by placing the bars in a ziplock bag and smashing them with a rolling pin or simply pulsing them in a food processor. Set aside.
Make the Peanut Butter Mixture:
In a medium bowl, combine the creamy peanut butter, powdered sugar, and softened butter. Stir until smooth and well combined. The mixture should be thick but pliable enough to roll into balls.
Mix in the Butterfingers:
Add the crushed Butterfinger pieces to the peanut butter mixture and stir until everything is evenly distributed. The Butterfinger chunks should be spread throughout the peanut butter mixture, giving it that perfect crunch.
Roll into Balls:
Using your hands, scoop out small portions of the mixture and roll them into 1-inch balls. Arrange the balls on a baking sheet lined with parchment paper. Once all the balls are rolled, place the sheet in the fridge for about 30 minutes to firm up.
Coat with Chocolate:
While the peanut butter balls are chilling, melt the chocolate chips in a microwave-safe bowl. Heat in 30-second intervals, stirring in between, until the chocolate is completely melted and smooth.
Dip and Coat:
Once the peanut butter balls are firm, dip each ball into the melted chocolate, coating it completely. You can use a fork to help dip and shake off any excess chocolate. Place the coated balls back on the parchment-lined baking sheet.
Chill and Set:
Pop the chocolate-coated balls back in the fridge for another 30 minutes to allow the chocolate to set.
Serve and Enjoy:
Once the chocolate is hardened, your Butterfinger Balls are ready to be enjoyed! Store them in an airtight container in the fridge until you’re ready to snack.
Nutrition Facts
Servings: 20 balls
Calories per serving: 180
Total Fat: 12g
- Saturated Fat: 4g
- Trans Fat: 0g
Cholesterol: 10mg
Sodium: 45mg
Total Carbohydrates: 19g - Dietary Fiber: 1g
- Sugars: 16g
Protein: 4g
Vitamin A: 2% DV
Vitamin C: 0% DV
Calcium: 2% DV
Iron: 4% DV
Potassium: 120mg (3% DV)
(Note: Exact nutritional values may vary depending on ingredient choices and serving sizes.)
Preparation Time
Prep Time: 15 minutes
Chill Time: 1 hour
Total Time: 1 hour 15 minutes
How to Serve Butterfinger Balls
These Butterfinger Balls are the ultimate treat on their own, but you can serve them with some fun twists:
- Party Snack: Serve them at your next party in a bowl for a sweet, shareable treat.
- Gift Idea: Package them up in cute jars and give them as a homemade gift. They’ll be the highlight of anyone’s day!
- With Ice Cream: Pop one or two on top of your favorite scoop of ice cream for a decadent dessert.
- Movie Night: Grab a handful of these while you’re lounging on the couch for the ultimate movie snack.
Additional Tips
- Chilling is Key: Make sure to chill the peanut butter balls before dipping in chocolate. This helps them hold their shape and prevents them from falling apart.
- Use Your Favorite Chocolate: Milk chocolate is the classic choice, but feel free to switch it up with dark chocolate or even white chocolate for a fun twist.
- Customize with Toppings: If you like, you can roll the balls in sprinkles, chopped nuts, or extra crushed Butterfingers before the chocolate hardens for added texture and flavor.
FAQ Section
Q1: Can I use crunchy peanut butter instead of creamy?
A1: Yes! If you love extra texture, crunchy peanut butter will work perfectly and add even more crunch to these balls.
Q2: How long can I store these Butterfinger Balls?
A2: Store them in an airtight container in the fridge for up to 1 week. They’ll keep fresh and tasty!
Q3: Can I use any other type of candy instead of Butterfingers?
A3: Sure! Snickers, Reese’s, or Milky Way would all make great substitutes for Butterfingers.
Q4: Can I freeze these Butterfinger Balls?
A4: Yes! They freeze wonderfully. Store them in an airtight container or freezer bag for up to 2 months. When you’re ready to enjoy them, just let them thaw at room temperature.
Q5: What if I don’t want to dip in chocolate?
A5: You can skip the chocolate coating entirely, but it adds a delicious touch. You could also roll the balls in powdered sugar or crushed nuts for a different finish.
Q6: Can I use dark chocolate?
A6: Absolutely! Dark chocolate pairs beautifully with the sweetness of the Butterfinger filling. Go ahead and make the swap if you prefer it.
Q7: How do I make these more peanut buttery?
A7: You can add more peanut butter to the mixture, but keep in mind that it might affect the consistency, making it a little softer. Chill the balls longer if needed.
Q8: Can I use store-bought peanut butter cups instead of Butterfingers?
A8: Absolutely! Peanut butter cups would give these balls a rich, peanut butter-filled flavor that’s just as delicious.
Q9: Can I make these gluten-free?
A9: Yes! Butterfingers are naturally gluten-free, but always check the labels to make sure. You can also use gluten-free chocolate if needed.
Q10: How do I keep the chocolate from getting too thick while dipping?
A10: If the chocolate is getting too thick, just add a teaspoon of vegetable oil or coconut oil to smooth it out and make it easier to dip.
Conclusion
These Butterfinger Balls are a sweet, salty, and crunchy treat that you’ll crave over and over again. With minimal ingredients, zero baking, and maximum flavor, they’re perfect for any occasion—whether it’s a party, a casual snack, or a gift from the heart. So, what are you waiting for? Time to indulge in the sweet magic of Butterfinger perfection!
Print
Butterfinger Balls
- Total Time: 45 minutes
- Yield: 24 balls 1x
- Diet: Vegetarian
Description
These delectable Butterfinger Balls combine the irresistible crunch of Butterfinger candy bars with creamy chocolate, creating a treat that’s perfect for parties, gifts, or satisfying your sweet tooth.
Ingredients
For the Balls:
- 2 cups crushed Butterfinger candy bars (approximately 16 fun-sized bars)
- 8 oz. cream cheese, softened
- 2 cups semi-sweet chocolate chips
- 1 tablespoon vegetable shortening (optional, for smoother dipping)
- 1 cup powdered sugar
- 1 cup graham cracker crumbs
- 1/2 cup melted butter
- 1 cup peanut butter
For Decoration (Optional):
- Additional crushed Butterfinger pieces
- Chocolate sprinkles
Instructions
- Prepare the Mixture:
- In a large bowl, combine the powdered sugar, graham cracker crumbs, crushed Butterfinger pieces, melted butter, and peanut butter. Mix thoroughly until the ingredients are well incorporated.
- Form the Balls:
- Shape the mixture into 1-inch balls and place them on a parchment-lined baking sheet.
- Chill:
- Refrigerate the balls for 30 minutes to firm up, making them easier to dip.
- Melt the Chocolate:
- In a microwave-safe bowl, melt the semi-sweet chocolate chips. If using, add the vegetable shortening to achieve a smoother consistency. Microwave in 30-second intervals, stirring in between, until the chocolate is fully melted and smooth.
- Dip the Balls:
- Remove the chilled balls from the refrigerator. Using a fork, dip each ball into the melted chocolate, ensuring it’s fully coated. Allow any excess chocolate to drip off.
- Set and Decorate:
- Place the dipped balls back onto the parchment-lined baking sheet. If desired, sprinkle additional crushed Butterfinger pieces or chocolate sprinkles on top before the chocolate sets.
- Allow to Set:
- Let the chocolate-coated balls sit at room temperature until the chocolate has fully set. For quicker setting, refrigerate them for about 15 minutes.
Notes
- Ensure the cream cheese is softened to room temperature for easy mixing.
- For a smoother chocolate coating, adding vegetable shortening is optional but recommended.
- These treats can be stored in an airtight container in the refrigerator for up to a week.
- For a festive touch, consider adding colored sprinkles or edible glitter on top.
- If you prefer a less sweet version, reduce the amount of powdered sugar slightly.
- Prep Time: 15 minutes
- Cook Time: 30 minutes
- Category: Dessert
- Method: No-Bake
- Cuisine: American
Nutrition
- Serving Size: 1 ball
- Calories: 180
- Sugar: 15g
- Sodium: 50 mg
- Fat: 12g
- Saturated Fat: 5g
- Unsaturated Fat: 7 g
- Trans Fat: 0g
- Carbohydrates: 20g
- Fiber: 1g
- Protein: 3g
- Cholesterol: 15 mg


