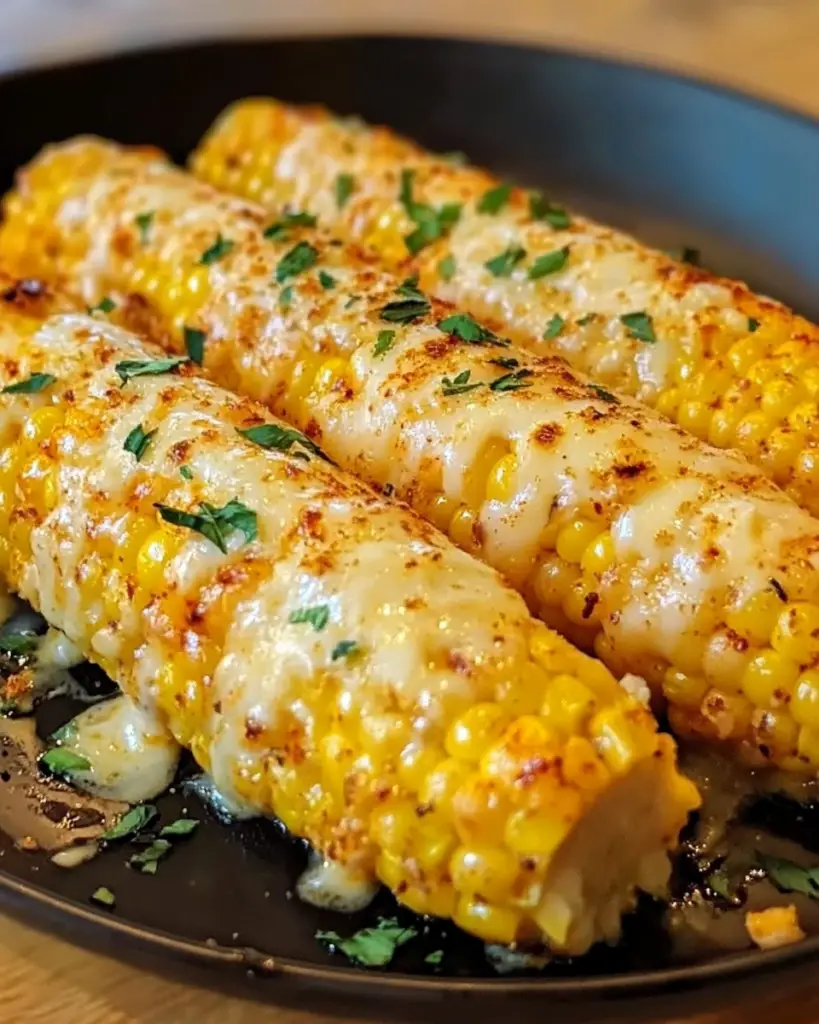
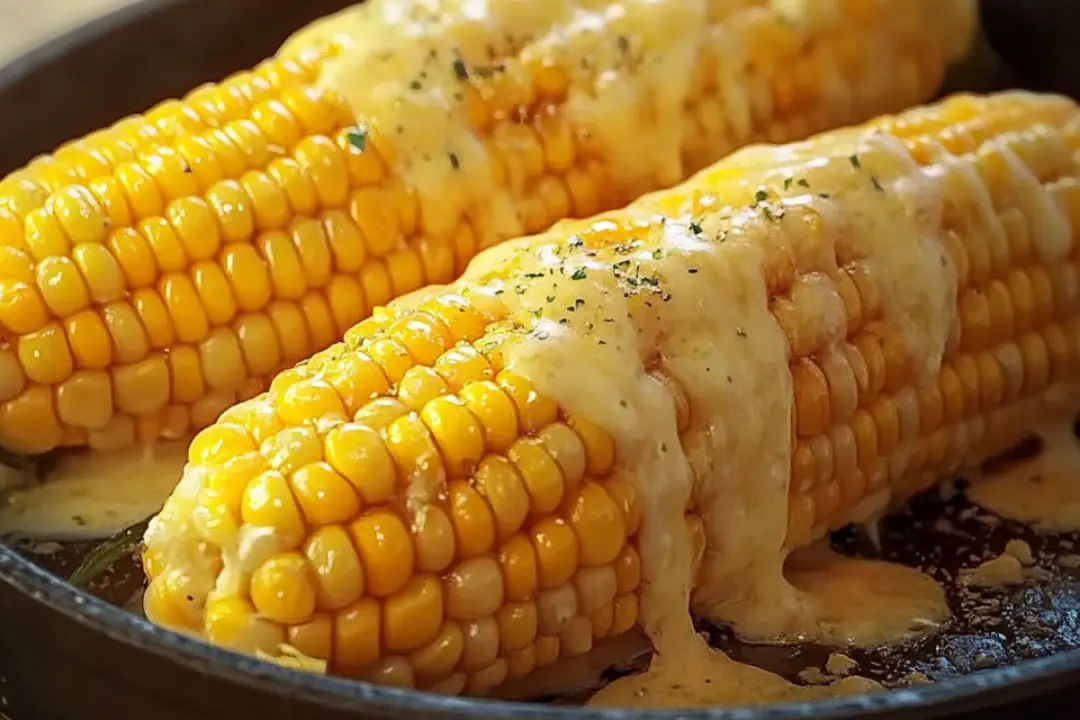
If you’re looking for the ultimate side dish to elevate your dinner or summer BBQ, then this Cheesy Garlic Butter Corn on the Cob is where it’s at. Sweet, juicy corn smothered in a luscious, garlicky butter sauce and then topped with a generous sprinkle of melty cheese—it’s a game-changer. It’s savory, rich, and totally irresistible. Seriously, you’re going to want to make this every time you fire up the grill or boil a pot of water for corn on the cob. It’s quick, easy, and packed with flavor. Trust me, once you try it, you’ll never go back to plain corn on the cob again!
Why You’ll Love Cheesy Garlic Butter Corn on the Cob
Simple Ingredients, Big Flavor
A handful of pantry staples are all you need to create this cheesy, garlicky masterpiece. No fancy ingredients, just real flavor. It’s as easy as it gets, but tastes like it took hours to prepare.
Perfect for BBQs and Weeknight Dinners
This corn is a hit at any occasion. Whether you’re grilling in the backyard or cooking up a cozy meal at home, it’s guaranteed to shine on your table.
Buttery and Cheesy
Let’s be real—the combo of butter, garlic, and cheese is simply chef’s kiss perfection. The butter soaks into every kernel of the corn, while the garlic adds that punch of savory goodness. The melted cheese on top is just the cherry on top.
Quick and Easy
In just about 15 minutes, you’ll have this tasty corn ready to serve. It’s the perfect last-minute side dish when you’re running out of time but still want to impress.
Customizable
Feel free to tweak this recipe to your liking! If you want it extra garlicky, add a little more garlic. If you love spicy food, sprinkle some cayenne or chili powder for an added kick. You can also use different cheeses, like Parmesan or mozzarella, depending on your mood.

Disclosure: This post contains affiliate links.If you click and make a purchase, I may earn a small commission at no extra cost to you.
Ingredients in Cheesy Garlic Butter Corn on the Cob
Here’s what you’ll need to make this decadent and flavorful corn on the cob:
For the Corn:
- Fresh Corn on the Cob: The star of the show! Fresh, in-season corn is the best for this recipe, but frozen corn on the cob works too if that’s what you have.
- Salt: To season the water when boiling and bring out the natural sweetness of the corn.
For the Garlic Butter Sauce:
- Butter: It wouldn’t be garlic butter corn without the butter! It adds richness and helps the garlic and cheese stick to the corn.
- Garlic: Fresh garlic, minced, for that bold, aromatic flavor.
- Parmesan Cheese: A nice, sharp cheese that melts beautifully and adds an irresistible salty, savory layer to each bite.
- Chopped Parsley: Fresh parsley for a pop of color and a slight herbal note to balance out all that richness.
- Black Pepper: To season and add a little bite.
(Note: The full ingredients list, including measurements, is provided in the recipe card directly below.)
Instructions
Here’s how to whip up this cheesy, garlicky corn in no time:
1. Boil the Corn
Start by filling a large pot with water, adding a pinch of salt. Bring it to a boil and then add the corn on the cob. Let it cook for about 8-10 minutes or until the corn is tender and fully cooked. If you’re grilling the corn, you can cook it directly on the grill, turning occasionally, for 15-20 minutes, or until charred and tender.
2. Prepare the Garlic Butter Sauce
While the corn is cooking, melt the butter in a small saucepan over medium heat. Once the butter is melted, add the minced garlic and sauté for about 1 minute, or until fragrant. Be careful not to burn the garlic! Remove from heat.
3. Coat the Corn
Once the corn is done cooking, remove it from the pot (or grill) and let it cool slightly. Use a brush or spoon to coat each ear of corn with the garlic butter sauce, making sure to cover every kernel. Be generous with that butter—it’s what makes the corn so indulgent!
4. Add the Finishing Touches
Sprinkle the corn with a generous amount of grated Parmesan cheese. Add black pepper to taste, and finish it off with a sprinkle of fresh parsley for a pop of color and freshness.
5. Serve and Enjoy
Serve the corn immediately while it’s hot and cheesy! Trust me, you’ll want to grab a napkin (or two) because this corn is messy in the best way possible.
Nutrition Facts
Servings: 4
Calories per serving: 250
Total Fat: 20g
Saturated Fat: 12g
Cholesterol: 45mg
Sodium: 380mg
Total Carbohydrates: 17g
Dietary Fiber: 2g
Sugars: 6g
Protein: 6g
Preparation Time
Prep Time: 5 minutes
Cook Time: 10 minutes
Total Time: 15 minutes
How to Serve Cheesy Garlic Butter Corn on the Cob
With Grilled Meats
This corn pairs perfectly with grilled steaks, chicken, or pork. The smoky flavor from the grill complements the buttery richness of the corn.
With a Fresh Salad
A light, fresh salad with a tangy vinaigrette is a great contrast to the richness of the cheesy corn. Try something like a crisp arugula salad or a mixed greens salad with a lemon dressing.
On Its Own
Sometimes, the corn is so good, it doesn’t need anything else. Serve it as a standout side dish, or even as a snack for a simple, indulgent treat.
Additional Tips
Keep It Warm
If you’re making the corn ahead of time, you can keep it warm by covering it with aluminum foil. Or, you can briefly reheat the corn in a warm oven (around 300°F) for about 5-10 minutes.
Get Creative with Cheese
While Parmesan is a classic option, you can also try other cheeses like mozzarella, cheddar, or even Cotija for a different flavor. Mozzarella will give it a stretchier, melty texture, while cheddar adds a sharp, tangy bite.
Add a Little Spice
For a kick of heat, sprinkle the corn with chili powder or red pepper flakes. You can also brush the corn with some spicy buffalo sauce or hot sauce for an extra zesty flavor.
Try Grilling It
For a slightly smoky flavor, try grilling the corn instead of boiling it. The char from the grill adds a delicious layer of flavor that complements the cheesy garlic butter perfectly.
FAQ Section
Q1: Can I make this corn ahead of time?
A1: While this dish is best served fresh, you can prepare the garlic butter ahead of time and keep it in the fridge. When ready to serve, simply heat the butter and brush it onto the corn.
Q2: Can I use frozen corn?
A2: Yes! You can absolutely use frozen corn on the cob. Just be sure to thaw and cook it before applying the garlic butter sauce.
Q3: Can I make the garlic butter sauce spicier?
A3: Absolutely! Add red pepper flakes, cayenne pepper, or even some hot sauce to the garlic butter sauce for a little heat.
Q4: How do I store leftovers?
A4: Store leftover corn in an airtight container in the fridge for up to 2 days. Reheat it in the microwave or on the grill for the best results.
Q5: Can I use a different kind of cheese?
A5: Yes! Feel free to swap out Parmesan for mozzarella, cheddar, or Cotija cheese depending on your taste preferences.
Q6: Can I use margarine instead of butter?
A6: You can use margarine if you prefer, but butter adds a rich flavor that really makes the dish. If you want to stay true to the original recipe, I recommend sticking with butter!
Q7: Is this recipe vegetarian?
A7: Yes! This recipe is vegetarian, making it a great side dish for anyone following a meat-free diet.
Q8: How do I make the garlic butter sauce without dairy?
A8: You can make the garlic butter sauce dairy-free by using a plant-based butter instead of regular butter and skipping the cheese or using a dairy-free cheese substitute.
Q9: Can I add bacon to the corn?
A9: Absolutely! Crumbled crispy bacon makes a fantastic topping for this cheesy garlic butter corn. Add it after the Parmesan for an extra layer of flavor.
Q10: How do I grill the corn instead of boiling it?
A10: To grill the corn, preheat your grill to medium heat. Grill the corn for 15-20 minutes, turning occasionally, until the kernels are tender and slightly charred. Then, follow the rest of the recipe to coat the corn with the garlic butter sauce and cheese.
Conclusion
This Cheesy Garlic Butter Corn on the Cob is a flavor-packed side dish that’s sure to steal the show at your next meal. With minimal effort and a handful of ingredients, you’ll have corn that’s buttery, garlicky, cheesy, and downright irresistible. Whether you’re cooking it for a weeknight dinner or serving it at a summer BBQ, this corn is always a crowd-pleaser. Enjoy!
Print
Cheesy Garlic Butter Corn on the Cob
- Total Time: 15 minutes
- Yield: 4 servings
Description
This Cheesy Garlic Butter Corn on the Cob is the perfect combination of sweet corn, rich garlic butter, and melted cheese! It’s an easy, flavorful side dish that’s great for summer barbecues or any meal.
Ingredients
- 4 ears of corn, husked
- 4 tablespoons unsalted butter, melted
- 3 cloves garlic, minced
- 1 cup grated Parmesan cheese
- 1/2 cup shredded mozzarella cheese
- 1 tablespoon fresh parsley, chopped (optional)
- 1 teaspoon salt
- 1/2 teaspoon black pepper
- 1/4 teaspoon crushed red pepper flakes (optional)
Instructions
- Boil or Grill the Corn:
Boil the corn in a large pot of salted water for 8-10 minutes, or grill the corn on medium heat for about 10 minutes, turning occasionally until the corn is tender and cooked through. - Make the Garlic Butter:
While the corn is cooking, combine the melted butter and minced garlic in a small bowl. Stir to combine and set aside. - Coat the Corn:
Once the corn is cooked, use a brush or spoon to generously coat each ear of corn with the garlic butter mixture. - Add the Cheese:
Sprinkle the grated Parmesan and shredded mozzarella cheese over the buttered corn, pressing gently to help it adhere. - Season and Serve:
Season the corn with salt, black pepper, and crushed red pepper flakes if using. Garnish with fresh parsley for a burst of color. Serve immediately!
Notes
- You can use any cheese you prefer, such as cheddar or a Mexican cheese blend.
- For extra flavor, try adding a squeeze of fresh lemon juice over the corn before serving.
- Grilling the corn adds a smoky flavor, but boiling is a quicker option if you’re in a hurry.
- Prep Time: 5 minutes
- Cook Time: 10 minutes
- Category: Side Dish
- Method: Boiling, Grilling
- Cuisine: American
Nutrition
- Serving Size: 1 ear of corn
- Calories: 220
- Sugar: 3g
- Sodium: 400mg
- Fat: 15g
- Saturated Fat: 7g
- Unsaturated Fat: 7g
- Trans Fat: 0g
- Carbohydrates: 18g
- Fiber: 3g
- Protein: 8g
- Cholesterol: 30mg


