A Little Intro Just for You
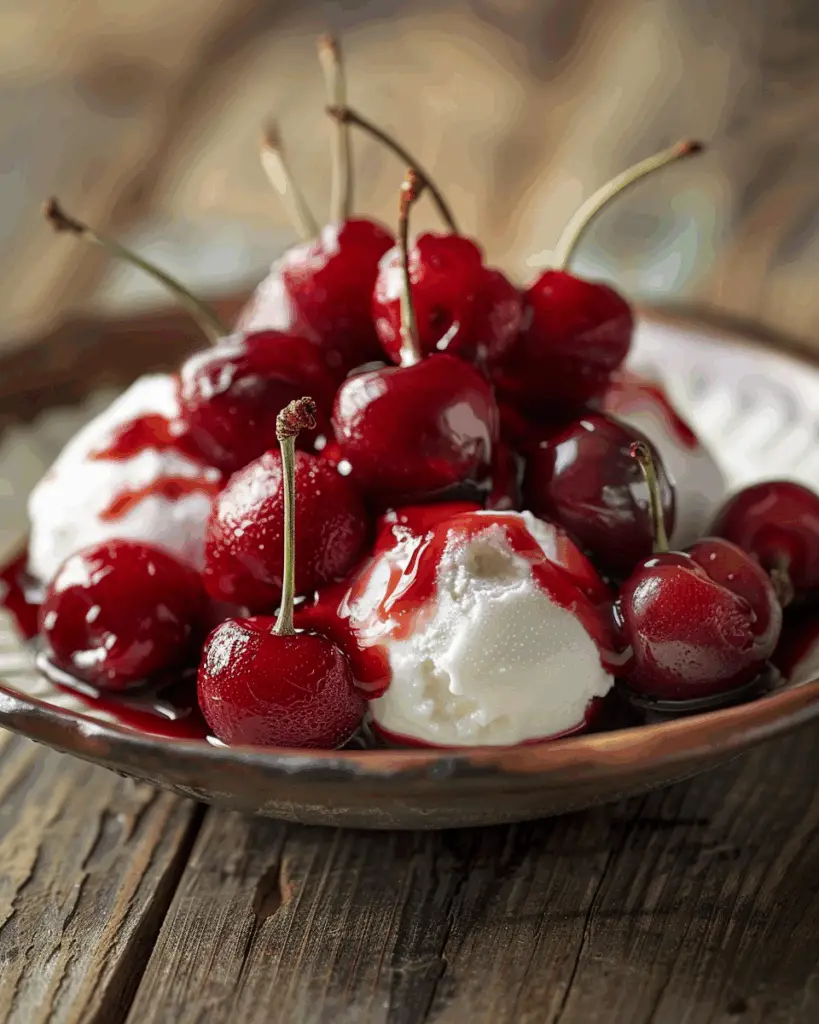
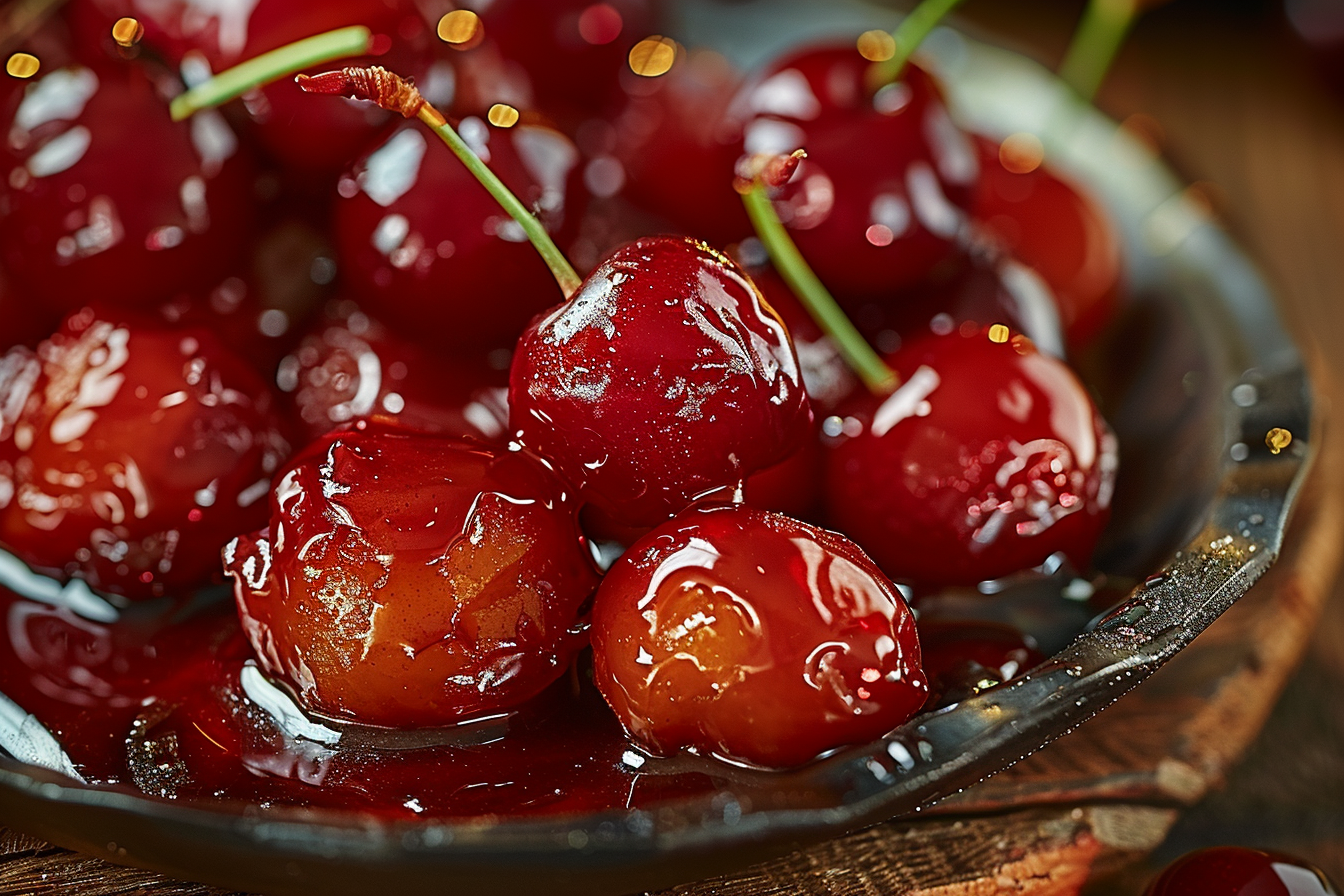
Alright, friend—buckle up, because you’re about to meet your new favorite sweet treat: Cherry Blasters. These little bites of joy are the perfect mix of sweet, tart, chewy, and oh-so-addictive. Imagine a burst of cherry flavor wrapped up in a soft, buttery base with just the right amount of zing to make your tastebuds do a happy dance. They’re kind of like the candy you loved as a kid, but all grown up—and way more delicious.
Trust me, you’re going to love this. Whether you’re whipping up a batch for movie night, gifting them to someone special, or just indulging in a little “me time” with a cup of tea and something sweet, these Cherry Blasters are a total win. And don’t worry—they’re super simple to make, no fancy techniques required.
Let’s dive in and make some cherry magic.
Why You’ll Love Cherry Blasters
This recipe isn’t just about the ingredients—it’s about creating moments. Whether you’re cooking for a casual family dinner, hosting a get-together with friends, or simply indulging in some comforting flavors for yourself, this dish is versatile enough to fit the occasion. Here’s why it’s a favorite:
Versatile
Perfect for dessert tables, holiday trays, or just a Tuesday night. Picture this: you pull a tray of these out of the oven, and the scent of cherries and vanilla fills the air. Yep, it’s that kind of moment.
Budget-Friendly
You don’t need anything fancy—most of these ingredients are probably already in your kitchen. That means more cherry bliss, less stress.
Quick and Easy
Seriously, these come together in a flash. No complicated steps, no weird kitchen gadgets. Just mix, bake, and enjoy.
Customizable
Want to use dried cranberries instead? Go for it. Craving a citrus twist? Add a little orange zest. You can totally make these your own.
Crowd-Pleasing
They’ve got that classic cherry flavor everyone loves, plus a soft and chewy texture that’s basically irresistible. You might want to make a double batch—just saying.

Disclosure: This post contains affiliate links.If you click and make a purchase, I may earn a small commission at no extra cost to you.
Ingredients in Cherry Blasters
Here’s the beauty of these treats—they’re made with a handful of everyday ingredients that somehow come together to create something truly special. Let’s break it down:
Dried Cherries
These bring the tangy, fruity punch that makes the whole recipe pop. They’re chewy, sweet, and packed with flavor.
All-Purpose Flour
Gives the Cherry Blasters their structure and a soft, tender bite.
Butter
Rich and creamy, butter is what gives these that melt-in-your-mouth texture and golden finish.
Brown Sugar
Adds a warm, caramel-like sweetness that pairs perfectly with the cherries.
Eggs
They help bind everything together and add just the right amount of fluffiness.
Vanilla Extract
A little splash goes a long way—it deepens the flavor and adds that cozy, homemade vibe.
Baking Powder
For a little lift and lightness, so your Cherry Blasters don’t end up too dense.
Salt
Just a pinch brings out all the other flavors and balances the sweetness beautifully.
Instructions
Let’s dive into the steps to create this flavorful masterpiece:
Preheat Your Equipment
Start by preheating your oven to 350°F. This gets things nice and toasty, ensuring your Cherry Blasters bake evenly with that perfect golden finish.
Combine Ingredients
In a large mixing bowl, cream together the butter and brown sugar until smooth and fluffy. Add in the eggs and vanilla extract, mixing until fully incorporated. Then gently fold in the flour, baking powder, and salt until just combined. Finally, stir in the dried cherries. You’ll want every bite to have that fruity zing!
Prepare Your Cooking Vessel
Line a baking sheet with parchment paper or lightly grease it to prevent sticking. This also makes cleanup a breeze (you’re welcome).
Assemble the Dish
Drop spoonfuls of the dough onto the prepared baking sheet, spacing them about 2 inches apart. You can shape them slightly for a more uniform look, but rustic is just as charming.
Cook to Perfection
Bake for about 10–12 minutes, or until the edges are lightly golden and the centers are just set. Don’t overbake—these are meant to stay soft and chewy.
Finishing Touches
Let them cool on the baking sheet for a few minutes before transferring to a wire rack. This helps them firm up just enough while keeping that dreamy texture.
Serve and Enjoy
Serve warm or at room temperature with your favorite beverage. They’re delightful on their own, but even better with a little scoop of vanilla ice cream on the side. Go ahead, treat yourself.
Nutrition Facts
Servings: 24 Cherry Blasters
Calories per serving: ~110 (depending on ingredient brands)
Preparation Time
Prep Time: 10 minutes
Cook Time: 12 minutes
Total Time: 22 minutes
How to Serve Cherry Blasters
These sweet little gems are surprisingly versatile when it comes to serving. Here are a few ideas to make them shine:
As a Dessert Platter Star: Arrange them on a pretty tray with other cookies and treats—perfect for parties or holiday gatherings.
With Coffee or Tea: The chewy, fruity flavor is a dream with a cup of something warm. Instant cozy vibes.
Topped with Ice Cream: Go big—serve them warm with a scoop of vanilla or cherry ice cream. Absolute heaven.
Gift-Wrapped Treats: Pop a few in a cute tin or bag and share the cherry love with friends, neighbors, or coworkers.
Just Because: Honestly, they’re great straight from the container on the couch in your comfiest PJs. No judgment here.
Additional Tips
Prep Ahead: Make the dough ahead of time and refrigerate for up to 2 days. You can also freeze dough balls and bake straight from the freezer—just add a minute or two to the baking time.
Spice It Up: Add a dash of cinnamon or nutmeg for a cozy twist, or stir in white chocolate chips for extra indulgence.
Dietary Adjustments: Swap in gluten-free flour or use a dairy-free butter alternative to fit your needs.
Storage Tips: Store in an airtight container at room temperature for up to 5 days. They also freeze beautifully!
Double the Batch: These go fast—trust me. Doubling the recipe is always a smart move if you’re baking for a crowd (or just really love cookies).
FAQ Section
Q1: Can I use fresh cherries instead of dried?
A1: Fresh cherries have more moisture, so they’ll change the texture. If you want to use them, chop and pat them dry first—but dried cherries are the best bet for this recipe.
Q2: Can I make this dough ahead of time?
A2: Absolutely! Store it in the fridge for up to 2 days or freeze it for up to 2 months.
Q3: How do I store leftovers?
A3: Keep them in an airtight container at room temp for 4–5 days, or freeze them for longer storage.
Q4: Can I freeze these cookies?
A4: Yes! They freeze great. Cool completely, then place in a freezer-safe bag. Thaw at room temp when ready to enjoy.
Q5: What’s the best way to reheat them?
A5: A few seconds in the microwave will bring back that just-baked softness. So good.
Q6: Can I double the recipe?
A6: Definitely—just use a second baking sheet and rotate them halfway through baking for even results.
Q7: Are these suitable for kids?
A7: Totally! Kids love the sweet-tart cherry flavor. If you’re concerned about sugar, you can slightly reduce the amount.
Q8: What can I use instead of brown sugar?
A8: White sugar works, but brown sugar gives that richer, caramel-y flavor. If needed, you can mix white sugar with a bit of molasses.
Q9: How can I make this healthier?
A9: Cut down the sugar a bit, use whole wheat flour, or toss in some chopped nuts or oats for added fiber.
Q10: What’s the best baking sheet to use?
A10: A heavy-duty, light-colored baking sheet lined with parchment paper works best. It helps the cookies bake evenly without over-browning.
Conclusion
There you have it—Cherry Blasters in all their sweet, chewy glory. These cookies are simple to make, full of flavor, and bound to become a go-to favorite in your kitchen. Whether you’re baking for a celebration or just because it’s Tuesday and you deserve something delicious, these are the kind of treats that bring joy with every bite.
So grab your apron, crank up your favorite playlist, and get baking—because these Cherry Blasters aren’t going to make themselves. And trust me, once you taste them… you’ll be hooked.
Print
Cherry Blasters
- Total Time: 24–48 hours marinating
- Yield: Approximately 8 servings
- Diet: Vegetarian
Description
A sweet and spicy treat combining fresh cherries and Fireball Cinnamon Whisky, marinated in a cinnamon syrup. Perfect for festive gatherings or as a unique cocktail garnish.
Ingredients
- 1 cup fresh cherries, pitted
- 1 cup Fireball Cinnamon Whisky
- 1 cup granulated sugar
- 1 cup water
- 1 teaspoon vanilla extract
- ½ teaspoon ground cinnamon
- ¼ teaspoon salt
- Optional: 1 cup whipped cream, for serving
Instructions
- Rinse and dry the cherries. Carefully pit each one, keeping the fruit whole.
- In a medium saucepan over medium heat, combine sugar, water, and cinnamon. Stir until sugar dissolves. Bring to a gentle boil and simmer for 5 minutes without stirring. Remove from heat and let cool slightly.
- Add the cherries to the warm syrup, coating thoroughly. Stir in Fireball whisky, vanilla extract, and salt. Mix gently to combine.
- Transfer mixture to a clean, sealable jar. Refrigerate for 24 to 48 hours to allow the flavors to infuse.
- Serve chilled as-is or with a dollop of whipped cream for a sweet, spicy treat.
Notes
- Best served cold; store in refrigerator for up to 1 week.
- For a festive twist, garnish with a cinnamon stick or use as a cocktail topper.
- Prep Time: 20 minutes
- Cook Time: 0 minutes
- Category: Dessert, Cocktail Garnish
- Method: No-Bake
- Cuisine: American
Nutrition
- Serving Size: 1 serving (approximately 2–3 cherries)
- Calories: ~150 kcal
- Sugar: ~20g
- Sodium: ~0mg
- Fat: ~0g
- Saturated Fat: ~0g
- Unsaturated Fat: ~0g
- Trans Fat: ~0g
- Carbohydrates: ~20g
- Fiber: ~0g
- Protein: ~0g
- Cholesterol: ~0mg


