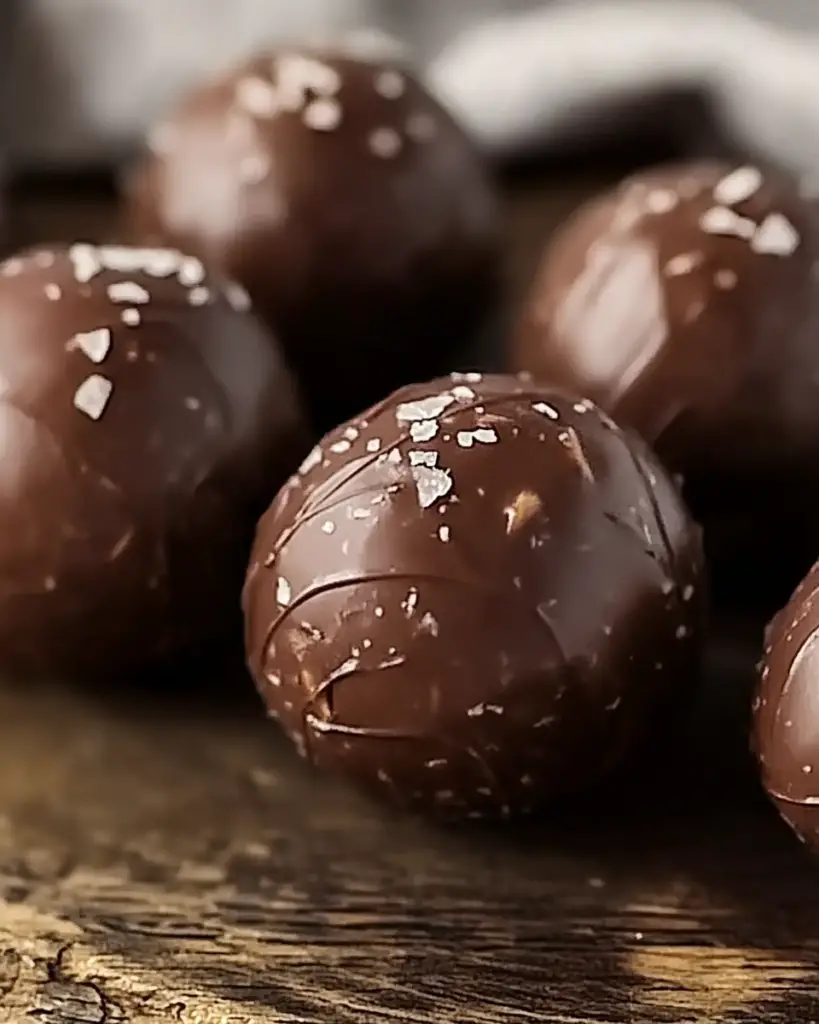
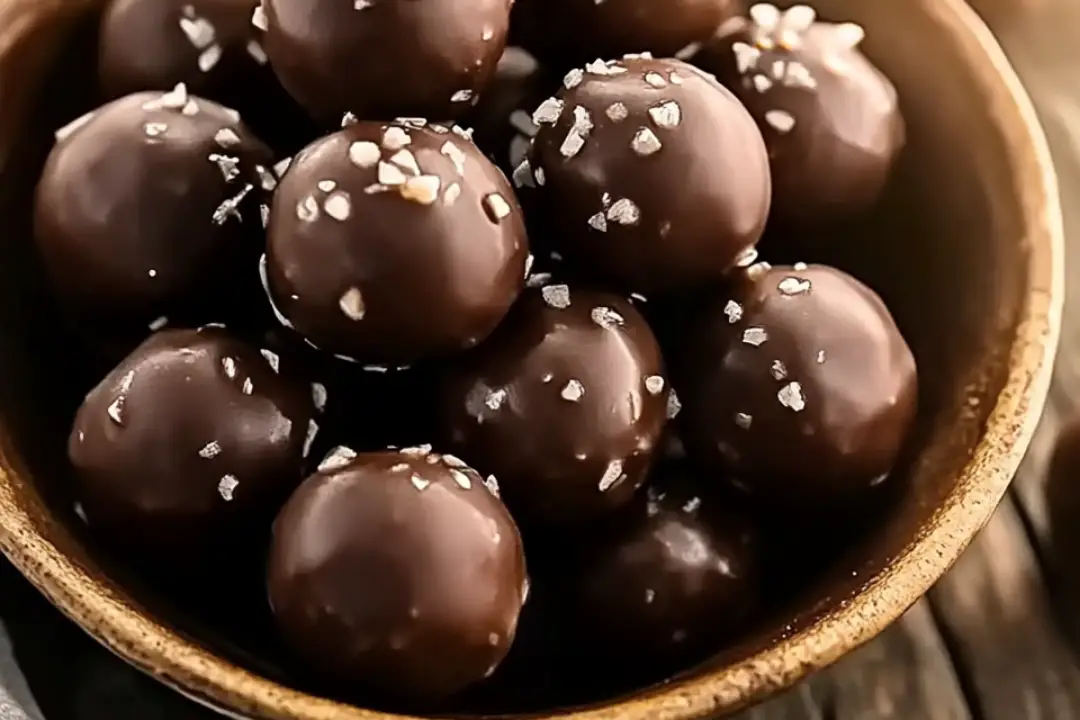
If you’re a fan of the classic peanut butter and chocolate combo (who isn’t?), then Chocolate Peanut Butter Balls are about to become your new favorite treat. These little bites of heaven are rich, creamy, and covered in smooth, melt-in-your-mouth chocolate. It’s the perfect balance of sweet, salty, and indulgent, and you won’t be able to stop at just one! Whether you’re making them for the holidays, a party, or just because you need a quick, delicious snack, these peanut butter balls are sure to hit the spot. They’re easy to make, and the result is beyond addictive. Get ready to fall in love with every single bite!
Why You’ll Love Chocolate Peanut Butter Balls
No-Bake & Quick to Make
This is the kind of recipe that’s so simple, you’ll have it ready in no time. You don’t even need to turn on the oven—just mix, shape, dip, and chill. It’s the ultimate easy treat when you need something sweet, fast.
Perfect Combination of Sweet and Salty
The combination of creamy peanut butter and rich chocolate is undeniably irresistible. It’s the sweet and salty goodness that everyone craves, all wrapped up in a bite-sized ball!
Customizable
You can customize these peanut butter balls to fit your flavor preferences. Add a pinch of salt for extra savory balance, or roll them in crushed nuts or sprinkles for a little extra crunch. There’s no wrong way to enjoy them!
Great for Gifting
These little treats make a wonderful gift! Package them up in a cute tin or jar and give them to friends or family. Trust me, they’ll be thrilled to receive them.

Disclosure: This post contains affiliate links.If you click and make a purchase, I may earn a small commission at no extra cost to you.
Ingredients in Chocolate Peanut Butter Balls
Here’s what you’ll need to whip up these irresistible peanut butter balls:
For the Peanut Butter Filling:
- Creamy Peanut Butter: The base of the filling, giving it that rich, nutty flavor. Smooth peanut butter works best for this recipe, but crunchy would be fun too!
- Powdered Sugar: To sweeten the filling and give it a nice, smooth texture. This will help the balls hold together and not be too sticky.
- Butter: A little bit of melted butter helps the peanut butter filling come together and adds to the creaminess.
- Vanilla Extract: For an extra depth of flavor that makes the filling even more irresistible.
For the Chocolate Coating:
- Chocolate Chips: Semi-sweet chocolate chips are ideal, but you can also use milk chocolate if you prefer a sweeter taste.
- Coconut Oil: This helps the chocolate melt smoothly and gives it a beautiful glossy finish when it hardens.
(Note: The full ingredient list, including measurements, is provided in the recipe card directly below.)
Instructions
1. Make the Peanut Butter Filling
In a large bowl, combine the creamy peanut butter, powdered sugar, melted butter, and vanilla extract. Mix until smooth and well-combined. You’ll want a thick, dough-like consistency that’s easy to shape into balls.
2. Shape the Balls
Using your hands or a small cookie scoop, roll the peanut butter mixture into small, bite-sized balls. Place them on a parchment-lined baking sheet, spacing them about an inch apart. Chill the peanut butter balls in the refrigerator for at least 30 minutes to firm them up.
3. Prepare the Chocolate Coating
In a microwave-safe bowl, melt the chocolate chips and coconut oil together in the microwave, stirring every 20-30 seconds until smooth and completely melted. Be careful not to overheat the chocolate!
4. Dip the Peanut Butter Balls
Once the peanut butter balls have chilled, it’s time to coat them in chocolate! Using a fork or toothpick, dip each peanut butter ball into the melted chocolate, ensuring it’s fully coated. Let any excess chocolate drip off and place the coated balls back onto the parchment-lined baking sheet.
5. Chill Until Set
Return the chocolate-covered peanut butter balls to the refrigerator and chill for another 30 minutes or until the chocolate is set. Once firm, they’re ready to enjoy!
6. Serve and Enjoy
Once the chocolate has hardened, your Chocolate Peanut Butter Balls are ready to serve. These little treats are perfect for sharing, gifting, or simply indulging in whenever you’re craving something sweet!
Nutrition Facts
Servings: 20 balls
Calories per serving: 160
Total Fat: 12g
Saturated Fat: 5g
Cholesterol: 10mg
Sodium: 35mg
Total Carbohydrates: 12g
Dietary Fiber: 1g
Sugars: 10g
Protein: 4g
Preparation Time
Prep Time: 15 minutes
Chill Time: 1 hour
Total Time: 1 hour 15 minutes
How to Serve Chocolate Peanut Butter Balls
As a Sweet Snack
These balls are the perfect pick-me-up during the day when you need something sweet and satisfying. They’re small enough to snack on without feeling overly indulgent, and the balance of peanut butter and chocolate is unbeatable.
For Parties and Get-Togethers
Serve these at your next party or gathering! Place them in a cute bowl or on a platter, and watch them disappear in no time. They’re easy to eat with your hands, making them the perfect party treat.
As a Gift
If you’re looking to gift something homemade and delicious, these peanut butter balls are a hit. Package them up in a festive tin or jar, and you’ve got a thoughtful gift that anyone will appreciate.
With a Cold Glass of Milk
Peanut butter and chocolate go hand in hand with a cold glass of milk. Enjoy these balls with your favorite milk (or non-dairy milk), and you’ve got the perfect indulgence.
Additional Tips
Add a Pinch of Salt
If you love the sweet and salty combo, sprinkle a pinch of sea salt over the chocolate coating while it’s still soft. It’ll enhance the flavors and give the balls an extra burst of savory goodness.
Use Different Types of Chocolate
Feel free to experiment with different types of chocolate—milk chocolate, dark chocolate, or even white chocolate! You can even mix and match for a fun, marbled effect.
Store Leftovers
Store any leftover peanut butter balls in an airtight container in the fridge for up to a week. They also freeze beautifully, so you can keep them on hand for a treat anytime.
Make Them Larger or Smaller
You can adjust the size of these peanut butter balls depending on your preference. Just note that larger ones will take longer to chill and firm up, while smaller ones will be easier to pop in your mouth!
FAQ Section
Q1: Can I use almond butter instead of peanut butter?
A1: Yes, almond butter works just as well! You can also try other nut butters like cashew or sun butter for a fun twist.
Q2: Can I make these ahead of time?
A2: Absolutely! These peanut butter balls can be made ahead of time and stored in the fridge for up to a week. They also freeze well for up to a month.
Q3: How do I melt the chocolate without a microwave?
A3: If you don’t want to use a microwave, you can melt the chocolate over a double boiler on the stove. Just be sure to stir it frequently to avoid burning.
Q4: Can I make these peanut butter balls gluten-free?
A4: Yes, this recipe is naturally gluten-free, as long as you make sure to use gluten-free chocolate chips and check that your peanut butter is gluten-free.
Q5: Can I add extra ingredients like nuts or coconut?
A5: Definitely! You can mix in crushed nuts, shredded coconut, or even add a bit of rice crispy cereal for added texture. Get creative with your additions!
Q6: Can I make the filling sweeter?
A6: If you like your peanut butter balls extra sweet, you can add more powdered sugar to the filling. Just be careful not to make it too soft, as it can affect the ball’s shape.
Q7: What if the chocolate coating is too thick?
A7: If the chocolate is too thick for dipping, just add a bit more coconut oil or vegetable oil to thin it out to your desired consistency.
Q8: Can I use white chocolate for the coating?
A8: Yes, white chocolate works wonderfully as a coating for these peanut butter balls, offering a creamy and slightly sweeter flavor.
Q9: Can I roll the balls in crushed nuts?
A9: Yes! Rolling the balls in chopped peanuts, almonds, or even crushed pretzels adds a crunchy texture and extra flavor that pairs perfectly with the smooth peanut butter filling.
Q10: How long do these keep in the fridge?
A10: These peanut butter balls will stay fresh for up to a week in the fridge when stored in an airtight container.
Conclusion
These Chocolate Peanut Butter Balls are the perfect bite-sized treat for satisfying your sweet cravings. With a creamy peanut butter center, a rich chocolate coating, and an easy, no-bake prep, they’re sure to become a go-to dessert. Whether you’re making them for a special occasion, a gift, or simply as a snack, these little treats are guaranteed to please everyone who tries them. Enjoy every decadent bite!
Print
Chocolate Peanut Butter Balls
- Total Time: 1 hour 15 minutes
- Yield: 24–30 balls (depending on size) 1x
Description
Chocolate Peanut Butter Balls are the ultimate sweet and salty treat that’s sure to satisfy any craving! With a creamy peanut butter center coated in smooth chocolate, these bite-sized delights are perfect for snacking, sharing at parties, or holiday gifting. Easy to make and totally irresistible!
Ingredients
- 1 ½ cups creamy peanut butter
- 2 cups powdered sugar
- 1 ½ cups graham cracker crumbs
- 1 teaspoon vanilla extract
- 1 ½ cups semisweet or milk chocolate chips
- 1 tablespoon coconut oil (optional, for smooth coating)
Instructions
- Prepare the Peanut Butter Mixture:
In a large mixing bowl, combine the peanut butter, powdered sugar, graham cracker crumbs, and vanilla extract. Stir until fully mixed and smooth. The mixture should be thick but malleable. - Form the Balls:
Roll the peanut butter mixture into 1-inch balls and place them on a baking sheet lined with parchment paper. Once all the balls are formed, refrigerate them for at least 30 minutes to firm up. - Melt the Chocolate:
In a microwave-safe bowl, melt the chocolate chips and coconut oil (if using) together in 30-second intervals, stirring between each, until the chocolate is completely smooth and melted. - Coat the Peanut Butter Balls:
Once the peanut butter balls have chilled, dip each one into the melted chocolate, coating them completely. Use a fork or a toothpick to dip the balls, then place them back on the parchment paper-lined baking sheet. - Let the Chocolate Set:
Refrigerate the chocolate-coated peanut butter balls for an additional 30 minutes to allow the chocolate to set. - Serve and Enjoy:
Once the chocolate has hardened, your Chocolate Peanut Butter Balls are ready to enjoy! Store them in an airtight container in the refrigerator.
Notes
- You can roll the peanut butter balls in chopped nuts, sprinkles, or crushed pretzels for extra texture and flavor.
- For a festive touch, drizzle additional melted chocolate over the top of each ball after dipping.
- If you prefer dark chocolate, you can swap the semisweet chocolate chips for dark chocolate chips.
- Prep Time: 15 minutes
- Cook Time: 1 hour
- Category: Dessert
- Method: No-Bake
- Cuisine: American
Nutrition
- Serving Size: 1 ball (out of 30)
- Calories: 140
- Sugar: 11g
- Sodium: 30mg
- Fat: 9g
- Saturated Fat: 3g
- Unsaturated Fat: 5g
- Trans Fat: 0g
- Carbohydrates: 15g
- Fiber: 1g
- Protein: 4g
- Cholesterol: 5mg


