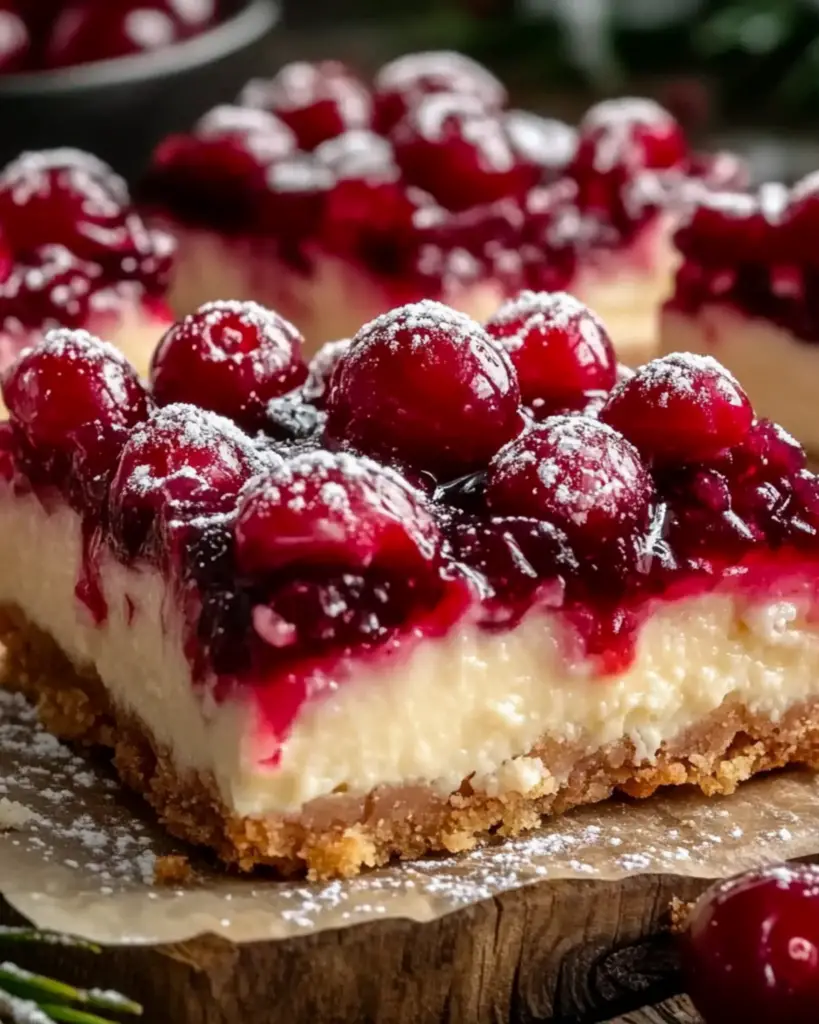
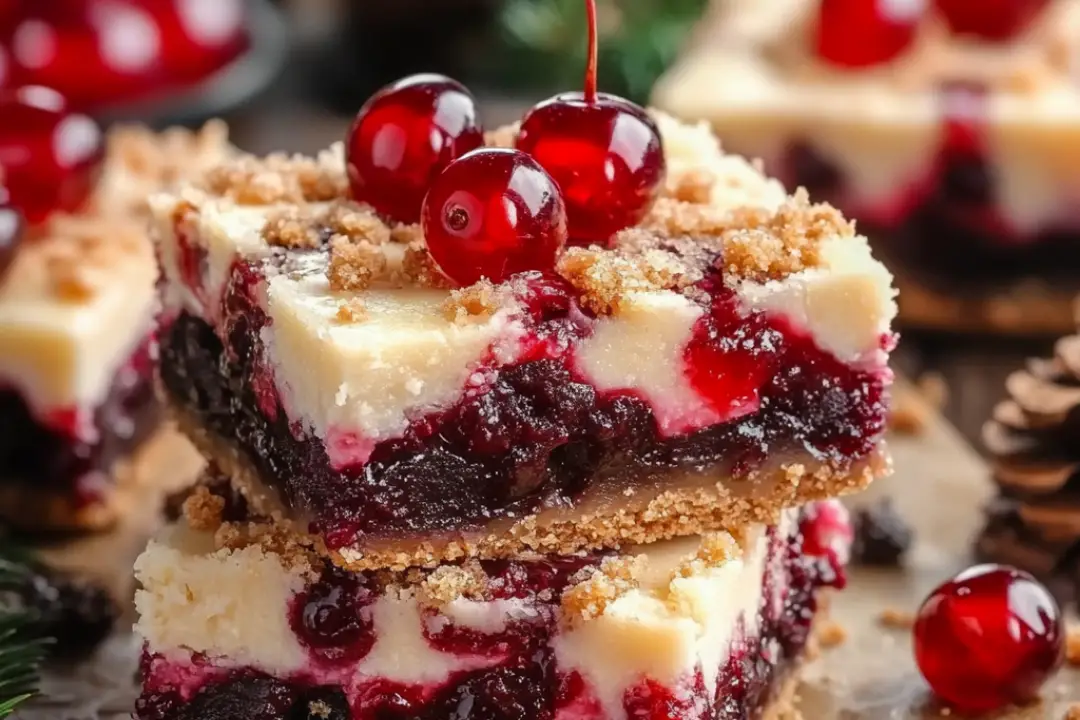
The holidays are the perfect time for indulgence, and Christmas Cherry Cheesecake Bars are the ultimate festive treat! These bars combine a creamy, rich cheesecake layer with a tangy-sweet cherry topping, all on a buttery graham cracker crust. Every bite is a delightful balance of flavors and textures—smooth, sweet, and just a little tart. If you’re looking for a dessert that will steal the spotlight at your holiday gatherings, look no further. Trust me, you’re going to want these on your holiday dessert table!
These bars are everything you love about cheesecake but without the hassle of baking an entire cake. They come together quickly, and the cherry topping makes them feel extra special. Plus, they’re perfect for making ahead of time, so you can relax and enjoy the holiday festivities!
Why You’ll Love Christmas Cherry Cheesecake Bars
- Festive Flavors: The sweet cherry topping is not only delicious but visually stunning with its vibrant red color—perfect for holiday celebrations!
- No-Bake Option: These bars require very little effort, and no oven is needed! Just chill them in the fridge for the perfect set-up.
- Creamy & Tangy: The smooth, rich cheesecake layer is balanced with the sweet-and-tart cherry topping, creating the ideal dessert bite.
- Easy to Serve: With their bar form, these are simple to cut, serve, and enjoy—no messy slices of cake!
- Make-Ahead Dessert: These bars can be made a day or two in advance, so you’re free to enjoy the fun part of the holidays without worrying about dessert last minute.

Disclosure: This post contains affiliate links.If you click and make a purchase, I may earn a small commission at no extra cost to you.
Ingredients
For the Crust:
- Graham Cracker Crumbs: The buttery, slightly sweet base that holds everything together.
- Butter: Melted butter binds the crumbs and adds richness.
- Sugar: Just a touch of sugar for extra sweetness in the crust.
For the Cheesecake Layer:
- Cream Cheese: The rich, creamy base that gives the cheesecake layer its smooth, decadent texture.
- Powdered Sugar: Sweetens the cheesecake filling perfectly, without adding any graininess.
- Vanilla Extract: A classic flavor addition that complements the richness of the cream cheese.
- Whipped Topping: Lightens up the filling and adds a fluffy texture.
For the Cherry Topping:
- Canned Cherry Pie Filling: This simple, sweet topping makes these bars both festive and easy—just spoon it on before serving for a burst of fruity flavor.
(Note: The full ingredient list with measurements is provided in the recipe card below.)
Instructions
1. Make the Crust:
Start by mixing your graham cracker crumbs, melted butter, and sugar in a bowl. Stir until everything is well combined. Then press the mixture evenly into the bottom of a greased 9×13-inch baking dish. This creates the base for your cheesecake bars. Set the crust aside to firm up in the fridge while you work on the filling.
2. Prepare the Cheesecake Layer:
In a large bowl, beat together the cream cheese and powdered sugar until smooth and creamy. Add in the vanilla extract and mix until combined. Finally, fold in the whipped topping and stir gently until the mixture is light and fluffy.
3. Assemble the Bars:
Spread the creamy cheesecake mixture over the chilled graham cracker crust, smoothing it out into an even layer. Use a spatula to make sure it’s all spread to the edges and looks nice and neat.
4. Add the Cherry Topping:
Once your cheesecake layer is smooth, spoon the cherry pie filling over the top. Spread it out gently to cover the whole cheesecake layer. The cherries add that festive, bright red color that makes these bars look so special!
5. Chill and Set:
Cover the baking dish with plastic wrap and refrigerate for at least 3-4 hours, or overnight if you have time. This allows the cheesecake bars to set up and firm up perfectly.
6. Slice and Serve:
Once the bars are set, slice them into squares or rectangles. Serve chilled, and enjoy the perfect combination of creamy cheesecake, buttery crust, and sweet cherry topping!
Nutrition Facts
Servings: [Number of servings]
Calories per serving: [Calorie count per serving]
Preparation Time
Prep Time: 15 minutes
Chill Time: 3-4 hours
Total Time: 3.5 to 4.5 hours
How to Serve Christmas Cherry Cheesecake Bars
These bars are perfect for holiday parties, potlucks, or even just as a special treat for your family. Here are a few ways to enjoy them:
- Holiday Dessert Table: They’re a beautiful and festive addition to any spread of desserts, and they’re always a crowd-pleaser.
- Pair with Hot Cocoa: Serve alongside a cup of warm, cozy hot cocoa or even coffee for a delightful dessert experience.
- Perfect for Meal Prep: These bars are great for making ahead of time, so they’re ready when you need them. Store them in the fridge, and you’ll have a stress-free dessert for guests.
Additional Tips
- For Extra Flavor: If you want to give the cherry topping a little twist, try adding a splash of almond extract to the pie filling.
- Gluten-Free Option: To make these bars gluten-free, simply swap out the graham crackers for gluten-free graham cracker crumbs or another gluten-free cookie.
- Storage: Store any leftover bars in an airtight container in the fridge for up to 5 days. They’ll stay nice and fresh and ready for another indulgent bite!
FAQ Section
Q1: Can I use fresh cherries instead of canned cherry pie filling?
A1: Absolutely! If you have fresh cherries, you can pit and chop them, then mix them with a bit of sugar and cornstarch to make a homemade cherry topping. Cook it down on the stove for a few minutes until thickened.
Q2: Can I freeze these bars?
A2: Yes! If you’d like to freeze them, place the bars in an airtight container, and freeze for up to 3 months. When ready to eat, thaw in the fridge overnight.
Q3: How do I cut the bars neatly?
A3: To get clean cuts, use a sharp knife and wipe it clean between each cut. This will keep the edges neat and prevent the bars from getting messy.
Q4: Can I make these bars ahead of time?
A4: Yes! These bars are perfect for making a day or two ahead. They only get better after chilling and allowing all the flavors to set.
Q5: What other toppings can I use besides cherries?
A5: You could try using strawberries, blueberries, or even a mix of different berries. Just make sure the topping complements the creamy cheesecake filling.
These Christmas Cherry Cheesecake Bars are the perfect addition to your holiday celebrations—delicious, easy to make, and so festive! With their creamy, tangy cheesecake and sweet cherry topping, they’re sure to be a hit with everyone. Enjoy every bite, and happy holidays!
Print
Christmas Cherry Cheesecake Bars
- Total Time: 1 hour 15 minutes
- Yield: 16 bars
- Diet: Vegetarian
Description
Delight your family and friends this holiday season with these delicious Christmas Cherry Cheesecake Bars. Featuring a buttery sugar cookie crust, creamy cheesecake filling, and a vibrant cherry topping, these bars are perfect for any festive gathering.
Ingredients
- Sugar Cookie Mix: 8.5 ounces
- Cold Unsalted Butter: 4 tablespoons
- Softened Cream Cheese: 8 ounces
- Granulated Sugar: ¼ cup
- All-Purpose Flour: 1 tablespoon
- Vanilla Extract: ½ teaspoon
- Egg: 1 large
- Cherry Pie Filling: ½ can
- Toasted Sliced Almonds: ⅓ cup
Instructions
- Prepare Baking Pan: Preheat the oven to 350°F (175°C). Line an 8×8-inch or 9×13-inch baking pan with foil and coat it with non-stick spray.
- Make the Crust: In a large bowl, combine the sugar cookie mix and cold butter. Use a pastry blender to mix until it forms a crumbly texture. Set aside about ¾ cup of this mixture. Press the rest into the bottom of the pan. Bake the crust for 10 minutes, then let it cool. The crust will still look slightly underdone.
- Prepare Cheesecake Layer: While the crust cools, mix the softened cream cheese, granulated sugar, flour, vanilla extract, and egg in a separate bowl until smooth and creamy.
- Assemble Layers: Spread the cream cheese mixture evenly over the cooled crust. Spoon the cherry pie filling over the cream cheese layer, ensuring an even layer.
- Add Topping: In a small bowl, mix the reserved crumbly cookie mixture with the toasted almonds. Sprinkle this evenly over the cherry layer.
- Final Bake: Return the pan to the oven and bake for 40 minutes if using an 8×8 pan or 45 minutes if using a 9×13 pan, until the top turns light golden brown.
- Cool and Store: Allow the bars to cool at room temperature for 30 minutes, then chill in the refrigerator for a few hours. Store the bars in the refrigerator, covered
Notes
- For a gluten-free version, use a gluten-free sugar cookie mix.
- These bars can be made a day in advance and stored in the refrigerator for the best flavor and texture.
- Prep Time: 25 minutes
- Cook Time: 50 minutes
- Category: Dessert
- Method: Baking
- Cuisine: American
Nutrition
- Serving Size: 1 bar
- Calories: 210
- Sugar: 10g
- Sodium: 150mg
- Fat: 10g
- Saturated Fat: 6g
- Unsaturated Fat: 4g
- Trans Fat: 0g
- Carbohydrates: 26g
- Fiber: 0g
- Protein: 3g
- Cholesterol: 30mg


