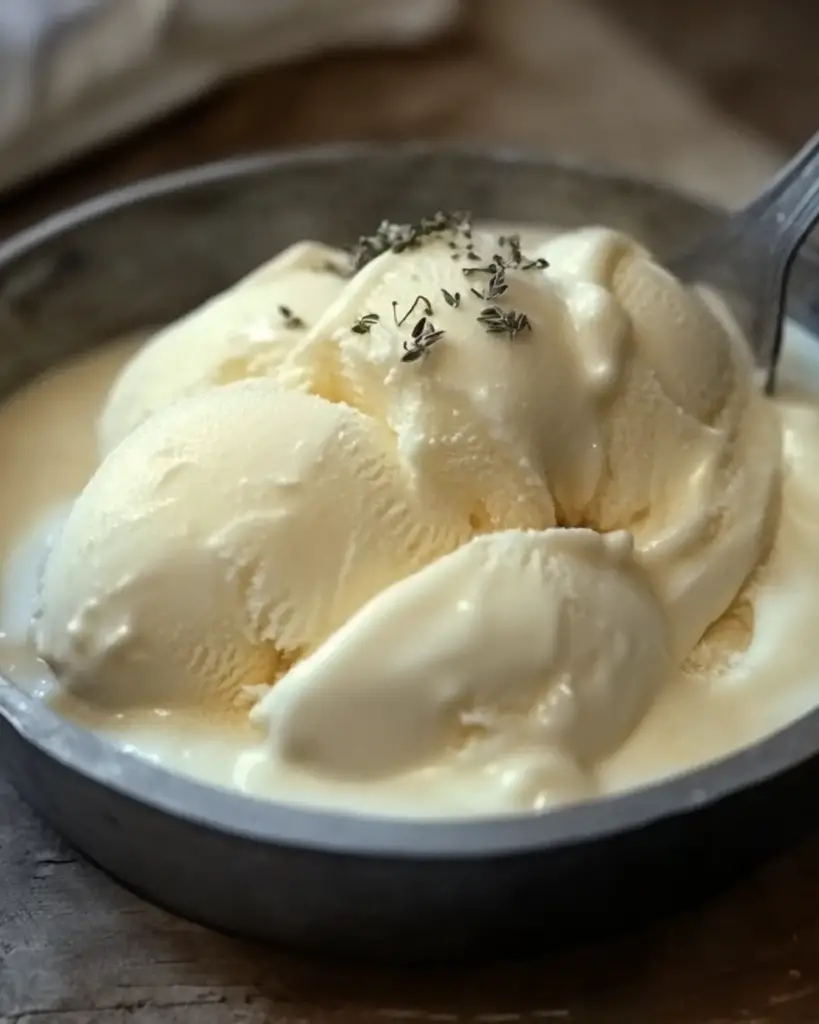
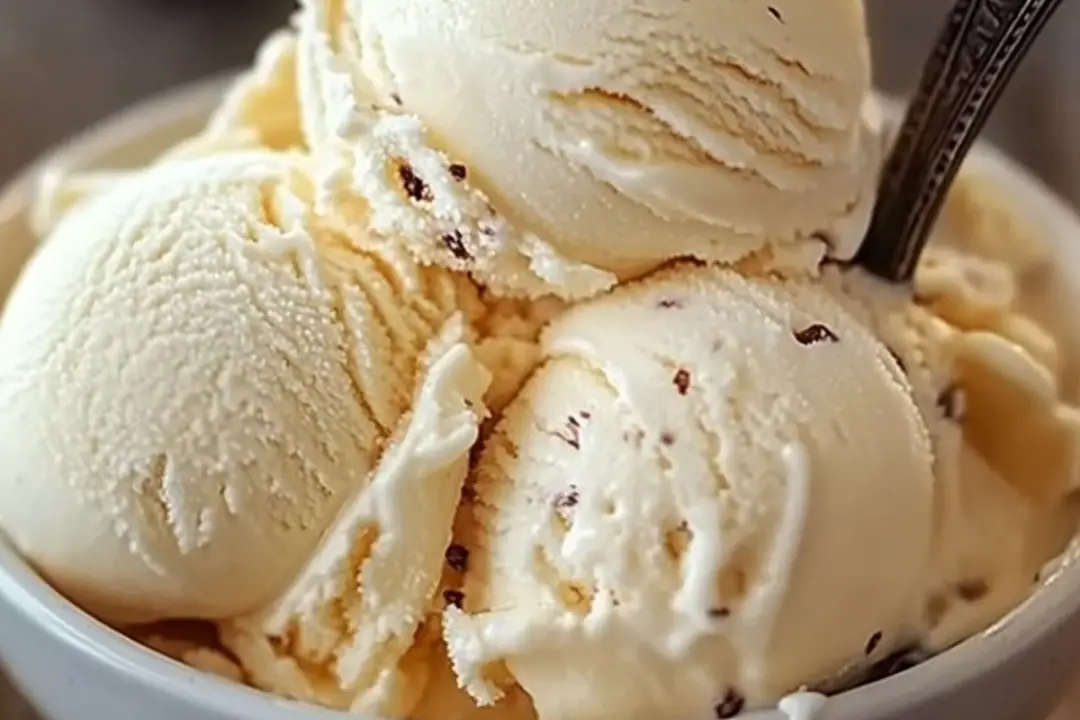
Ah, classic vanilla ice cream—there’s just something magical about it, isn’t there? It’s the kind of treat that never goes out of style, simple yet irresistible. Imagine smooth, creamy, and rich vanilla goodness in every scoop, the kind of ice cream that makes every hot day a little bit better, every sundae a little more special. And the best part? You can make it at home with just a few basic ingredients, no fancy equipment required!
If you’re looking to treat yourself to something indulgent and homemade, this classic vanilla ice cream is just the ticket. Trust me, once you taste the difference of homemade vanilla ice cream, you’ll never go back to store-bought again.
Why You’ll Love Classic Vanilla Ice Cream
This recipe isn’t just about making ice cream—it’s about making memories. Here’s why it’s a must-try:
Simple Ingredients
With only a handful of pantry staples—milk, cream, sugar, and vanilla—you can make a batch of vanilla ice cream that rivals anything you’ve had from a fancy ice cream shop. Pure, simple, and so, so delicious!
Versatile
You can enjoy this vanilla ice cream on its own, or get creative by adding toppings, mixing in your favorite stir-ins (think chocolate chips, crushed cookies, or fruit), or serving it alongside pies, cakes, or brownies.
Creamy and Dreamy
The richness of the cream combined with the subtle sweetness of the vanilla creates a perfectly smooth, melt-in-your-mouth texture. It’s just the right balance of creamy without being overly heavy.
No Ice Cream Maker? No Problem!
While you can use an ice cream maker if you have one, this recipe is also easy to make without it. All you need is a little patience and some stirring, and you’ll have that homemade, artisanal taste in no time.

Disclosure: This post contains affiliate links.If you click and make a purchase, I may earn a small commission at no extra cost to you.
Ingredients
Making this classic vanilla ice cream is easy, and the ingredients are all things you probably already have at home:
- Heavy Cream: This is the secret to a super creamy and rich texture. It’s what gives this ice cream its smoothness and indulgent flavor.
- Whole Milk: Adds a nice balance of richness without being too heavy.
- Granulated Sugar: Sweetens the ice cream and helps with that creamy texture.
- Vanilla Extract: The star flavor! Use high-quality vanilla extract for the best flavor.
- Egg Yolks (Optional): This is for a custard-style base. It adds richness and depth of flavor but can be omitted for a simpler version.
- Salt: Just a pinch to balance the sweetness.
(Note: Exact measurements will be in the recipe card below!)
Instructions
Here’s how to make your very own batch of classic vanilla ice cream:
Step 1: Prepare the Custard (Optional, for Richer Ice Cream)
If you’re going for a custard-style ice cream, begin by whisking the egg yolks and sugar together in a medium bowl until they’re pale and smooth. Set this aside.
Step 2: Heat the Milk and Cream
In a medium saucepan, combine the heavy cream, whole milk, and salt. Heat the mixture over medium heat until it’s hot, but not boiling—just enough to dissolve the sugar if you’re using it. If you’re using egg yolks, slowly pour a little of the hot milk mixture into the yolk-sugar mixture to temper it (this keeps the eggs from curdling). Then slowly whisk the egg mixture back into the saucepan.
Step 3: Cook the Custard
Continue to cook the mixture over low heat, stirring constantly, until it thickens slightly and coats the back of a spoon. This usually takes about 5-8 minutes. Be careful not to let it boil, as it could curdle the eggs.
Step 4: Cool and Flavor the Ice Cream
Once the custard has thickened, remove it from the heat and stir in the vanilla extract. Let the mixture cool to room temperature. If you’re not using eggs, you can skip this step and just combine the milk, cream, sugar, and vanilla extract straight away.
Step 5: Chill
Once cooled, cover the mixture and refrigerate it for at least 2 hours (or overnight, if possible). Chilling the base helps it freeze better and results in smoother ice cream.
Step 6: Churn (or Stir)
If you have an ice cream maker, follow the manufacturer’s instructions for churning. Typically, this will take around 20-25 minutes. If you don’t have an ice cream maker, no worries! Simply pour the chilled mixture into a shallow dish and place it in the freezer. Every 30-45 minutes, take it out and stir vigorously with a fork to break up the ice crystals. Continue this process for about 2-3 hours until the ice cream reaches the desired consistency.
Step 7: Freeze
Once the ice cream has reached a soft-serve consistency, transfer it to an airtight container and freeze for at least 4 hours or overnight to firm up.
Step 8: Serve and Enjoy!
Scoop into bowls or cones and enjoy your homemade vanilla ice cream. You can top it with chocolate syrup, sprinkles, or fresh fruit for an extra special treat!
Nutrition Facts
Servings: 8
Calories per serving: 200
Total Fat: 13g
Saturated Fat: 8g
Cholesterol: 80mg
Sodium: 30mg
Total Carbohydrates: 20g
Dietary Fiber: 0g
Sugars: 20g
Protein: 2g
Vitamin A: 15%
Vitamin C: 0%
Calcium: 6%
Iron: 0%
Preparation Time
Prep Time: 15 minutes
Cook Time: 10 minutes
Total Time: 25 minutes (plus chilling and freezing time)
How to Serve Classic Vanilla Ice Cream
While this vanilla ice cream is perfect all on its own, there are so many ways to elevate it:
- Hot Fudge Sundae: Top with warm hot fudge, whipped cream, and a cherry for a classic sundae.
- Fruit Toppings: Fresh berries, roasted peaches, or even sliced bananas are wonderful additions.
- Crushed Cookies: Crushed Oreos, graham crackers, or your favorite cookie can be mixed in or used as a topping.
- Ice Cream Sandwiches: Scoop the ice cream between two soft cookies for a fun twist.
- With Pie or Cake: Serve a scoop alongside a warm slice of apple pie or chocolate cake for a delicious dessert pairing.
Additional Tips
- Quality Vanilla: The vanilla flavor is the star of this recipe, so use the best-quality vanilla extract you can find. You can even scrape the seeds from a vanilla bean for an even more indulgent flavor.
- No Ice Cream Maker? No problem! Just stir the mixture every 30 minutes as it freezes to create a smoother, creamier texture.
- Make It Dairy-Free: You can substitute the heavy cream and milk with coconut milk or almond milk to make this a dairy-free treat.
- Storage Tips: Store the ice cream in an airtight container in the freezer. For the best texture, let it sit at room temperature for a few minutes before scooping.
FAQ Section
Q1: Can I use vanilla bean instead of extract?
A1: Yes! You can use the seeds of a vanilla bean for a more authentic and rich vanilla flavor. Just scrape the seeds into the milk-cream mixture for a beautifully aromatic ice cream.
Q2: How do I make this ice cream without an ice cream maker?
A2: Simply freeze the mixture in a shallow dish and stir it every 30-45 minutes until it reaches your desired consistency.
Q3: Can I make this ice cream ahead of time?
A3: Absolutely! It’s perfect for making ahead. Just store the ice cream in an airtight container in the freezer, and it’ll last for up to 2 weeks.
Q4: Can I add mix-ins like chocolate chips?
A4: Yes, definitely! Once your ice cream has churned or partially frozen, you can fold in chocolate chips, crushed cookies, or even chopped fruit.
Q5: How do I store leftover ice cream?
A5: Store the ice cream in an airtight container in the freezer. Let it sit at room temperature for a few minutes before scooping to make it easier to serve.
Q6: Can I make this ice cream without eggs?
A6: Yes! You can skip the eggs for a simpler version of vanilla ice cream. Just mix the cream, milk, sugar, and vanilla extract together and proceed with the recipe.
Q7: Can I use skim milk instead of whole milk?
A7: While whole milk adds richness, you can use skim milk, though the texture may be slightly less creamy.
Q8: Can I add flavorings to the vanilla ice cream?
A8: Absolutely! You can add other flavorings like cinnamon, almond extract, or even cocoa powder to create variations of vanilla ice cream.
Q9: How do I make this recipe dairy-free?
A9: Use coconut milk or almond milk instead of dairy milk and heavy cream for a dairy-free version of this ice cream.
Q10: What’s the best way to serve this ice cream?
A10: Serve it in a bowl or cone, and don’t forget to add your favorite toppings like sprinkles, fruit, or hot fudge sauce for a treat everyone will love!
Conclusion
Homemade classic vanilla ice cream is pure comfort in a bowl. It’s simple, creamy, and the perfect treat to enjoy anytime, whether on its own or paired with your favorite desserts. Once you try this recipe, you’ll never look at store-bought ice cream the same way again. So grab those ingredients, make this dreamy vanilla ice cream, and treat yourself to something truly special!
Print
Classic Vanilla Ice Cream
- Total Time: 35 minutes
- Yield: 4-6 servings
Description
This Classic Vanilla Ice Cream recipe is a timeless treat that’s creamy, smooth, and perfectly sweet. Made with simple ingredients, it’s the ultimate indulgence for summer or any time of year. Homemade ice cream is a classic favorite, and this one is sure to be a crowd-pleaser!
Ingredients
- 2 cups heavy cream
- 1 cup whole milk
- 3/4 cup granulated sugar
- 1 tablespoon pure vanilla extract
- 5 large egg yolks
- Pinch of salt
Instructions
- In a medium saucepan, combine the heavy cream, whole milk, and sugar. Heat over medium heat, stirring occasionally, until the sugar has dissolved and the mixture is hot but not boiling. Remove from heat.
- In a separate bowl, whisk the egg yolks and salt together until smooth.
- Gradually pour about 1/2 cup of the hot cream mixture into the egg yolks, whisking constantly to temper the eggs.
- Slowly pour the egg yolk mixture back into the saucepan with the rest of the cream mixture, whisking continuously.
- Return the saucepan to the stove over medium-low heat and cook, stirring constantly, until the mixture thickens slightly and coats the back of a spoon (about 170°F/77°C).
- Remove from heat and stir in the vanilla extract.
- Pour the custard through a fine mesh strainer into a clean bowl to remove any curdled bits.
- Allow the custard to cool to room temperature, then refrigerate for at least 4 hours or overnight.
- Once the mixture is chilled, pour it into an ice cream maker and follow the manufacturer’s instructions.
- Once the ice cream reaches the desired consistency, transfer it to a container and freeze for at least 4 hours before serving.
- Scoop and enjoy your homemade vanilla ice cream!
Notes
- For extra flavor, you can add a split vanilla bean to the cream mixture instead of using vanilla extract. Be sure to remove the bean before pouring the mixture through the strainer.
- If you don’t have an ice cream maker, you can freeze the mixture in a shallow dish, stirring every 30 minutes to break up ice crystals until the ice cream is firm and creamy.
- This recipe can be customized by adding mix-ins like chocolate chips, crushed cookies, or fresh fruit.
- Prep Time: 20 minutes
- Cook Time: 15 minutes
- Category: Dessert
- Method: Freezing
- Cuisine: American
Nutrition
- Serving Size: 1/6 of the recipe (about 1/2 cup)
- Calories: 250 kcal
- Sugar: 22g
- Sodium: 40mg
- Fat: 18g
- Saturated Fat: 11g
- Unsaturated Fat: 15g
- Trans Fat: 0 g
- Carbohydrates: 22g
- Fiber: 0g
- Protein: 4g
- Cholesterol: 120mg


