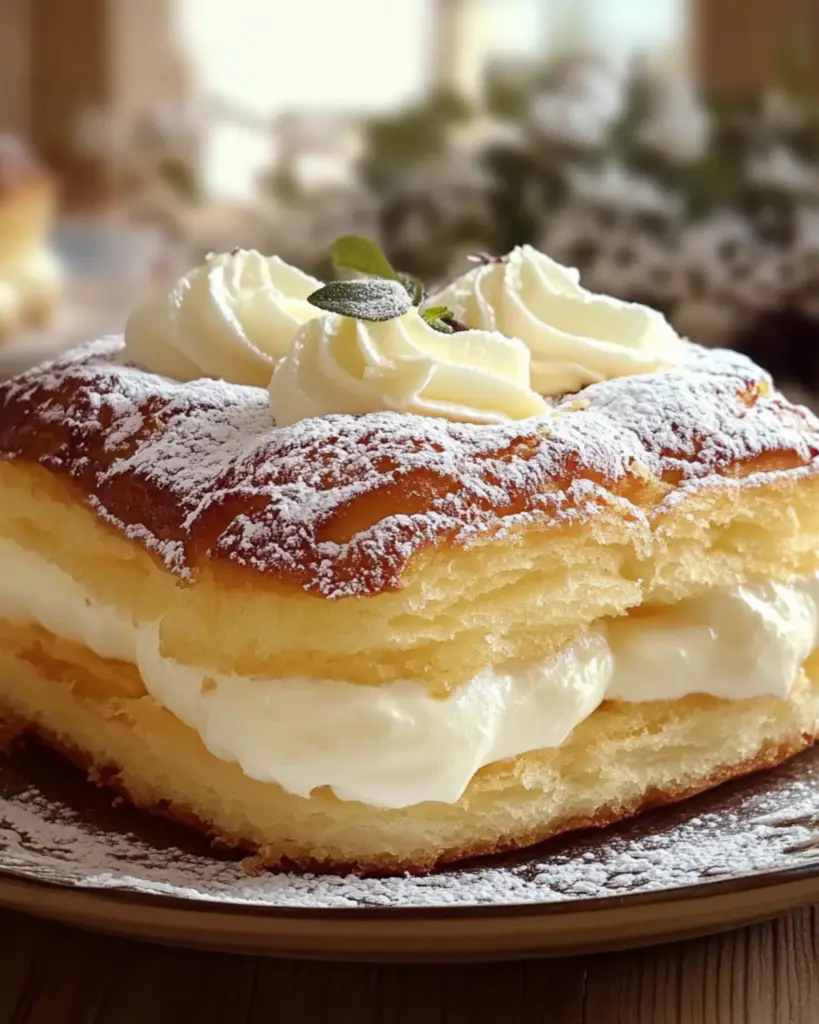
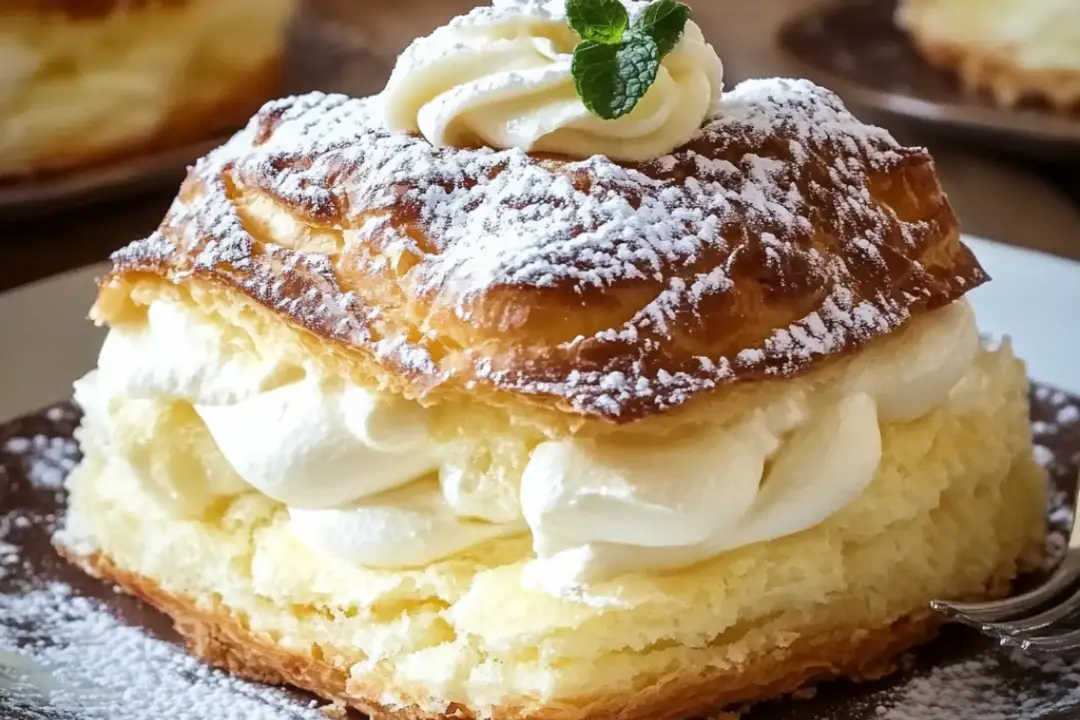
Oh, you’re in for a treat with this Cream Puff Cake! It’s one of those desserts that looks fancy but is incredibly simple to make, and every bite is pure bliss. Imagine the soft, buttery layers of a cream puff—light, airy, and indulgent—combined into one big, shareable cake. It’s like a bite-sized version of your favorite cream puff, but in cake form! The best part? It’s super easy to prepare, and I guarantee you’ll get compliments every time you serve it. Trust me, your taste buds will thank you for this one.
Why You’ll Love Cream Puff Cake
This recipe is a total crowd-pleaser, perfect for any occasion, whether you’re celebrating something special or just satisfying your sweet tooth. Here’s why it’s worth making:
Showstopper Dessert
The beauty of this cake is in its simplicity and elegance. It’s the kind of dessert that looks impressive when you serve it, but without the hours of work that often go into fancy cakes. You’ll be the star of the kitchen with this one!
Layers of Flavor
The cake has three dreamy layers: a soft, buttery base, a smooth custard-like cream filling, and a light, golden top. Each bite is perfectly balanced with sweetness, creaminess, and a little crunch, making it completely irresistible.
Easy to Make
You don’t need to be a pastry chef to pull off this dessert! With just a few basic ingredients and simple steps, you’ll be able to make a dessert that looks and tastes like it came from a high-end bakery.
Make-Ahead Magic
This cake actually gets better the longer it sits! Make it the day before your event, and let the flavors meld together. It’s a perfect make-ahead dessert that will save you time and stress on the day of.
Crowd-Pleasing
Everyone loves a good dessert, and this cake is no exception. Whether it’s for a family dinner, a birthday, or a potluck, Cream Puff Cake is guaranteed to be a hit. Plus, it’s great for all ages!

Disclosure: This post contains affiliate links.If you click and make a purchase, I may earn a small commission at no extra cost to you.
Ingredients
These ingredients come together to create a dessert that’s as rich and flavorful as it is easy to prepare. Here’s what you’ll need:
For the Cake Base:
- Butter: This is the secret to that melt-in-your-mouth softness.
- Water: To help bring everything together and create the base for the dough.
- Flour: The main structure of the cake base, giving it that perfect texture.
- Eggs: To help bind everything together and provide structure.
- Salt: Just a pinch to bring out the flavors.
For the Cream Filling:
- Instant Vanilla Pudding Mix: This creates the creamy, custard-like texture of the filling.
- Milk: To prepare the pudding mix and make it extra creamy.
- Cool Whip: This lightens up the pudding and gives it that smooth, airy texture.
- Vanilla Extract: For a rich, warm flavor.
For the Topping:
- Powdered Sugar: A light dusting of powdered sugar adds a touch of sweetness to the top.
(Note: Full ingredient measurements are included in the recipe card above!)
Instructions
Now, let’s walk through how to create this showstopper dessert:
Step 1: Prepare the Cake Base
Preheat your oven to 350°F (175°C) and grease a 9×13-inch baking pan. In a medium saucepan, melt 1 cup of butter with 1 cup of water over medium heat. Once melted and combined, remove from heat. Add 1 cup of flour and a pinch of salt, stirring until smooth and thickened. Let it cool for a few minutes.
Step 2: Add Eggs to the Dough
Once the mixture has cooled slightly, beat in 4 eggs, one at a time, until the dough becomes smooth and glossy. It will be thick and sticky. Spread this dough evenly in your prepared baking pan.
Step 3: Bake the Cake Base
Bake the dough in the preheated oven for 25-30 minutes, or until it turns golden brown and has puffed up. Let it cool completely on a wire rack.
Step 4: Prepare the Cream Filling
In a large bowl, whisk together the instant vanilla pudding mix and 2 cups of milk. Let it sit for a couple of minutes to thicken. Once thickened, gently fold in 8 ounces of Cool Whip and 1 teaspoon of vanilla extract. This will create a light and creamy filling.
Step 5: Assemble the Cake
Once the cake base has cooled completely, spread the cream filling evenly over the top of the cake. Use a spatula to smooth it out into an even layer.
Step 6: Add the Finishing Touch
Dust the top of the cake with a light layer of powdered sugar for a beautiful finish. You can also refrigerate the cake for a couple of hours to let everything set, but it’s just as delicious if you dive in right away!
Step 7: Serve and Enjoy!
Slice up this beautiful dessert and serve! It’s light, creamy, and the perfect balance of sweet and rich. Prepare to be wowed!
Nutrition Facts
Servings: 12
Calories per serving: 250
Total Fat: 15g
Saturated Fat: 9g
Cholesterol: 65mg
Sodium: 120mg
Carbohydrates: 27g
Fiber: 1g
Sugar: 14g
Protein: 2g
Preparation Time
Prep Time: 15 minutes
Cook Time: 25 minutes
Total Time: 40 minutes (plus cooling time)
How to Serve Cream Puff Cake
This cake is delicious on its own, but here are a few ideas to elevate your dessert experience:
With Fresh Berries
Top each slice of cake with fresh strawberries, raspberries, or blueberries for a burst of color and flavor. The slight tartness of the berries will balance out the sweetness of the cake.
With Whipped Cream
For extra creaminess, serve each slice with a dollop of homemade whipped cream. It’s like a dessert within a dessert!
As Part of a Dessert Spread
Serve this cake alongside other desserts, such as brownies, cookies, or fruit tarts, for a delicious dessert table at a party or gathering.
With a Hot Beverage
Pair this creamy dessert with a cup of coffee or hot chocolate. The warm drink complements the cool, creamy filling of the cake perfectly.
Additional Tips
Make It Ahead of Time
Cream Puff Cake actually tastes even better after it sits in the fridge for a few hours or overnight. The flavors meld together, and the texture becomes even more dreamy!
Store Leftovers Properly
Store leftovers in an airtight container in the fridge. It will keep for up to 3-4 days. Just make sure to keep it covered to maintain its freshness.
Customizing the Topping
If you want to get a little creative, you can sprinkle the top with chopped nuts (like almonds or pecans) or drizzle with a bit of chocolate sauce for an added twist.
Make a Gluten-Free Version
For a gluten-free version, use a gluten-free all-purpose flour blend. The rest of the ingredients remain the same!
FAQ Section
Q1: Can I make this dessert ahead of time?
A1: Yes! In fact, it’s a great make-ahead dessert. Prepare it the night before, refrigerate, and it will be ready to serve the next day.
Q2: How long does this cake last?
A2: It will stay fresh in the fridge for up to 3-4 days. Just cover it tightly to keep it fresh.
Q3: Can I use a different flavor of pudding mix?
A3: Absolutely! Chocolate pudding or butterscotch pudding would make delicious alternatives to vanilla.
Q4: Can I make this cake without Cool Whip?
A4: Yes, you can substitute with homemade whipped cream if you prefer. Just make sure it’s whipped to stiff peaks before folding it into the pudding mixture.
Q5: Can I freeze this cake?
A5: While the cake is best served fresh, you can freeze the baked base (before adding the cream filling) for up to a month. Just let it cool completely, wrap tightly in plastic wrap, and freeze. Then, prepare the filling and assemble when ready to serve.
Q6: Can I make a smaller version of this cake?
A6: Yes! You can halve the recipe and bake it in an 8×8-inch pan for a smaller version of the cake.
Q7: Can I add a layer of fruit to the filling?
A7: Absolutely! Fresh fruit like sliced bananas, strawberries, or blueberries would make a great addition to the cream filling.
Q8: What’s the best way to cut this cake?
A8: Use a serrated knife to cut clean slices through the cake. It helps prevent the cream from spilling out.
Q9: Can I add chocolate chips to the cream filling?
A9: Sure! If you love chocolate, add a handful of mini chocolate chips to the cream filling for a little extra indulgence.
Q10: How do I make this cake look more elegant?
A10: For a more polished look, pipe the cream filling onto the cake with a piping bag instead of spreading it. You can also decorate with fresh fruit or edible flowers for an extra touch of elegance.
Conclusion
Cream Puff Cake is the dessert that will make everyone’s eyes light up. With its flaky, buttery base, creamy filling, and elegant finish, it’s perfect for any occasion. Whether you’re serving it at a party or enjoying it with your family, this dessert will never disappoint. So, what are you waiting for? Grab your ingredients, whip up this beauty, and prepare to be the dessert hero!
Print
Cream Puff Cake
- Total Time: 0 hours
- Yield: 12-16 servings
- Diet: Vegetarian
Description
This Cream Puff Cake is an easy, crowd-pleasing dessert that mimics the flavors of classic cream puffs but with less effort! A buttery, light cake base topped with a rich custard and finished with a layer of decadent chocolate glaze, this dessert will quickly become a favorite for family gatherings, holiday parties, or just a sweet treat. It’s indulgent, satisfying, and surprisingly simple to make!
Ingredients
- For the cake:
- 1 cup water
- ½ cup unsalted butter
- 1 cup all-purpose flour
- 4 large eggs
- 1 teaspoon vanilla extract
- For the custard filling:
- 1 package (3.4 oz) instant vanilla pudding mix
- 2 cups cold milk
- 1 cup heavy cream
- 1 teaspoon vanilla extract
- For the chocolate glaze:
- 1 cup semi-sweet chocolate chips
- ¼ cup heavy cream
Instructions
- Prepare the cake base:
Preheat the oven to 400°F (200°C). Grease a 9×13-inch baking pan and set aside.
In a medium saucepan, bring 1 cup of water and ½ cup butter to a boil over medium-high heat. Stir in the flour and cook, stirring constantly, until the mixture forms a ball, about 2-3 minutes. - Remove from heat and let cool for 5 minutes. Once cooled slightly, add the eggs one at a time, mixing well after each addition. Stir in the vanilla extract.
- Spread the dough into the prepared pan and smooth the top. Bake for 30-35 minutes, or until the dough is golden brown and puffy. Remove from the oven and allow to cool completely in the pan.
- Make the custard filling:
In a medium bowl, whisk together the instant pudding mix and cold milk until smooth. Set aside.
In another bowl, whip the heavy cream and vanilla extract until soft peaks form. Gently fold the whipped cream into the pudding mixture until combined and smooth. - Assemble the cake:
Once the cake base has completely cooled, spread the custard filling evenly over the top. - Prepare the chocolate glaze:
In a small saucepan, heat the heavy cream over medium heat until it begins to simmer. Remove from heat and stir in the chocolate chips until smooth and glossy. - Drizzle the chocolate glaze over the custard layer, spreading it gently with a spatula to cover the surface evenly.
- Refrigerate the cake for at least 2 hours before serving to allow the layers to set.
- Slice and enjoy this creamy, indulgent dessert!
Notes
- For a smoother custard, make sure to fold the whipped cream gently into the pudding mixture to avoid deflating it.
- You can use milk chocolate instead of semi-sweet chocolate for a sweeter glaze.
- If you prefer a less sweet version, you can reduce the amount of sugar in the pudding mix or use a sugar-free instant pudding mix.
- This dessert is best served chilled and will keep in the refrigerator for 2-3 days.
- Prep Time: 20 minutes
- Cook Time: 35-40 minutes
- Category: Dessert
- Method: Baking
- Cuisine: American
Nutrition
- Serving Size: 1 slice
- Calories: 350 kcal
- Sugar: 26g
- Sodium: 170mg
- Fat: 22g
- Saturated Fat: 12g
- Unsaturated Fat: 8g
- Trans Fat: 0g
- Carbohydrates: 33g
- Fiber: 1g
- Protein: 4 g
- Cholesterol: 85mg


[…] this Cream Puff Cake is more than just baking; it’s about sharing moments of joy with loved ones. The laughter around […]