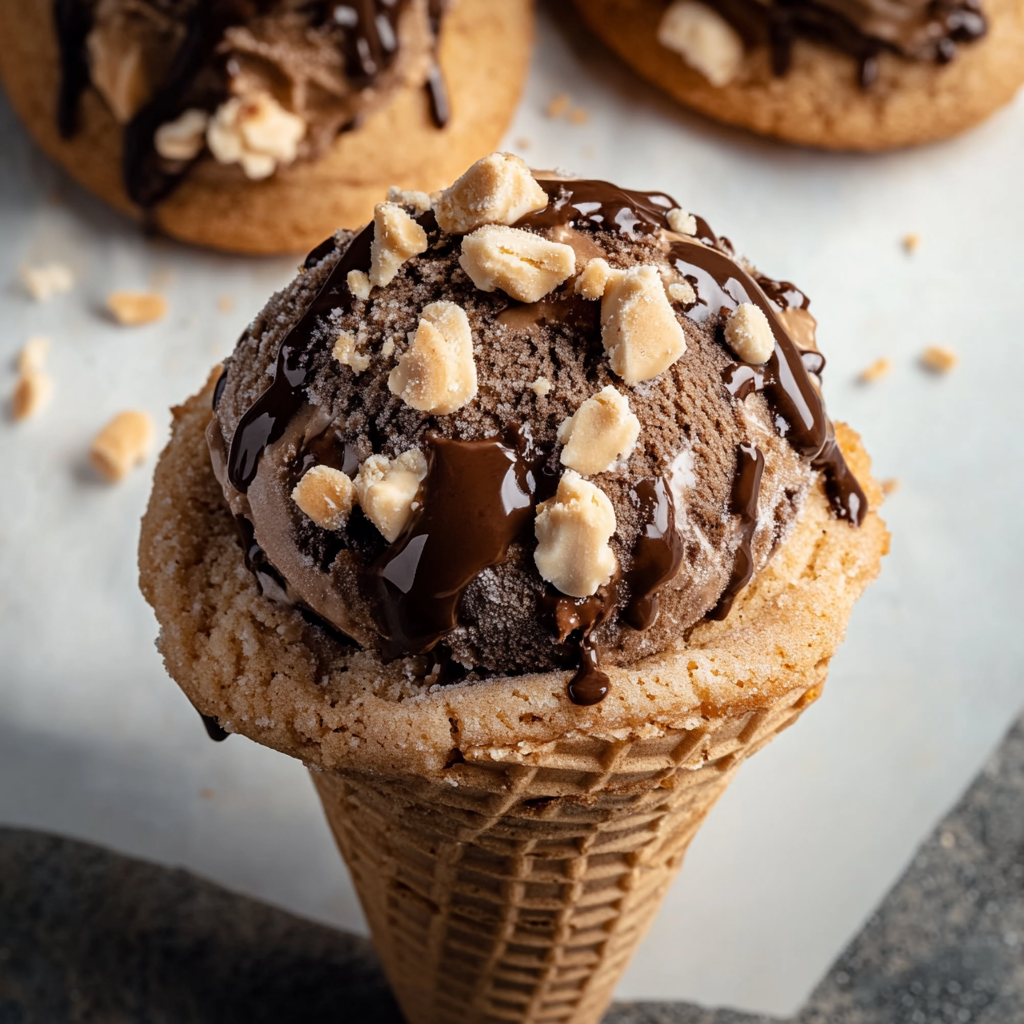
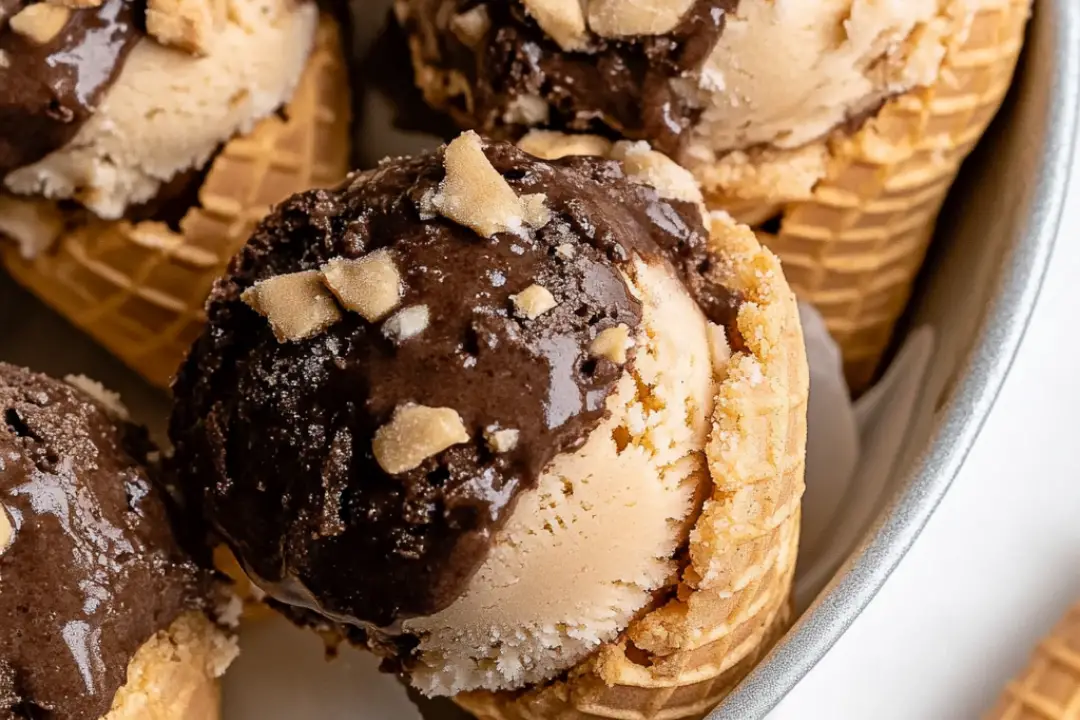
A Sweet, Nostalgic Treat That’s Perfect for Any Occasion!
If you’ve ever had a Drumstick ice cream cone, you know exactly what I’m talking about when I say these Drumstick Ice Cream Cone Cookies are a total game-changer. Imagine combining the crispy cone, creamy ice cream, and that irresistible chocolate coating into one easy-to-make cookie—because that’s exactly what this fun treat delivers. These cookies are like a mini party in your mouth, with each bite giving you a delightful crunch and creamy sweetness.
Whether you’re craving something fun to bake with the kids or looking for an eye-catching dessert to bring to a party, these cookies will definitely steal the show. The combination of the crunchy ice cream cone, chewy cookie, and chocolate topping will have everyone asking for seconds (and the recipe, of course). Trust me, this one’s a keeper!
Why You’ll Love Drumstick Ice Cream Cone Cookies
Nostalgic Flavor: These cookies remind you of that classic ice cream cone you used to love as a kid, with a fun twist. It’s like eating an ice cream cone but in cookie form!
Easy to Make: You don’t need to be a pro baker to whip these up. With just a few simple steps, you can make these cookies with minimal effort and maximum flavor.
Customizable: Want to get creative? You can mix in different kinds of chocolate, add sprinkles, or even swap out the cone for something like waffle cones to give them your personal touch.
Perfect for Any Occasion: Whether it’s a summer picnic, birthday party, or just because you’re craving something sweet, these cookies are always the right choice. They’ll impress both kids and adults alike!
Deliciously Fun: The cookie and cone combo is a texture lover’s dream. You get that crunchy, creamy, and chewy bite in each mouthful. It’s the best of both worlds!

Disclosure: This post contains affiliate links.If you click and make a purchase, I may earn a small commission at no extra cost to you.
Ingredients in Drumstick Ice Cream Cone Cookies
These cookies are a delightful blend of crunchy, chewy, and sweet—and the ingredients are just as simple. Here’s what you’ll need to make these little treats:
Ice Cream Cones
Mini ice cream cones are key to the “drumstick” vibe of these cookies. They add the perfect crunch and help hold everything together.
Sugar Cookie Dough
The base of this treat is a soft, chewy sugar cookie dough that you can easily make at home or purchase pre-made. Either way, it’s the perfect complement to the crunchy cone.
Chocolate
We’re using both milk and dark chocolate for the topping. The rich chocolate coating will harden as it cools, creating that signature Drumstick crunch.
Sprinkles
Colorful sprinkles add a festive touch and bring some fun and extra texture to the cookies. Feel free to use rainbow sprinkles or any type that you love.
(Note: the full ingredients list, including measurements, is provided in the recipe card directly below.)
Instructions
Preheat Your Oven
Preheat your oven to 350°F (175°C). This ensures your cookies bake evenly and get that golden, crispy edge we all love.
Prepare the Ice Cream Cones
Place your mini ice cream cones on a baking sheet lined with parchment paper. They’ll act as the “cone” base for the cookies, so make sure they’re standing upright.
Make the Cookie Dough
If you’re using store-bought sugar cookie dough, break off small pieces and flatten them. If you’re making your own dough, mix your dry ingredients into the wet ingredients and chill the dough for about 30 minutes before shaping.
Shape the Cookies
Take small spoonfuls of dough and wrap them around the top of each ice cream cone. The dough should cover the top portion of the cone, leaving the tip exposed. Make sure the dough is evenly distributed, so each cookie has a nice, even shape.
Bake the Cookies
Bake the cones for 10-12 minutes, or until the cookie dough is lightly golden. The dough will puff up slightly, but the bottom of the cones should still stay crisp. Let the cookies cool for a few minutes on the baking sheet.
Melt the Chocolate
While the cookies are cooling, melt the chocolate in a heatproof bowl over simmering water or in the microwave in 30-second intervals. Stir until it’s smooth and completely melted.
Dip in Chocolate
Once the cookies have cooled slightly, dip the tops of the cookie cones into the melted chocolate. Let the excess chocolate drip off before placing them back on the parchment paper.
Add Sprinkles
Before the chocolate hardens, quickly sprinkle your colorful sprinkles over the chocolate-dipped portion. This adds a burst of color and a little extra sweetness.
Cool and Set
Allow the cookies to cool completely on the parchment paper so the chocolate hardens and sets.
Serve and Enjoy!
Once the chocolate is set, you’re ready to serve these adorable treats! Enjoy them with a glass of milk or simply as a fun dessert for any occasion.
Nutrition Facts
Servings: 12
Calories per serving: 180
Preparation Time
Prep Time: 20 minutes
Cook Time: 12 minutes
Total Time: 40 minutes
How to Serve Drumstick Ice Cream Cone Cookies
- Pair with Ice Cream: Since these cookies are inspired by an ice cream cone, why not serve them with a scoop of your favorite ice cream on the side?
- Serve as a Fun Dessert for Parties: These cookies are perfect for birthdays, holidays, or any celebration. They’re sure to be a hit with both kids and adults.
- Add Some Whipped Cream: Top them with a little whipped cream for an extra indulgent treat!
Additional Tips
- Use Mini Cones: Mini cones are the best option for this recipe, as they’re the perfect size for individual servings. Plus, they’ll bake more evenly.
- Make Ahead: These cookies can be made ahead of time and stored in an airtight container. Just dip them in chocolate and add the sprinkles when you’re ready to serve.
- Customize with Different Chocolate: Feel free to experiment with white chocolate, dark chocolate, or even peanut butter chips for a different flavor.
- Add Nuts: If you’re a fan of nuts, chopped almonds or peanuts make a great addition to the chocolate topping.
FAQ Section
Q1: Can I use regular-sized ice cream cones?
A1: Yes, but mini cones are the best size for these cookies. Regular cones might be too large for the amount of dough you’ll need.
Q2: Can I use store-bought cookie dough?
A2: Absolutely! Store-bought sugar cookie dough works just as well if you’re short on time.
Q3: How can I store these cookies?
A3: Store the cookies in an airtight container at room temperature for up to 5 days. The chocolate may soften slightly, but they’ll still be delicious.
Q4: Can I freeze these cookies?
A4: Yes! These cookies freeze well. After they’ve completely cooled and the chocolate has set, freeze them in an airtight container for up to 2 months.
Q5: Can I use a different type of chocolate?
A5: Definitely! You can use milk chocolate, dark chocolate, or even white chocolate depending on your preference.
Q6: How do I prevent the cones from tipping over while baking?
A6: To keep the cones upright, you can bake them in a muffin tin or create little dough “stands” to stabilize them while baking.
Q7: How do I make sure the chocolate coating stays shiny?
A7: Make sure the chocolate is fully melted and smooth before dipping. Let the cookies cool completely so the chocolate can harden properly.
Q8: Can I add other toppings to the chocolate?
A8: Yes! You can add chopped nuts, crushed candy, or even a drizzle of caramel or fudge to the chocolate for extra flair.
Q9: How do I melt the chocolate properly?
A9: Melt the chocolate gently in a microwave-safe bowl, stirring every 30 seconds to prevent burning. Alternatively, melt it over a double boiler for a smooth, even melt.
Q10: Can I make these without the cones?
A10: While the cones add a unique texture and fun presentation, you could substitute them with mini cupcake liners or just shape the dough into cookies without the cones.
In Conclusion
Drumstick Ice Cream Cone Cookies are the perfect balance of sweet, crunchy, and fun. Whether you’re making them for a party, a special treat, or just to enjoy with the family, these cookies are a nostalgic nod to everyone’s favorite ice cream cone—turned into a delightful dessert. Enjoy the process, and even more so, enjoy every bite!
Print


