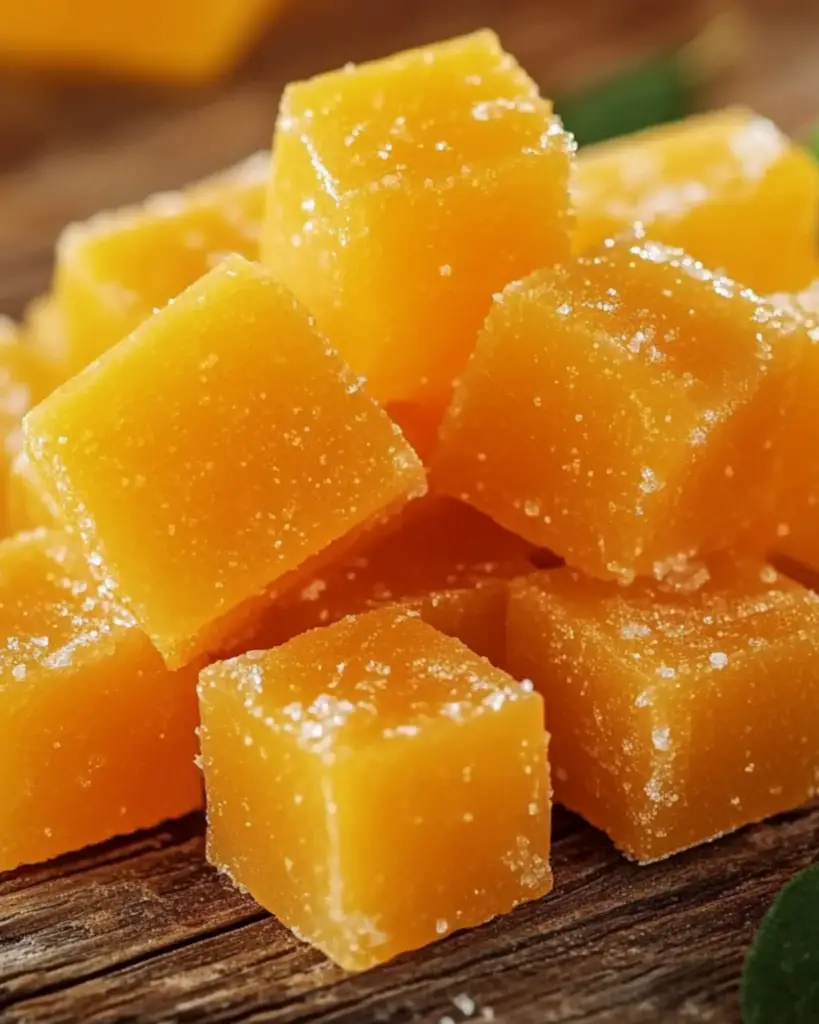
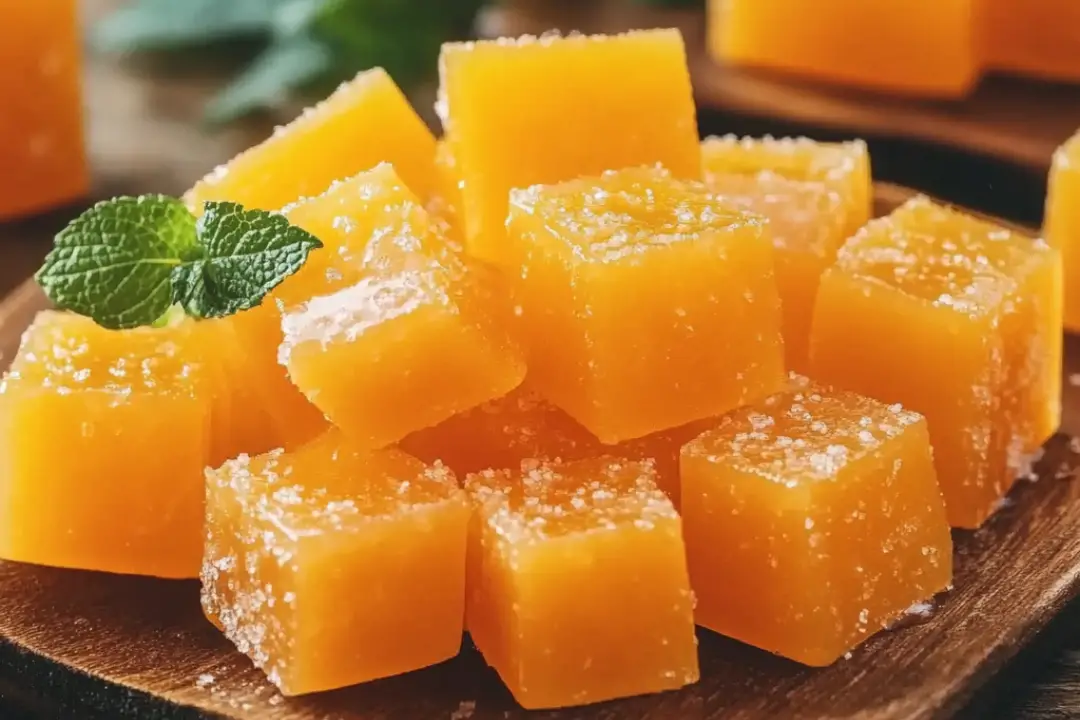
If you’re a fan of simple, irresistible treats, then Easy 3-Ingredient Orange Candy is going to become your new go-to recipe! Imagine the perfect balance of sweet and tangy orange flavor wrapped in a smooth, creamy coating. This candy is so easy to make, yet the result is absolutely delicious. It’s like a little bite of sunshine that will brighten up your day and satisfy that sweet craving in no time. Trust me, you’re going to love how effortlessly this candy comes together!
Why You’ll Love Easy 3-Ingredient Orange Candy
- Quick and Simple: With just three ingredients, you can make a batch of these citrusy candies in no time! No complicated steps or special equipment—just a few minutes of mixing and a little chilling.
- Perfectly Sweet and Tangy: The orange flavor is the star of the show, giving the candy a refreshing citrus burst that’s perfectly balanced with the smooth sweetness of the chocolate coating.
- Customizable: If you like your candy extra tangy, add a little more orange zest! You can also dip these in dark or milk chocolate depending on your preference.
- Great for Gifts: Pack them in cute jars or boxes, and you have a wonderful homemade gift that’s as thoughtful as it is tasty!

Disclosure: This post contains affiliate links.If you click and make a purchase, I may earn a small commission at no extra cost to you.
Ingredients
Let’s keep it simple—these are the only ingredients you need to create these delicious orange treats:
- Orange Candy Flavoring: You can use orange extract or orange zest for that perfect citrusy kick.
- White Chocolate Chips: This smooth, sweet base pairs perfectly with the orange flavor.
- Heavy Cream: This helps to create a silky, creamy filling that melts in your mouth.
(Note: The full ingredient list, including measurements, is provided in the recipe card directly below.)
Instructions
Here’s how to make this zesty candy, step by step:
1. Prepare the Orange Filling:
In a small saucepan over low heat, combine the white chocolate chips and heavy cream. Stir gently until the chocolate is fully melted and the mixture is smooth.
2. Add the Orange Flavor:
Once your chocolate and cream mixture is silky and smooth, stir in a few drops of orange extract or some freshly grated orange zest, depending on what you prefer. Adjust the flavor to your liking—more zest for extra tang, or more extract for a more intense orange flavor.
3. Chill the Mixture:
Pour the mixture into a shallow dish or a lined baking sheet. Place it in the refrigerator to chill for about 1-2 hours, or until the filling is firm enough to handle.
4. Shape the Candy:
Once the filling is set, use a spoon or your hands to shape the mixture into small balls or disks, depending on the look you’re going for. Roll them gently to ensure they’re smooth and uniform.
5. Coat with Chocolate:
Melt more white chocolate or dark chocolate chips in the microwave, stirring every 20 seconds until fully melted. Dip each orange filling into the melted chocolate, coating it completely. Place each piece on a parchment-lined tray to set.
6. Let Them Set:
Allow the chocolate to cool and harden completely. You can speed up this process by putting the tray back in the refrigerator for about 30 minutes.
7. Serve & Enjoy:
Once the chocolate is set, your orange candy is ready to enjoy! Store them in an airtight container at room temperature or in the fridge for a firmer texture.
Nutrition Facts
(Per piece)
Calories per piece: 90
Total Fat: 6g
Saturated Fat: 3g
Cholesterol: 10mg
Sodium: 5mg
Total Carbohydrates: 10g
Dietary Fiber: 0g
Sugars: 9g
Protein: 1g
Preparation Time
Prep Time: 10 minutes
Chill Time: 1-2 hours
Total Time: 1 hour 10 minutes
How to Serve Easy 3-Ingredient Orange Candy
- Gift Idea: Pack them up in small jars or cute boxes with a ribbon for a thoughtful homemade gift. Perfect for holidays or birthdays!
- Party Treats: These candies make a fun addition to any party, especially if you want to offer something unique and homemade.
- Sweet Snack: Enjoy them with your afternoon tea, coffee, or a glass of milk. They make for a delightful little treat anytime!
Additional Tips
- Add Some Crunch: If you like texture in your candies, feel free to mix in crushed nuts like almonds or pistachios for a nice crunch.
- Different Coatings: While white chocolate is perfect for these, you can also experiment with dark chocolate or milk chocolate for a different flavor profile.
- Store in the Fridge: Keep your candies in the fridge for a firmer texture or store at room temperature if you prefer a softer consistency.
- Make Them Colorful: If you want to give them a colorful twist, add orange food coloring to the filling before chilling.
FAQ Section
Q1: Can I use milk chocolate instead of white chocolate?
A1: Yes, you can! Milk chocolate will give your candy a sweeter, richer flavor. You can also use dark chocolate if you prefer a more bittersweet taste.
Q2: Can I use fresh orange juice instead of extract or zest?
A2: Fresh orange juice may be too liquid and could change the consistency of the filling. Stick with orange extract or zest for the best results.
Q3: How long will these candies last?
A3: Store them in an airtight container, and they’ll last for about a week at room temperature or up to 2 weeks in the fridge.
Q4: Can I freeze these candies?
A4: Yes! These candies freeze well. Just place them in an airtight container or freezer bag, and they’ll stay good for up to a month. Thaw before serving.
Q5: Can I add a different flavor instead of orange?
A5: Absolutely! You can substitute orange extract with lemon, lime, or even raspberry extract for a fruity twist.
Q6: How can I make these candies more flavorful?
A6: If you want more intense orange flavor, try adding more zest or a little extra extract. You can also incorporate a pinch of sea salt to enhance the flavor.
Q7: Can I shape these into something other than balls or disks?
A7: Yes, you can! You can mold the candy into fun shapes using silicone molds or just shape them into squares or logs for a different look.
Q8: Can I use regular chocolate chips instead of white chocolate?
A8: Yes, you can! Regular chocolate chips will give a richer, more intense flavor, but the texture might be slightly different.
Q9: How do I make these candies firmer?
A9: If you prefer a firmer texture, keep the candies refrigerated. The white chocolate filling will firm up as it cools.
Q10: Can I use store-bought orange-flavored candy coating?
A10: Yes, you can! Just melt it and coat the candies as you would with chocolate for an easier option.
Conclusion
These Easy 3-Ingredient Orange Candies are the perfect treat when you want something quick, simple, and bursting with flavor. The combination of orange and chocolate is always a winner, and with just a few ingredients, you can whip up a batch that looks and tastes like you spent hours making them. Whether you’re making them for yourself, a gift, or a party, these little bites of sunshine will always be a hit!
Print
Easy 3-Ingredient Orange Candy
- Total Time: 15 minutes
- Yield: 8-10 pieces (depending on mold size)
Description
This Easy 3-Ingredient Orange Candy is a simple, yet incredibly flavorful treat. With just three ingredients—orange, sugar, and butter—you can create a tangy, sweet candy that’s perfect for gifting or enjoying as a homemade snack. It’s the perfect combination of citrusy goodness and sweetness, making it a fun and easy candy recipe for any occasion.
Ingredients
- 1 large orange (zest and juice)
- 1/2 cup granulated sugar
- 1 tablespoon unsalted butter
Instructions
- Prepare the orange: Zest the orange and set the zest aside. Then, juice the orange to extract the juice and set that aside as well.
- Cook the mixture: In a small saucepan, combine the orange juice, sugar, and butter. Heat the mixture over medium heat, stirring constantly until the sugar has dissolved and the butter has melted.
- Reduce the mixture: Once the sugar has dissolved, bring the mixture to a gentle boil and allow it to simmer for about 5-7 minutes, or until it thickens slightly and becomes syrupy. Stir in the orange zest during the last minute of simmering.
- Form the candy: Remove the saucepan from the heat. Carefully pour the mixture into small silicone molds, a candy mold, or onto a parchment-lined baking sheet. Let it cool for about 10-15 minutes until the mixture firms up.
- Cool and serve: Allow the orange candy to cool completely and set before serving. You can place it in the fridge to speed up the process.
- Enjoy: Once cooled and hardened, enjoy your easy homemade orange candy!
Notes
- For a firmer candy, let the mixture cook for an additional few minutes to reduce it further.
- If you prefer a sweeter candy, you can add a little more sugar to taste during the simmering step.
- You can also coat the candies in granulated sugar once they’re set for an extra sugary crunch.
- Prep Time: 5 minutes
- Cook Time: 10 minutes
- Category: Candy, Dessert, Snack
- Method: Stovetop
- Cuisine: American
Nutrition
- Serving Size: 1 piece
- Calories: 45
- Sugar: 12g
- Sodium: 0g
- Fat: 2g
- Saturated Fat: 1g
- Unsaturated Fat: 1g
- Trans Fat: 0g
- Carbohydrates: 12g
- Fiber: 0g
- Protein: 0g
- Cholesterol: 5mg


