Fruit tart recipe lovers, rejoice—you’re about to discover the ultimate guide to crafting a tart that’s as stunning as it is scrumptious. On RecipesTasteful.com, we’ve built our About page around one mission: celebrating homemade creations that make people smile. Our story started in a tiny kitchen where family gatherings always ended with a dessert centerpiece, and nothing brought more joy than a French-inspired fruit tart, loaded with glistening, fresh fruit atop silky pastry cream. This tradition fuels our passion to share a recipe you can actually master at home—even if you’re new to baking.
In this article, you’ll learn not only the best fruit tart recipe step by step, but also how to create variations like mini fruit tarts recipe, fruit tart recipe easy for weeknights, and a classic French fruit tart recipe for special occasions. We’ll walk you through making the perfect fruit tart filling recipe, how to use a pre-made crust for an easy fruit tart recipe, and even tips for crafting a baked fruit tart that stays crisp and fresh. By the end, you’ll be able to serve a dessert that rivals any bakery’s showpiece—without breaking a sweat.
If you love fruity, crowd-pleasing desserts, don’t miss our Strawberry Pineapple Pound Cake for another bright, summer-ready bake.
Table of Contents
Table of Contents
Mastering the Art of a Homemade Fruit Tart Recipe
Why This is the Best Fruit Tart Recipe You’ll Ever Make
A great fruit tart isn’t just about looks; it’s about balance. The crust must hold its shape yet melt in your mouth. The pastry cream should be silky and rich, never heavy. And the fruit? Fresh, vibrant, and lightly glazed to lock in shine and flavor. This recipe delivers on all fronts because it’s rooted in classic French techniques but simplified for the home cook. Whether you’re planning a Sunday brunch, a dinner party, or just craving a personal treat, this tart feels like a celebration every time.
Essential Tools and Ingredients for Success
Before diving into the step-by-step, gather what you’ll need:
- A 9-inch tart pan with removable bottom (or pie plate)
- Rolling pin and pie weights (or dried beans)
- Whisk and heatproof spatula
- Fresh fruits like strawberries, blueberries, kiwi, and peaches
- Pantry staples for the tart dough and fruit tart filling recipe
We’ll break down the pastry cream, tart dough, and assembly in detail so you can follow along without stress.
Mastering the Pastry Cream and Tart Dough for a Perfect Fruit Tart Recipe
Print
The Ultimate Fruit Tart Recipe for a Stunning Homemade Dessert
- Total Time: 55 minutes (plus chilling)
- Yield: 8 servings
- Diet: Vegetarian
Description
This stunning Fruit Tart Recipe combines a buttery, crisp pastry crust, silky vanilla custard filling, and a colorful arrangement of fresh seasonal fruits. It’s a show-stopping dessert perfect for celebrations, holidays, or any time you want a bakery-worthy treat at home.
Ingredients
- For the Tart Crust:
- 1 1/4 cups all-purpose flour
- 1/2 cup unsalted butter, cold and cubed
- 1/4 cup granulated sugar
- 1/4 teaspoon salt
- 1 large egg yolk
- 2–3 tablespoons ice water
- For the Vanilla Custard Filling:
- 2 cups whole milk
- 1/2 cup granulated sugar
- 4 large egg yolks
- 1/4 cup cornstarch
- 2 teaspoons vanilla extract
- 2 tablespoons unsalted butter
- For the Topping:
- 2 cups assorted fresh fruits (such as strawberries, blueberries, kiwi, raspberries, or mango)
- 1/4 cup apricot jam (for glaze)
- 1 tablespoon water (to thin the jam)
Instructions
- To make the crust: In a food processor, pulse flour, sugar, and salt. Add cold butter and pulse until mixture resembles coarse crumbs. Add egg yolk and ice water, pulsing until dough comes together.
- Shape dough into a disk, wrap in plastic, and chill for 30 minutes.
- Preheat oven to 375°F (190°C). Roll dough to fit a 9-inch tart pan, pressing it into the edges. Prick bottom with a fork and line with parchment and pie weights. Bake for 15 minutes, then remove weights and bake another 10 minutes until golden. Cool completely.
- To make custard: In a saucepan, heat milk until steaming. In a separate bowl, whisk sugar, egg yolks, and cornstarch until pale. Slowly whisk hot milk into egg mixture, then return to saucepan and cook over medium heat, whisking constantly, until thickened. Remove from heat and stir in vanilla and butter. Let cool with plastic wrap pressed on the surface to prevent a skin.
- Fill cooled tart shell with custard, smoothing the top.
- Arrange fresh fruits decoratively over the custard.
- Heat apricot jam with water until smooth, then brush lightly over the fruit to glaze.
- Chill tart for at least 1 hour before serving for best flavor and texture.
Notes
- Use any combination of seasonal fruits for variety.
- The tart shell and custard can be made a day in advance for easier assembly.
- Glazing the fruit keeps it shiny and fresh for longer.
- Store leftovers in the fridge, covered, for up to 2 days.
- Prep Time: 30 minutes
- Cook Time: 25 minutes
- Category: Dessert
- Method: Baking
- Cuisine: French
Nutrition
- Serving Size: 1 slice
- Calories: 310
- Sugar: 22g
- Sodium: 120mg
- Fat: 16g
- Saturated Fat: 9g
- Unsaturated Fat: 6g
- Trans Fat: 0g
- Carbohydrates: 38g
- Fiber: 2g
- Protein: 5g
- Cholesterol: 95mg
Before you even think about arranging those juicy strawberries, mango slices, and blueberries, the foundation of every great fruit tart recipe begins with two key elements: the pastry cream and the tart dough. These layers are what make the difference between an average tart and one that tastes like it came from a French patisserie. Mastering them isn’t as hard as it sounds, especially with the right steps and a few tips to make it foolproof.
Crafting Silky Pastry Cream (Custard) for Your Fruit Tart
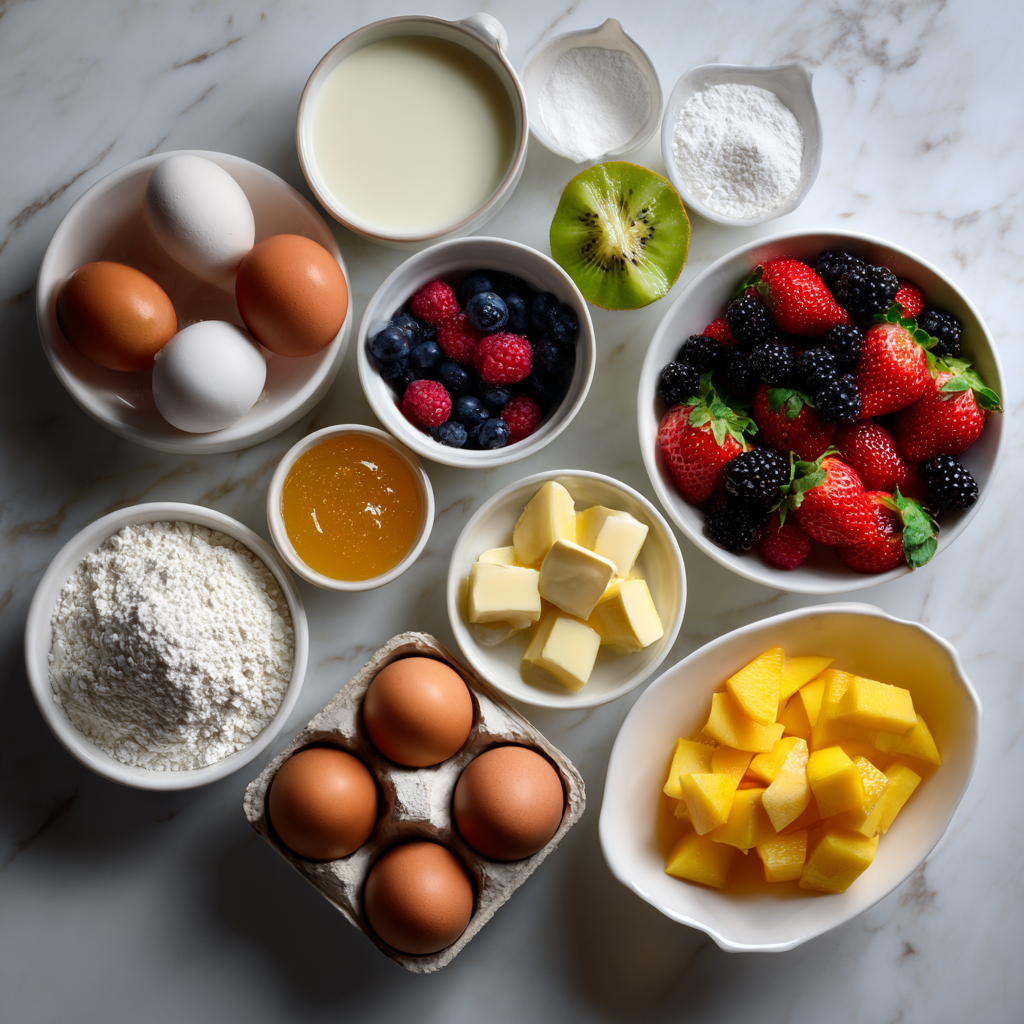
When people search for a fruit tart recipe custard, they’re really looking for that creamy, smooth filling that balances the sweetness of fresh fruit. The secret lies in cooking your custard slowly and evenly. Start by heating two cups of whole milk over medium heat until tiny bubbles appear. Don’t rush this step—scalded milk ruins the flavor and texture. While the milk warms, whisk together egg yolks, sugar, cornstarch, and salt in a bowl. This combo builds the custard’s thick, silky body.
Here’s a quick look at the pastry cream ingredients so you can double-check your pantry:
| Pastry Cream Ingredients | Measurements |
|---|---|
| Whole milk | 2 cups |
| Granulated sugar | 1 cup |
| Egg yolks | 6 |
| Cornstarch | 1/4 cup |
| Salt | 1/4 teaspoon |
| Vanilla extract | 1 teaspoon |
Once your milk is ready, slowly pour half of it into the egg mixture while whisking constantly. This prevents the eggs from scrambling. Pour the mixture back into the saucepan and cook over medium heat, stirring nonstop, until it thickens into a glossy, spoon-coating cream. Whisk in the vanilla extract, then transfer it to a bowl. Cover it directly with plastic wrap to prevent a skin from forming and refrigerate for two to three hours until chilled.
For a baked fruit tart that holds its shape, make sure your custard is completely cold before assembling.
Making the Buttery Tart Dough from Scratch
If you’re looking for an easy fruit tart recipe with pre-made crust, you can skip this step and grab a store-bought shell. But if you want the best fruit tart recipe, homemade dough adds that flaky, buttery layer everyone loves. In a stand mixer or with a hand mixer, cream the butter and powdered sugar until light and fluffy. Mix in the egg, vanilla, and salt until smooth. Reduce the speed, then gently blend in the flour and baking powder. Don’t overmix; that’s the quickest way to end up with a tough crust.
Here’s a breakdown of what you’ll need for the tart shell:
| Tart Dough Ingredients | Measurements |
|---|---|
| Butter, softened | 7 tablespoons |
| Powdered sugar | 1/2 cup |
| Egg | 1 |
| Vanilla extract | 1/2 teaspoon |
| Salt | 1/4 teaspoon |
| All-purpose flour, sifted | 1 1/4 cups |
| Baking powder | 1/4 teaspoon |
Once the dough comes together, wrap it tightly in plastic and chill it for at least one hour. This resting time relaxes the gluten, making the dough easier to roll out without cracking. When you’re ready to bake, roll the dough to about 1/8–1/4 inch thick, drape it into your tart pan, and press it firmly into the edges.
For blind-baking—a crucial step for a crisp crust—line the shell with parchment paper and fill it with pie weights or dried beans. Bake at 350°F for about 12 minutes, then remove the weights and bake another 10 to 15 minutes until golden. Let it cool completely before adding the custard.
Looking for more fruity inspiration for summer or autumn? Try our Honey Peach Cream Cheese Cupcakes, a soft, flavorful treat that pairs beautifully with any tart spread.
Creating and Baking the Perfect Tart Dough for Your Fruit Tart Recipe
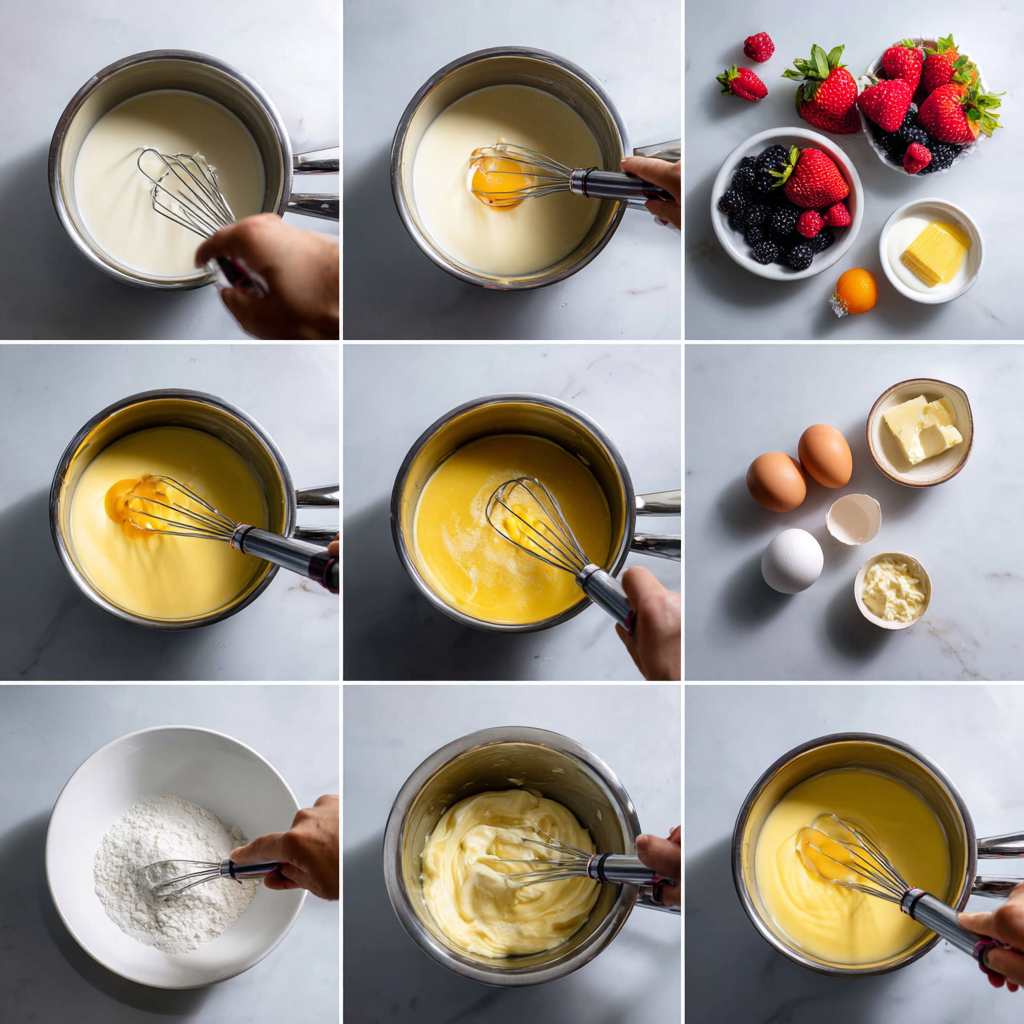
A truly great fruit tart recipe is built on a buttery, crisp crust that stays firm even after being filled with creamy custard and juicy fruit. While some bakers go for a shortcut using a store-bought shell, making your own tart dough is worth the extra step if you want bakery-quality results. And if you’re pressed for time, we’ll share tips for using a pre-made crust without sacrificing flavor.
How to Roll, Shape, and Blind-Bake the Tart Shell
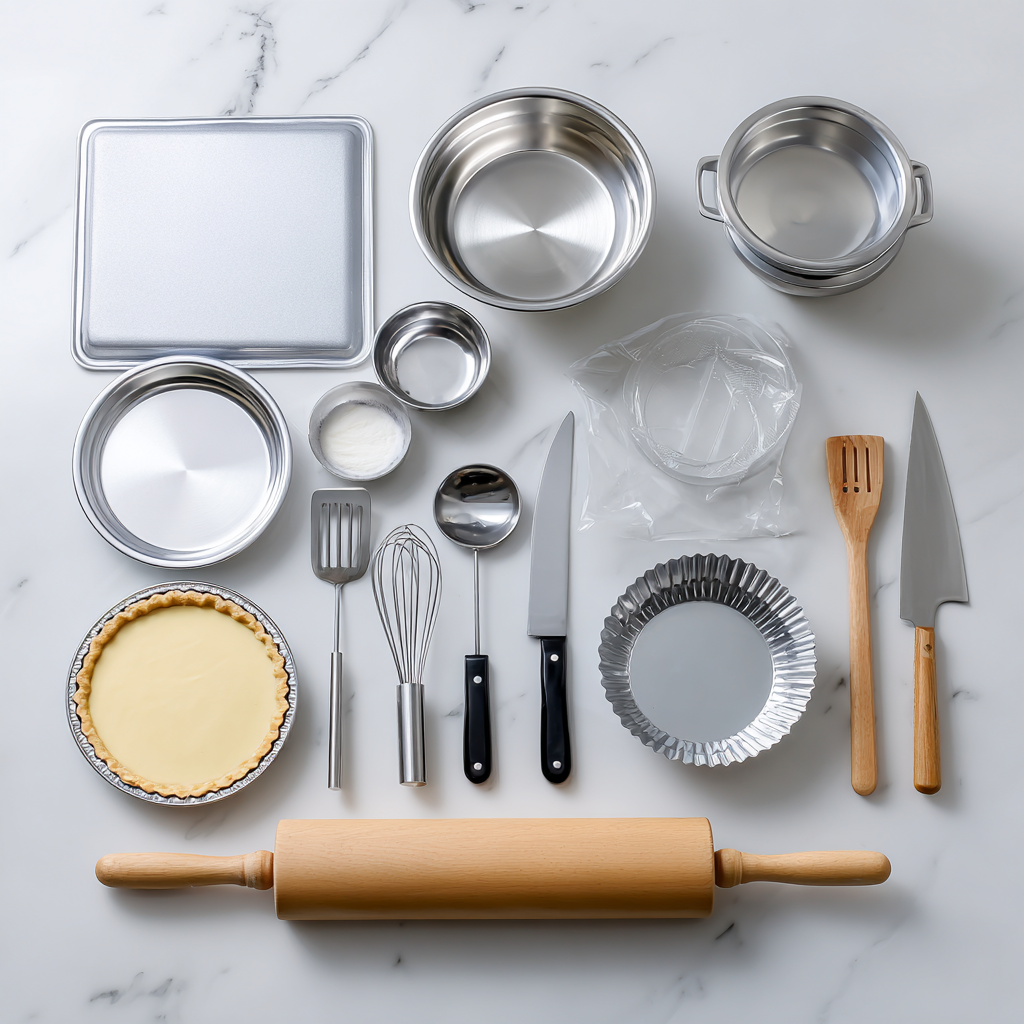
Once your fruit tart recipe dough has rested in the fridge for at least one hour, remove it and place it on a lightly floured surface. Roll the dough for your fruit tart recipe into a circle about 1/8 to 1/4 inch thick. If cracks form while preparing this fruit tart recipe base, simply press them back together with your fingertips. Gently roll the fruit tart recipe dough around your rolling pin, then unroll it over your tart pan. A pan with a removable bottom works best for this fruit tart recipe, as it allows for easy release. Press the dough firmly into the corners and up the sides, trimming away any excess to keep your fruit tart recipe neat.
Blind-baking is the secret to a crisp, golden shell that elevates any fruit tart recipe. To blind-bake, cover the dough for your fruit tart recipe with parchment paper or foil and fill it with pie weights or dried beans. This keeps the fruit tart recipe crust from puffing up during baking. Bake at 350°F for about 12 minutes, then carefully remove the weights and parchment. Return the shell to the oven and bake for another 10 to 15 minutes until it’s golden brown and fully cooked. Allow the fruit tart recipe crust to cool completely before adding the pastry cream.
If you’d rather use a ready-made crust for a quick, easy fruit tart recipe with pre-made crust, you can skip the blind-baking step entirely. Just make sure to choose a sturdy shell so it holds up to the fruit tart recipe filling and fruit without falling apart.
Tips to Prevent a Soggy or Cracked Crust
Even experienced bakers making a fruit tart recipe sometimes deal with soggy bottoms or cracking dough. To avoid this, make sure your custard is fully chilled before assembling your Recipe. A warm filling can soften the crust quickly, ruining your Recipe texture. You can also brush the baked shell for your fruit tart recipe with a thin layer of melted chocolate or apricot glaze before adding the cream, which creates a barrier and adds a subtle layer of flavor. If your recipe crust cracks while rolling, avoid adding too much flour to your work surface—extra flour can dry out the dough. Instead, gently patch any breaks with a small piece of dough and smooth it out before baking your fruit tart recipe shell.
Assembling the Ultimate Fruit Tart Recipe
Now that your fruit tart recipe crust is golden and your pastry cream is chilled, it’s time to bring everything together into a stunning dessert. This is the step where a simple fruit tart recipe transforms into a bakery-style centerpiece that tastes as good as it looks.
Filling the Crust with Silky Pastry Cream
Start by giving your chilled pastry cream a quick whisk to loosen it up before adding it to your fruit tart recipe. Spoon the cream into the cooled crust, using a spatula to spread it evenly from edge to edge. A smooth, level surface is key for a polished fruit tart recipe, as it helps your fruit sit neatly on top. For a twist, some bakers making a fruit tart recipe like to fold in a little whipped cream for a lighter texture, but that’s optional.
Decorating the Fruit Tart Recipe with Fresh Fruit
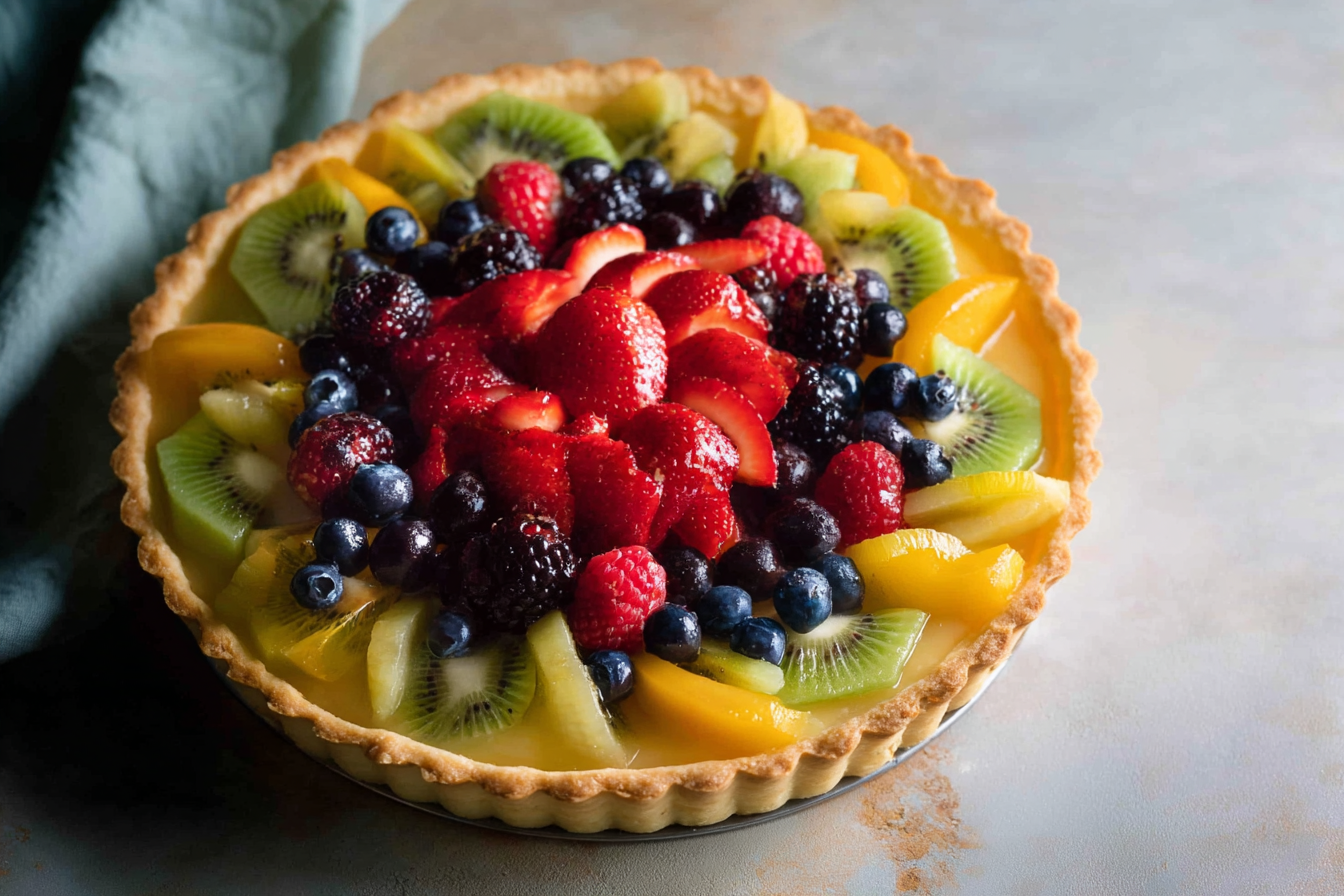
The beauty of a fruit tart recipe lies in its colorful, glossy arrangement. Traditional versions use strawberries, kiwi, blueberries, blackberries, peaches, and raspberries, but you can mix and match seasonal fruit for variety. Start your fruit tart recipe presentation by placing larger slices, like strawberries or peach wedges, around the outer edge. Then, fill the center of your fruit tart recipe with smaller fruits like blueberries or blackberries. Work in concentric circles, overlapping slightly for a professional finish that takes your fruit tart recipe to the next level.
For mini fruit tarts, which follow the same fruit tart recipe principles, keep the fruit simple—one or two slices or a small handful of berries per tart to avoid overwhelming the bite-size dessert.
Adding the Apricot Glaze for Shine and Freshness
To finish your fruit tart recipe with a bakery-quality touch, melt apricot jam with a splash of water over low heat until smooth. Using a pastry brush, gently brush the glaze over the fruit on your fruit tart recipe. This not only adds shine but also locks in moisture, helping the fruit tart recipe stay fresh longer. Reheat the glaze as needed if it thickens while you work on your fruit tart recipe.
With your fruit tart recipe fully assembled, you can serve it immediately or refrigerate it for up to eight hours. If you’re looking for a treat that’s easier to serve at parties, stick around—next, we’ll dive into mini fruit tarts and bite-sized variations that make this fruit tart recipe even more versatile.
Need more pastry tips beyond this fruit tart recipe? Check out these Classic Crepes for more ways to master delicate, buttery dough.
Mini Fruit Tarts Recipe and Bite-Sized Variations
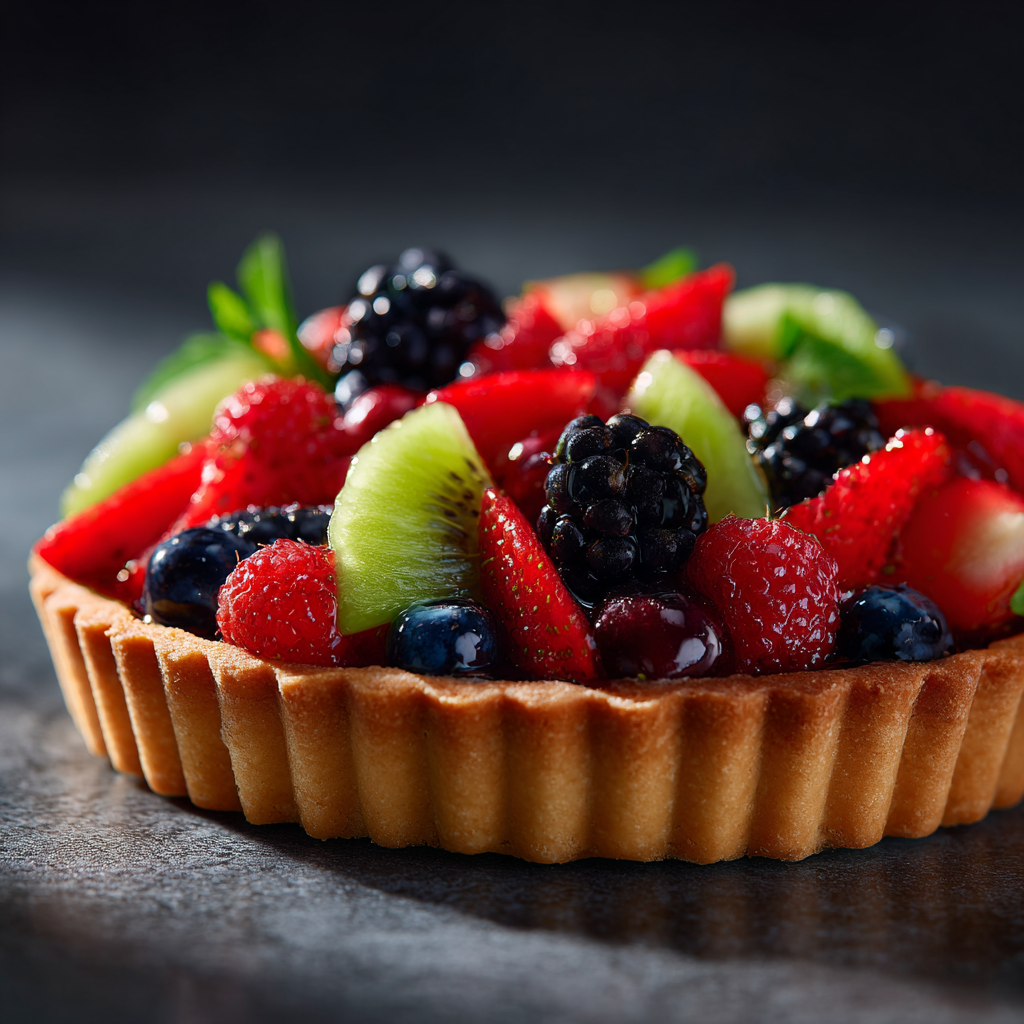
Fruit tarts don’t always have to be a centerpiece dessert. With a few adjustments, you can turn this fruit tart recipe into a tray of bite-sized treats perfect for parties, brunches, or quick snacks. Mini fruit tarts are easier to serve, fun to customize, and just as beautiful as their full-sized counterpart.
How to Adapt the Recipe for Mini Tart Shells
The dough and custard filling from the main fruit tart recipe work perfectly for mini versions. After chilling your dough, roll it out and cut circles large enough to fit inside a muffin tin or mini tart pans. Press the dough into each cavity, trimming away any excess. Blind-bake the shells the same way you would a large tart—line with parchment, fill with pie weights, and bake at 350°F for about 10 minutes before removing the weights and baking another 5 to 8 minutes until golden. Cool completely before filling.
For an easy fruit tart recipe with pre-made crust, you can use store-bought mini phyllo shells or tartlet shells. These save time and still hold up well to custard and fruit.
Choosing the Best Fruits for Bite-Sized Desserts
Mini fruit tarts work best with small, colorful fruits that don’t need much slicing. Blueberries, raspberries, blackberries, and small kiwi slices are popular choices. If you want a tropical twist, use thin mango strips or halved grapes. Keep the fruit light and simple—each tart should have one to three pieces of fruit so they’re easy to eat in a single bite.
How to Keep Mini Tarts Fresh and Crisp
To prevent mini fruit tarts from getting soggy, assemble them as close to serving time as possible. Store the baked shells and custard separately in the refrigerator for up to two days. When ready to serve, spoon in the custard, top with fruit, and brush lightly with apricot glaze to keep everything fresh and glossy. For events, you can even pre-fill the custard and store the decorated tarts in a single layer, covered loosely with plastic wrap, for up to eight hours.
Baked Fruit Tart vs. No-Bake Fruit Tart
One of the biggest questions people have when searching for a fruit tart recipe is whether to bake the tart completely or keep it as a no-bake dessert. Both styles have their perks, and knowing which one to choose depends on your schedule, flavor preferences, and the type of event you’re serving.
When to Bake Your Fruit Tart Fully
A baked fruit tart is ideal when you want a firmer crust and a slightly toasted flavor that complements rich custard or cream cheese fillings. In a baked tart, the crust holds up longer, especially if the dessert will sit out for a few hours at a party. Some versions even bake the custard directly in the shell for a firmer texture, though our classic recipe calls for adding the custard after baking to keep it silky.
If you love a warm, pastry-shop vibe, bake your crust until deeply golden, cool it fully, then assemble as usual with chilled custard and fresh fruit.
Why Choose a No-Bake Fruit Tart
For busy home bakers or warm-weather gatherings, a no-bake fruit tart can be a lifesaver. Instead of a traditional crust, you can use a crumbly base made from crushed cookies and melted butter, pressed into a tart pan and chilled until firm. Then fill it with pastry cream or whipped cream and top with fresh fruit. No-bake versions are lighter and quicker, though they don’t hold up as long at room temperature. They’re best assembled just a few hours before serving to keep the crust from softening.
Tips for Switching Between Styles
Whether you’re leaning toward a baked or no-bake tart, keep a few tips in mind. For baked crusts, blind-bake thoroughly to prevent sogginess when the cream is added. For no-bake versions, press the crust firmly and chill it for at least two hours before filling so it stays firm. And in both cases, brushing fruit with apricot glaze helps lock in freshness and prevents the fruit from drying out.
And for a savory balance to your dessert spread, consider serving something light like a Classic Tuna Salad Sandwich alongside your fruit tart.
Seasonal and Creative Variations for Your Fruit Tart Recipe
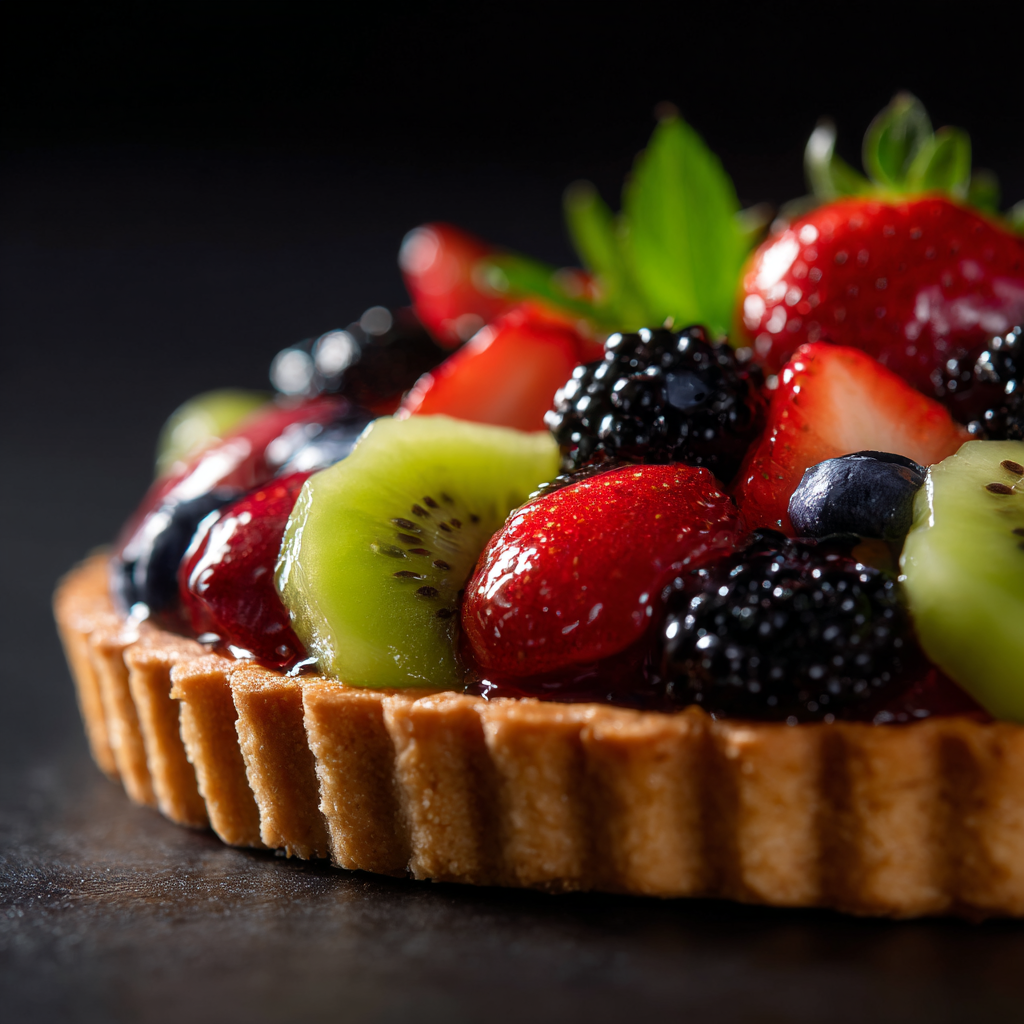
One of the best things about this fruit tart recipe is how flexible it can be. Whether you’re baking a full-sized dessert or crafting mini fruit tarts, you can adjust the fruits and flavors to fit any season, holiday, or special event. With a few swaps and some simple tweaks, this tart can easily become your signature dessert year-round.
Fresh Summer Tarts with Tropical Fruits
Summer is the perfect season for bright, juicy flavors. Swap out traditional berries with slices of mango, pineapple, and kiwi for a tropical twist. For extra sweetness, add passion fruit pulp on top of the custard before layering your fruit. This variation works beautifully for a no-bake fruit tart, as tropical fruits pair well with a light cookie crust and whipped cream filling.
Cozy Autumn and Winter Twists
When the weather cools, fresh berries can be harder to find. Instead, use seasonal fruits like pears, apples, or citrus. Thinly sliced pears arranged in a spiral pattern over custard give the tart an elegant, holiday-ready look. For a festive touch, sprinkle the fruit with a pinch of cinnamon sugar before glazing. A baked fruit tart version with a deeper golden crust pairs perfectly with spiced whipped cream or even a drizzle of caramel.
Easy Dairy-Free or Vegan-Friendly Adaptations
If you need a lighter or vegan dessert, you can easily make substitutions without sacrificing flavor. Use a plant-based butter and dairy-free milk for the custard, and swap the butter crust for a coconut oil-based shell. For the filling, consider using a cashew cream or coconut milk pudding as a stand-in for pastry cream. These swaps make the tart lighter while still tasting indulgent.
Mixing Mini Tarts with Seasonal Flavors
Mini fruit tarts are a fun way to showcase seasonal fruits without committing to one large flavor profile. You can fill some with summer berries, others with citrus, and a few with tropical mango. Each mini tart becomes a unique bite, making dessert tables more colorful and exciting.
Troubleshooting and Pro Tips for a Foolproof Fruit Tart Recipe
Even the most experienced bakers can run into challenges when making a fruit tart recipe. From soggy crusts to runny custard, small details make all the difference between a dessert that holds together beautifully and one that falls apart. With a few pro tricks, you can make sure your tart looks and tastes bakery-perfect every time.
Quick Fixes for Common Fruit Tart Problems
| Issue | Cause | Quick Fix |
|---|---|---|
| Crust turns soggy after filling | Custard added before crust cooled | Chill crust completely; brush inside with melted chocolate or apricot glaze. |
| Custard comes out lumpy | Milk added too quickly or cooked too hot | Strain custard through a sieve; whisk constantly at medium heat next time. |
| Fruit dries out or loses shine | Skipping the glaze step | Always brush fruit with a light apricot glaze for moisture and gloss. |
| Crust cracks while rolling | Dough too cold or overworked | Let dough warm slightly before rolling; avoid adding too much extra flour. |
| Mini fruit tarts turn soggy fast | Assembled too far in advance | Store shells and filling separately; assemble just before serving. |
Pro Tips to Elevate Your Tart Game
- Always blind-bake your crust fully for a crisp, bakery-style shell, especially for a baked fruit tart.
- Use seasonal, ripe fruit for the best flavor and natural sweetness. Overripe fruit releases too much juice, softening the crust.
- Chill the assembled tart for at least 30 minutes before slicing so the custard sets, keeping the slices neat.
- For mini fruit tarts, keep decorations simple so they’re easy to handle and bite-sized.
- When making this fruit tart filling recipe dairy-free, add a little cornstarch to plant-based milk to mimic the creaminess of traditional custard.
FAQs – People Also Search For
How do I make mini fruit tarts easily?
Use the same tart dough and custard as the main recipe but bake in mini tart pans or muffin tins. Small, sturdy fruits like berries work best.
What makes a fruit tart recipe easy for beginners?
Pre-made crusts, a stovetop custard, and pre-cut fruit make the process quick without losing flavor.
Can I make a fruit tart recipe custard without dairy?
Yes, swap dairy milk with coconut milk or almond milk, adding cornstarch for thickness.
What’s the best fruit tart recipe for parties?
Mini fruit tarts are perfect for gatherings—they’re easy to serve, transport, and customize.



I hadn’t considered this angle before. It’s refreshing!
Thanks for sharing your knowledge. This added a lot of value to my day.
It’s great to see someone explain this so clearly.
I hadn’t considered this angle before. It’s refreshing!
This topic is usually confusing, but you made it simple to understand.
Thanks for making this easy to understand even without a background in it.
This gave me a whole new perspective. Thanks for opening my eyes.
I appreciate the depth and clarity of this post.
I wish I had read this sooner!
What an engaging read! You kept me hooked from start to finish.
Great article! I’ll definitely come back for more posts like this.
I love the clarity in your writing.