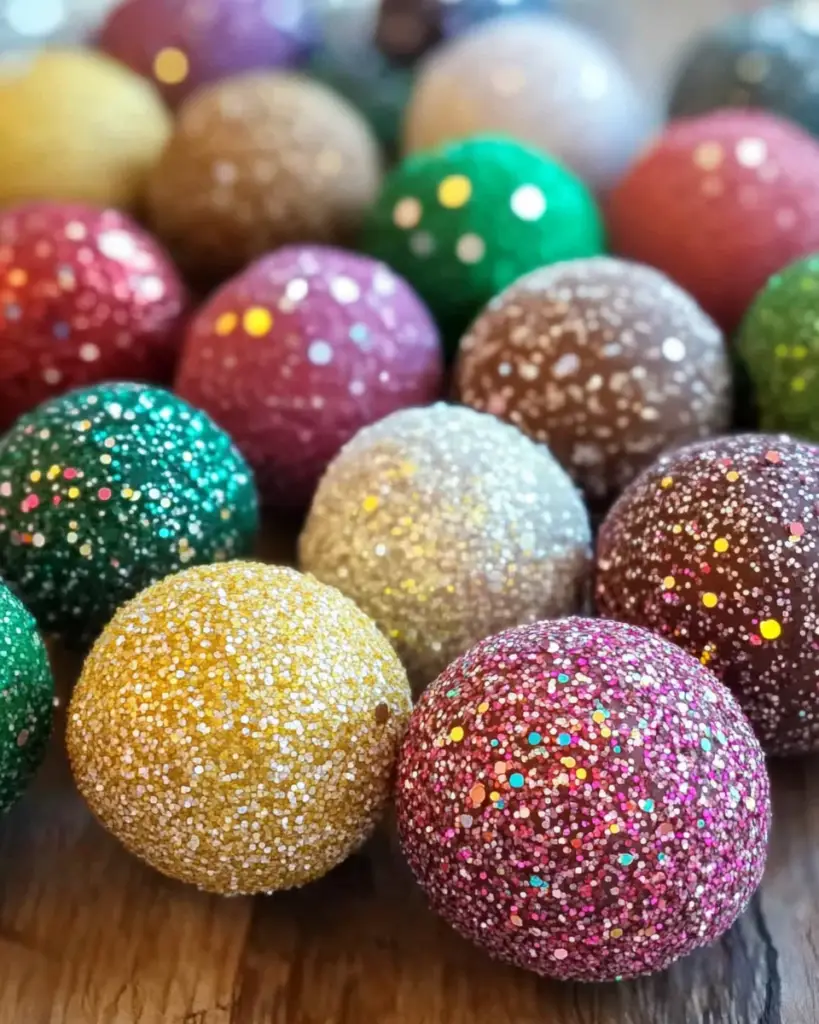
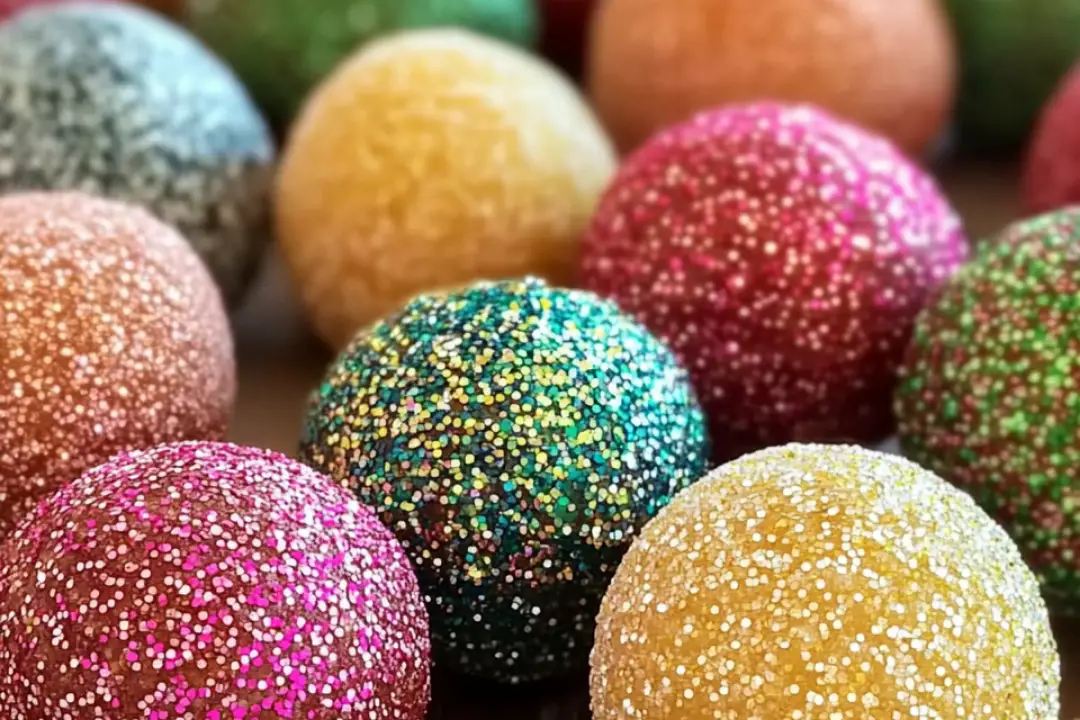
Okay, stop what you’re doing—because these Glitter Cookie Balls are going to completely steal the show! Imagine biting into a perfectly sweet, soft, and chewy cookie ball coated in the most festive, shimmering glitter. Whether you’re gearing up for a holiday party, a birthday bash, or just a fun weekend treat, these little bites of sparkle and sweetness are sure to wow. They’re a bite-sized wonder that combines the nostalgia of your favorite cookies with the magic of edible glitter. Trust me, they’re as fun to make as they are to eat, and they’ll add that perfect touch of glitz to any celebration!
Why You’ll Love Glitter Cookie Balls
Bite-Sized Bliss
These little cookie balls are packed with all the goodness of a cookie in a fun, bite-sized form. They’re easy to pop into your mouth, making them perfect for sharing (or sneaking one when no one’s looking!).
Sweet and Festive
The combination of cookie dough and glitter makes these cookie balls not only delicious but absolutely stunning to look at. You’ll be amazed at how a little sprinkle of glitter can elevate your cookie game!
Perfect for Any Occasion
Whether it’s the holiday season or just a regular Tuesday, these cookie balls bring joy to any event. You can customize the glitter color for birthdays, baby showers, or even a New Year’s Eve party.
Quick and Easy
No oven required! These cookie balls are super simple to make. Just mix, roll, and coat them in that dazzling glitter. They come together so fast and are always a hit.

Disclosure: This post contains affiliate links.If you click and make a purchase, I may earn a small commission at no extra cost to you.
Ingredients in Glitter Cookie Balls
Here’s what you’ll need to bring these sparkling delights to life:
For the Cookie Balls:
- Crushed Cookies: Your choice of cookies—Oreos, graham crackers, or any other favorite cookie that’s soft and easy to crush. This forms the base of your cookie ball.
- Cream Cheese: This is the secret ingredient to making the cookie balls moist and smooth. It holds everything together and gives them a creamy texture.
- Vanilla Extract: Adds a subtle, comforting flavor to balance out the sweetness of the cookies.
For the Glitter Coating:
- White Chocolate or Milk Chocolate: This is what makes the glitter stick and gives your cookie balls that irresistible outer layer. You can also use a candy coating if you prefer.
- Edible Glitter: The magic ingredient that makes these cookie balls shine! Choose any color or mix a few to add even more sparkle to your cookies.
(Note: The full ingredients list, including measurements, is provided in the recipe card directly below.)
Instructions
Let’s get ready to add a little sparkle to your life with these easy-to-make Glitter Cookie Balls!
1. Crush the Cookies
Start by crushing your cookies into fine crumbs. You can do this by placing them in a plastic bag and smashing them with a rolling pin, or by using a food processor. The smaller the crumbs, the smoother the cookie balls will be.
2. Mix the Cookie Dough
In a large bowl, combine the crushed cookies and softened cream cheese. Add in the vanilla extract and mix everything together until the dough comes together into a sticky, moldable mass.
3. Roll Into Balls
Using your hands, roll the mixture into small, bite-sized balls (about 1 inch in diameter). Don’t worry if they aren’t perfectly round—the charm of these cookie balls is in their homemade look!
4. Chill the Cookie Balls
Place the rolled cookie balls on a baking sheet lined with parchment paper. Pop them in the fridge for at least 30 minutes to firm up. This step helps them hold their shape when you coat them in chocolate.
5. Melt the Chocolate
While the cookie balls are chilling, melt your white or milk chocolate in a microwave-safe bowl in 30-second intervals, stirring between each until fully melted and smooth. If you’re using candy coating, follow the instructions on the package for melting.
6. Coat the Cookie Balls
Once the cookie balls are chilled and the chocolate is melted, dip each cookie ball into the chocolate, ensuring it’s completely coated. Use a fork to lift them out of the chocolate, letting any excess drip off before placing them back onto the parchment paper.
7. Add the Glitter
Before the chocolate sets, immediately sprinkle the glitter on top of the cookie balls. You can either roll the balls in the glitter or sprinkle it directly on top—whatever gives you the sparkle you want!
8. Let the Chocolate Set
Allow the chocolate coating to set for about 30 minutes at room temperature or place the cookie balls in the fridge for 10-15 minutes to speed up the process.
9. Serve and Enjoy
Once the glitter is set and the chocolate has hardened, your Glitter Cookie Balls are ready to shine. Serve them at your next gathering, or gift them to someone special. Either way, they’re sure to bring smiles!
Nutrition Facts
Servings: 12
Calories per serving: 180
Total Fat: 10g
Saturated Fat: 5g
Cholesterol: 15mg
Sodium: 20mg
Total Carbohydrates: 25g
Dietary Fiber: 1g
Sugars: 21g
Protein: 2g
Preparation Time
Prep Time: 20 minutes
Chill Time: 30 minutes
Total Time: 50 minutes
How to Serve Glitter Cookie Balls
For Holiday Treats
These cookie balls are perfect for Christmas, New Year’s Eve, or any other holiday gathering. Their glittery shine makes them festive, and they’re easy to transport for parties or family events.
As Party Favors
Package these cookie balls in small gift bags or boxes, tie them with a pretty ribbon, and hand them out as fun and sweet party favors that are sure to leave a lasting impression.
With Hot Cocoa or Coffee
These sweet treats pair perfectly with a cozy cup of hot cocoa, coffee, or even a glass of milk for the ultimate snack combo.
Additional Tips
Choose Your Glitter Wisely
Make sure you use food-grade edible glitter, as regular craft glitter is not safe to consume. You can find edible glitter at most craft stores or online.
Experiment with Flavors
Feel free to get creative with your cookie ball flavors. Use different cookies like gingerbread or shortbread for a unique twist. You can even add some fun mix-ins like sprinkles, crushed candy canes, or mini chocolate chips.
Store the Cookie Balls Properly
Store your Glitter Cookie Balls in an airtight container in the fridge for up to a week. They also freeze well if you want to make them in advance for a future celebration.
Make Them Gluten-Free
For a gluten-free version, just use gluten-free cookies, and you’ll still get that sweet, sparkling treat without any worries.
FAQ Section
Q1: Can I use any cookies for the cookie balls?
A1: Absolutely! Oreos, graham crackers, or any soft cookies work great. Choose your favorite flavor!
Q2: Can I make these cookie balls without cream cheese?
A2: If you’re not a fan of cream cheese, you can substitute it with frosting or condensed milk for a different texture, but cream cheese is what gives them that creamy, soft bite.
Q3: How do I store leftover cookie balls?
A3: Store them in an airtight container in the fridge for up to 1 week. You can also freeze them for up to 3 months—just make sure they’re well wrapped!
Q4: Can I use dark chocolate instead of milk or white chocolate?
A4: Yes! Dark chocolate would add a richer flavor and still pair wonderfully with the sweetness of the cookies.
Q5: Is it okay to use chocolate chips instead of melted chocolate?
A5: Yes! You can melt chocolate chips, but it may take a little longer to get smooth. You can also use candy coating for an easier option.
Q6: How do I make the glitter stick better?
A6: Make sure the chocolate coating is still soft when you add the glitter. It’ll stick better when the chocolate isn’t fully hardened.
Q7: Can I add flavoring to the cookie balls?
A7: Definitely! A few drops of almond extract, mint extract, or any flavor you like can be added to the dough for an extra layer of taste.
Q8: Can I roll the cookie balls in something besides glitter?
A8: Absolutely! Try rolling them in crushed candy, colored sugar, or sprinkles for a fun twist.
Q9: Can I make these cookie balls ahead of time?
A9: Yes, these cookie balls can be made ahead of time and stored in the fridge or freezer until you’re ready to serve them.
Q10: Can I make these cookie balls without using chocolate?
A10: You can! Simply skip the chocolate coating and roll the dough in powdered sugar, sprinkles, or even cocoa powder for a fun look.
Conclusion
Glitter Cookie Balls are the ultimate festive treat that will sparkle and shine at any event. They’re a fun, easy, and totally customizable treat that’s sure to impress. Whether you’re hosting a party, making a holiday gift, or just treating yourself, these cookie balls are guaranteed to bring a little extra sparkle to your day!
Print
Glitter Cookie Balls
- Total Time: 1 hour
- Yield: 12–15 servings 1x
Description
These Glitter Cookie Balls are a festive, no-bake treat that’s both easy to make and totally dazzling! With a crunchy cookie center, creamy coating, and a sprinkle of edible glitter, these bite-sized balls are perfect for any occasion that calls for a little sparkle.
Ingredients
For the Cookie Balls:
- 2 cups crushed cookies (such as Oreos, vanilla wafer cookies, or shortbread cookies)
- 8 oz cream cheese, softened
- 1 tsp vanilla extract (optional)
For the Coating:
- 12 oz white chocolate chips (or milk chocolate, if you prefer)
- 2 tbsp vegetable oil or coconut oil (to help with smooth coating)
- Edible glitter or shimmer powder (for decoration)
Instructions
- Prepare the Cookie Mixture:
- In a large bowl, crush the cookies into fine crumbs. You can use a food processor or place the cookies in a sealed plastic bag and crush them with a rolling pin.
- Add the softened cream cheese and vanilla extract (if using) to the crushed cookies. Mix until well combined. The mixture should be sticky and moldable, but not too wet.
- Roll the cookie mixture into small, bite-sized balls (about 1-inch in diameter) and place them on a parchment-lined baking sheet.
- Chill the Cookie Balls:
- Once all the cookie balls are formed, refrigerate them for 20-30 minutes, or until they are firm and set. This will make them easier to dip into the coating.
- Melt the Coating:
- While the cookie balls chill, melt the white chocolate chips with the vegetable or coconut oil. You can do this in a microwave-safe bowl, heating in 30-second intervals and stirring in between until smooth, or melt them over a double boiler.
- Coat the Cookie Balls:
- Once the cookie balls are chilled and the chocolate is melted, dip each ball into the melted chocolate, using a fork or spoon to coat it completely. Let the excess chocolate drip off before placing the coated balls back on the parchment paper.
- Add the Glitter:
- While the coating is still wet, generously sprinkle edible glitter or shimmer powder over the cookie balls. This will give them that sparkling, festive finish!
- Allow the chocolate coating to set and harden completely by refrigerating the cookie balls for another 15-20 minutes.
- Serve:
- Once the chocolate is fully set, your Glitter Cookie Balls are ready to enjoy! Serve them at parties, give them as gifts, or keep them as a fun treat for yourself.
Notes
- You can use any type of cookie to suit your taste. Oreos are a popular choice for these cookie balls, but you can experiment with other cookies like Nilla Wafers, shortbread, or chocolate chip cookies.
- Edible glitter is available in a variety of colors, so you can match it to the theme of your party or event.
- These cookie balls are best stored in an airtight container in the fridge for up to 5 days.
- Prep Time: 15 minutes
- Cook Time: 45 minutes
- Category: Dessert
- Method: No-Bake
- Cuisine: American
Nutrition
- Serving Size: 1 cookie ball
- Calories: 160
- Sugar: 14g
- Sodium: 20mg
- Fat: 9g
- Saturated Fat: 5g
- Unsaturated Fat: 3g
- Trans Fat: 0g
- Carbohydrates: 19g
- Fiber: 1g
- Protein: 2g
- Cholesterol: 15mg


