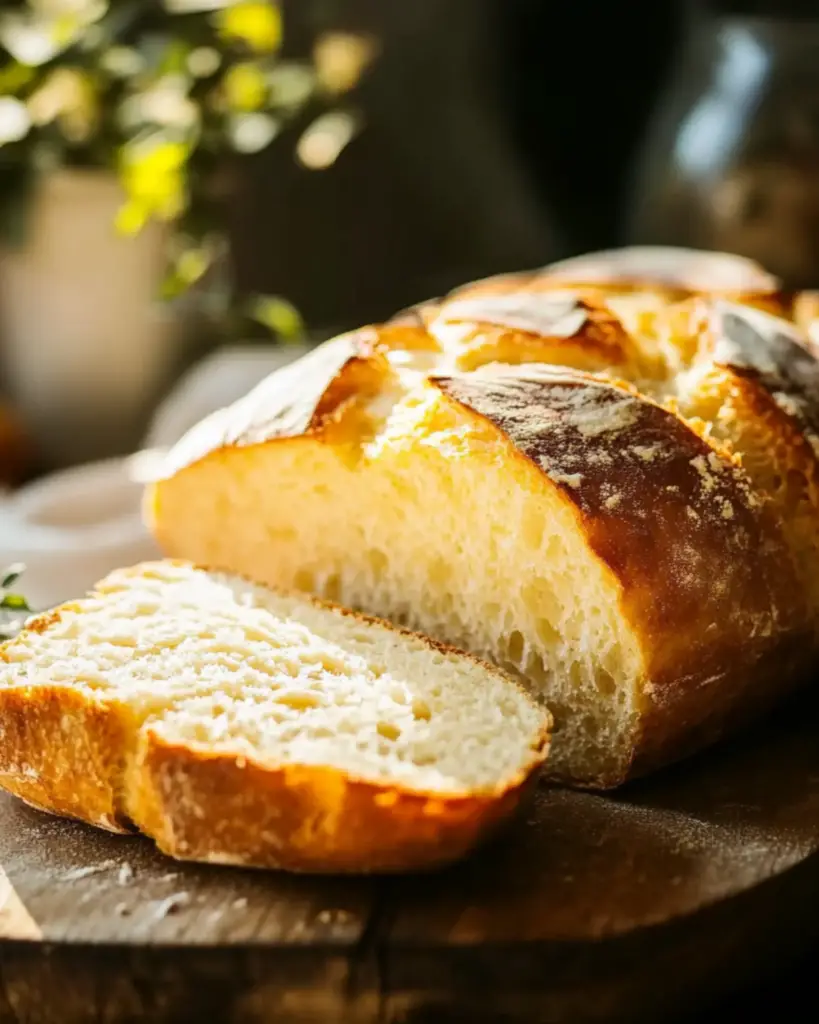
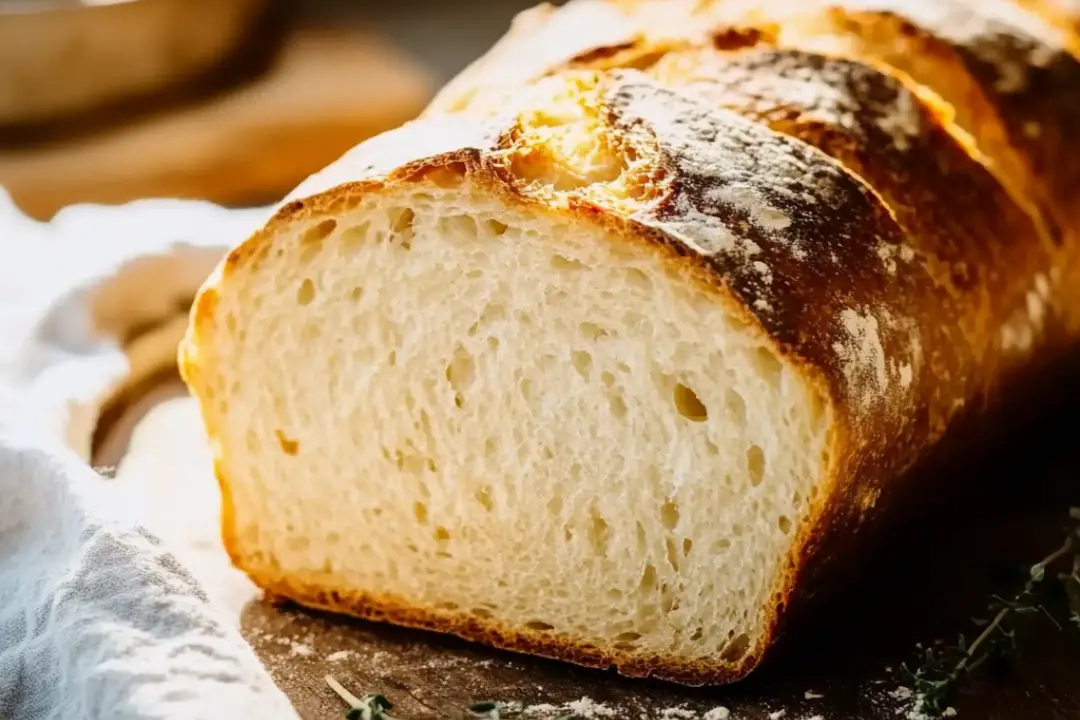
There’s just something magical about the smell of fresh bread wafting through the house, isn’t there? The way the dough rises, the golden-brown crust forms, and the soft, fluffy inside beckons you to take a warm slice. Grandma’s Perfect Homemade Bread is exactly that kind of magic. This bread has been passed down through the generations, and it’s the one that never fails to make you feel at home. It’s tender, slightly sweet, and perfect for slathering with butter or making the most delicious sandwiches. Trust me, once you try this recipe, it’ll be your new go-to bread for every occasion. Let’s dive in and make some memories!
Why You’ll Love Grandma’s Perfect Homemade Bread
Here’s why Grandma’s bread is the ultimate comfort food:
- Soft and Fluffy: The bread has the perfect balance between a soft, pillowy interior and a crisp, golden crust. It’s the kind of bread you can’t stop eating.
- Classic Flavor: The mild sweetness and subtle yeasty flavor of this bread is perfect for just about anything—whether it’s a slice for breakfast or served alongside your favorite meal.
- Easy to Make: You don’t have to be a seasoned baker to make this bread. It’s simple, straightforward, and made with ingredients you likely have in your kitchen.
- The Best Leftovers: If you manage to have any leftovers, this bread makes amazing toast, grilled cheese, or French toast the next day.
- A Taste of Tradition: This isn’t just any bread—it’s the kind that has been lovingly made for generations, with simple, wholesome ingredients and a whole lot of love.

Disclosure: This post contains affiliate links.If you click and make a purchase, I may earn a small commission at no extra cost to you.
Ingredients
Grandma’s bread is made with just a few basic ingredients, yet it yields the fluffiest, most satisfying loaf you can imagine:
- Flour: The heart of any great bread. You’ll need all-purpose flour for this recipe.
- Yeast: The magic that makes the bread rise. Active dry yeast works wonderfully for this recipe.
- Sugar: A little sweetness to balance the yeast and help the bread rise.
- Salt: To enhance the flavor and keep the dough from becoming too bland.
- Warm Water: The perfect temperature to activate the yeast and get things rising.
- Butter: A small amount of butter adds richness and helps the bread stay soft.
- Milk: Milk adds a nice, subtle creaminess to the dough, making it extra tender.
- Eggs: Eggs help the dough come together and add structure to the bread.
(Note: Full ingredient measurements are provided in the recipe card below!)
Instructions
Let’s get baking! Grandma’s recipe might seem simple, but trust me, it’s the small details that make all the difference.
1. Activate the Yeast
Start by combining the warm water, sugar, and yeast in a bowl. Let it sit for about 5-10 minutes. You’ll know it’s ready when the mixture becomes frothy and bubbly—this means the yeast is alive and ready to work its magic.
2. Mix the Wet Ingredients
In a large bowl, combine the milk, melted butter, and eggs. Stir gently until everything is well combined. The butter adds richness, while the eggs help give the bread a light texture. Don’t rush this step—let the ingredients come together nicely.
3. Add the Dry Ingredients
Next, add the salt and flour to the wet mixture, one cup at a time. Mix as you go, forming a soft dough. You can use a wooden spoon or your hands, whichever you prefer. The dough will come together and might feel slightly sticky—that’s okay!
4. Knead the Dough
Lightly flour a clean surface and turn your dough out. Begin kneading the dough for about 8-10 minutes. You’ll want to push and fold it over itself, stretching it out. The dough should become smooth, elastic, and a bit less sticky as you knead. This step helps develop the gluten, giving your bread that soft, chewy texture.
5. First Rise
Place your dough in a greased bowl, cover it with a clean kitchen towel, and let it rise for about 1-1.5 hours, or until it doubles in size. This is when the dough does its thing and becomes light and airy. It’s almost like watching magic happen!
6. Punch Down and Shape
Once your dough has risen, gently punch it down to release any air bubbles. Turn the dough out onto a floured surface and shape it into a loaf. You can either roll it into a traditional loaf shape or make it into a round boule, depending on what kind of bread you like best.
7. Second Rise
Place your shaped dough into a greased loaf pan (or onto a baking sheet if you’re making a round loaf) and cover it with the kitchen towel again. Let it rise for another 30-45 minutes, or until it’s puffed up and ready for the oven.
8. Bake to Perfection
Preheat your oven to 350°F (175°C). Once the dough has risen, pop it into the oven and bake for 25-30 minutes, or until the bread is golden brown on top and sounds hollow when tapped on the bottom. The smell will be amazing!
9. Cool and Serve
Once the bread is out of the oven, let it cool on a wire rack for about 10 minutes before slicing. While it’s tempting to slice into it right away, giving it a little time to cool makes all the difference in texture. Plus, it’s worth the wait.
How to Serve Grandma’s Perfect Homemade Bread
There are endless ways to enjoy this bread—here are a few of our favorites:
- Warm with Butter: Just slice off a piece while it’s still warm, spread some butter, and enjoy the soft, melt-in-your-mouth goodness.
- For Sandwiches: This bread makes amazing sandwiches! Use it for everything from classic PB&J to a hearty turkey and cheese sandwich.
- Toast: Leftover slices make the perfect toast. Just pop them in the toaster and top with your favorite spread—maybe jam, honey, or even avocado!
- With Soup: Serve alongside a comforting bowl of soup or stew for the ultimate cozy meal.
- French Toast: If you’ve got leftovers, make some French toast! The soft, fluffy texture is perfect for soaking up egg and cinnamon.
Additional Tips
- Don’t Rush the Rising: The rising time is key to achieving soft, airy bread. If you can, let it rise for a little longer than the recipe calls for—you’ll get a fluffier result.
- Watch the Oven: Every oven is different, so keep an eye on the bread as it bakes. It should be golden brown on top and sound hollow when tapped on the bottom.
- Storage: Store any leftover bread in a plastic bag or bread box to keep it fresh. It should stay good for 3-4 days at room temperature. You can also freeze it for longer storage.
- Make it Your Own: Try adding herbs like rosemary or thyme to the dough for a savory twist, or mix in some cinnamon and sugar for a sweet treat.
FAQ Section
Q1: Can I use a bread machine for this recipe?
A1: Yes! You can use a bread machine to knead the dough, but you’ll still need to let it rise and bake in the oven. Follow the instructions for your machine, and just transfer the dough to the oven for baking.
Q2: Can I freeze the dough before baking?
A2: Yes! You can freeze the dough after the first rise. Just shape it, cover it tightly, and freeze for up to 3 months. When you’re ready to bake, let it thaw and rise before baking.
Q3: Can I make this recipe without milk?
A3: You can substitute the milk with water or a dairy-free alternative like almond milk. The texture will change slightly, but it will still be delicious.
Q4: How can I make this bread whole wheat?
A4: You can substitute up to half of the all-purpose flour with whole wheat flour. If you use all whole wheat, you may need to add a bit more liquid to the dough.
Q5: Can I use instant yeast instead of active dry yeast?
A5: Yes! Instant yeast can be substituted in the same amount without needing to activate it in water. Just mix it directly into the flour.
Q6: How can I make the bread sweeter?
A6: If you’d like a sweeter bread, you can add a couple of tablespoons of extra sugar or a bit of honey to the dough.
Q7: What should I do if the dough isn’t rising?
A7: If your dough isn’t rising, it could be that the yeast is too old or the water temperature was too hot or too cold. Make sure your water is warm (around 110°F/43°C) and that your yeast is fresh.
Q8: Can I make this bread gluten-free?
A8: Yes, you can use a gluten-free all-purpose flour blend. However, the texture will be different, and you may need to experiment with additional ingredients to help it rise.
Q9: Can I add mix-ins like cheese or herbs?
A9: Absolutely! You can fold in herbs, cheese, or even olives during the last few minutes of kneading for a fun twist on the classic recipe.
Q10: How do I know when the bread is done?
A10: The bread is done when the top is golden brown, and it sounds hollow when tapped on the bottom. You can also check the internal temperature—aim for about 190°F (88°C) for perfectly baked bread.
Conclusion
Grandma’s Perfect Homemade Bread isn’t just a recipe—it’s a tradition, a memory, and a way to bring a little extra warmth and love into your home. Whether it’s fresh out of the oven or toasted the next day, this bread will always remind you of the simple joys of homemade goodness. So, grab your apron, roll up your sleeves, and get ready to make something truly special. Happy baking!
Print
Grandma’s Perfect Homemade Bread
- Total Time: 0 hours
- Yield: 1 loaf (12 slices)
Description
This classic Grandma’s Homemade Bread recipe creates the perfect loaf with a soft, fluffy texture and a golden, crispy crust. With simple ingredients and a little patience, you’ll have a warm, fresh loaf that fills your kitchen with the irresistible aroma of homemade bread. Whether you’re making sandwiches or enjoying a slice with butter, this bread is sure to become a family favorite.
Ingredients
- 2 1/4 teaspoons active dry yeast (1 packet)
- 1 cup warm water (110°F/45°C)
- 1 tablespoon sugar
- 3 tablespoons olive oil (or vegetable oil)
- 1 1/2 teaspoons salt
- 3 cups all-purpose flour (more for kneading)
- 1 tablespoon honey (optional, for extra flavor)
- 1 tablespoon butter (for greasing the pan)
Instructions
-
Activate the Yeast:
In a small bowl, combine the warm water, sugar, and yeast. Stir gently and let it sit for about 5-10 minutes, until it becomes frothy. -
Mix the Dough:
In a large mixing bowl, add the flour and salt. Pour in the activated yeast mixture, olive oil, and honey (if using). Stir until the dough begins to come together. -
Knead the Dough:
Turn the dough onto a lightly floured surface and knead for about 8-10 minutes, or until the dough is smooth and elastic. If the dough is too sticky, add a little more flour, a tablespoon at a time. -
First Rise:
Lightly grease a large bowl with olive oil or butter. Place the dough in the bowl, cover with a clean kitchen towel, and let it rise in a warm place for about 1 hour, or until it has doubled in size. -
Shape the Loaf:
Once the dough has risen, punch it down to release the air. Turn it out onto a floured surface and shape it into a loaf. Place the shaped dough into a greased 9×5-inch loaf pan. -
Second Rise:
Cover the loaf with the kitchen towel again and let it rise for about 30 minutes, or until it has puffed up slightly. -
Bake the Bread:
Preheat the oven to 375°F (190°C). Bake the bread for 25-30 minutes, or until the top is golden brown and the bread sounds hollow when tapped on the bottom. -
Cool:
Remove the bread from the pan and let it cool on a wire rack for at least 10 minutes before slicing.
Notes
- Add-ins: You can add 1/2 cup of seeds, nuts, or dried herbs to the dough for extra flavor and texture.
- Bread Storage: This bread stays fresh for about 3-4 days at room temperature when wrapped in plastic or stored in an airtight container. It can also be frozen for up to 3 months.
- For a Crispier Crust: For an extra crispy crust, place a small pan of water at the bottom of the oven while baking, or spray the dough with water before baking.
- Prep Time: 15 minutes
- Cook Time: 25-30 minutes
- Category: Bread
- Method: Baking
- Cuisine: American
Nutrition
- Serving Size: 1 slice (from 12 slices per loaf)
- Calories: 150 kcal
- Sugar: 2g
- Sodium: 180mg
- Fat: 3g
- Saturated Fat: 0.5g
- Unsaturated Fat: 2.5g
- Trans Fat: 0 g
- Carbohydrates: 28g
- Fiber: 1g
- Protein: 4g
- Cholesterol: 0mg


