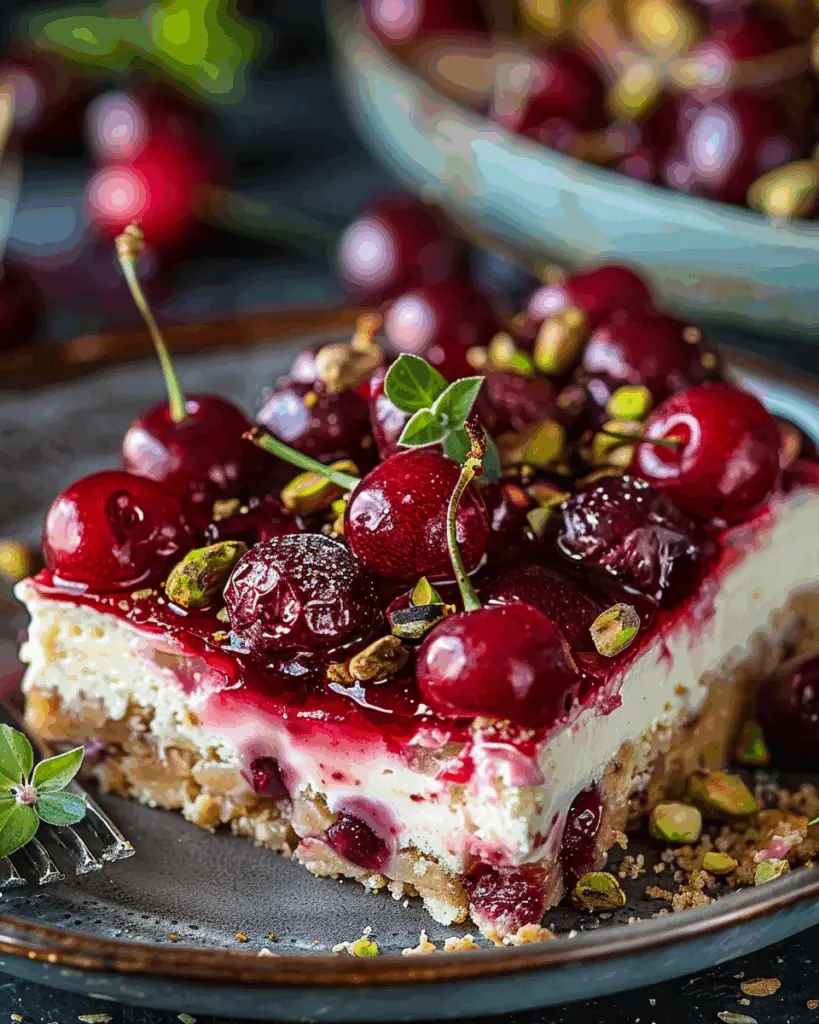
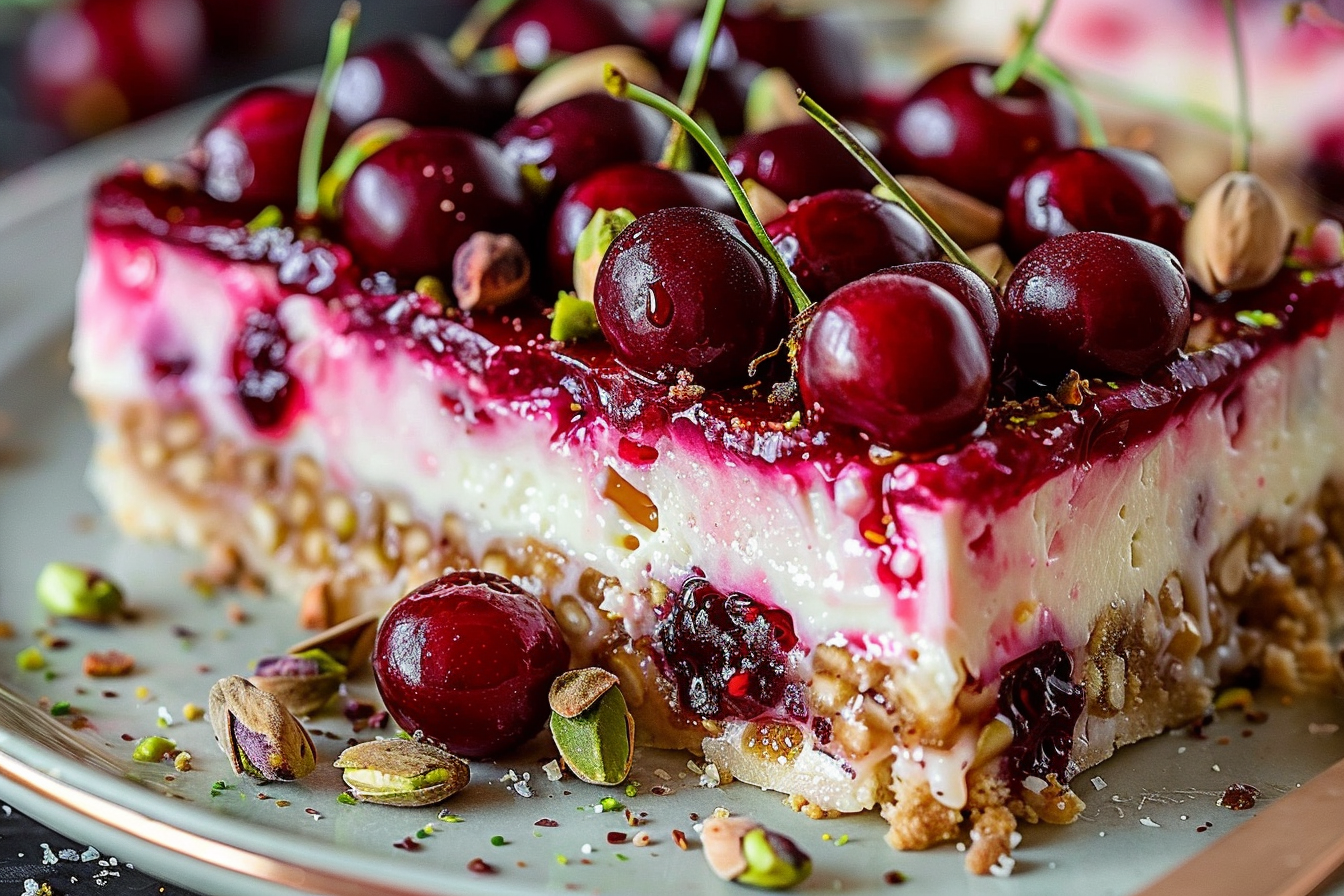
Okay, if you’re on the hunt for a dessert that’s both stunning and downright irresistible, these Heavenly Cherry Pistachio Cheesecake Bars are going to blow your mind. Imagine luscious, creamy cheesecake nestled on a buttery crust, studded with vibrant cherries and crunchy pistachios that add just the right amount of texture and pop. It’s like a little bite of heaven in every bar—sweet, tangy, nutty, and smooth all at once. Trust me, once you try these, they’ll become your new go-to dessert for everything from casual dinners to special celebrations. This one’s a total crowd-pleaser and a game-changer for cheesecake lovers!
Why You’ll Love Heavenly Cherry Pistachio Cheesecake Bars
This recipe isn’t just about the ingredients—it’s about creating moments. Whether you’re baking for a family gathering, a picnic, or just to treat yourself (because you deserve it!), these bars fit every occasion beautifully. Here’s why they’re a favorite:
Versatile: Perfect for everything from casual snack time to fancy dessert trays. Imagine bringing these to a potluck and watching everyone swoon over each bite.
Budget-Friendly: Uses simple pantry staples plus a handful of fresh or frozen cherries and pistachios. No fancy equipment or exotic ingredients needed!
Quick and Easy: Straightforward, no-fuss instructions that even the busiest bakers can handle. You’ll have dessert ready in under an hour.
Customizable: Love it more cherry-forward? Add extra fruit. Prefer more crunch? Pile on the pistachios. Feel free to tweak it your way!
Crowd-Pleasing: The creamy cheesecake meets fresh fruit and crunchy nuts combo always wows both kids and adults alike.

Disclosure: This post contains affiliate links.If you click and make a purchase, I may earn a small commission at no extra cost to you.
Ingredients in Heavenly Cherry Pistachio Cheesecake Bars
Here’s the magic that makes these bars sing—they combine the creaminess of cheesecake with the freshness of cherries and the satisfying crunch of pistachios. Let’s break it down:
Cream Cheese: The silky, rich base that makes these bars feel indulgent and smooth.
Sugar: Sweetens everything perfectly without overpowering the natural cherry tang.
Eggs: Bind it all together and give the cheesecake structure and that melt-in-your-mouth texture.
Vanilla Extract: Adds a warm, fragrant hint that brings out all the flavors.
Cherries: Juicy and slightly tart, these pop with fresh flavor—use fresh, frozen, or even jarred cherries depending on your stash.
Pistachios: Toasted and chopped for a nutty crunch that contrasts beautifully with the creamy filling.
Graham Cracker Crust: Buttery, crumbly, and the perfect base to hold everything together.
(Note: the full ingredients list, including measurements, is provided in the recipe card directly below.)
Instructions for Heavenly Cherry Pistachio Cheesecake Bars
Let’s walk through the steps to create these dreamy dessert bars:
Preheat Your Oven
Start by preheating your oven to 325°F (165°C). This low and slow bake ensures your cheesecake stays creamy without cracking.
Prepare the Crust
Mix your graham cracker crumbs with melted butter and a little sugar until the mixture feels like wet sand. Press it firmly into a greased baking pan, creating an even layer. This crust is the foundation for all that creamy goodness.
Make the Cheesecake Filling
In a large bowl, beat together the cream cheese and sugar until super smooth and creamy. Add the eggs one at a time, mixing gently to keep it light. Stir in vanilla extract to infuse warm, cozy notes throughout the filling.
Add the Cherries and Pistachios
Fold in the cherries and pistachios carefully, distributing them evenly so every bite gets a perfect balance of flavor and texture.
Assemble and Bake
Pour the cheesecake mixture over the crust, smoothing the top with a spatula. Bake for about 40-45 minutes, until the edges are set but the center still has a slight wobble—this means it’ll be perfectly creamy when cooled.
Cool and Chill
Let the bars cool at room temperature, then pop them in the fridge for at least 3 hours or overnight. Chilling is key for that firm, sliceable texture everyone loves.
Serve and Enjoy
Cut into squares, garnish with extra pistachios or fresh cherries if you like, and dive in! These bars are divine on their own or paired with a dollop of whipped cream.
Nutrition Facts
Servings: 12
Calories per serving: About 320 (varies with ingredients)
Preparation Time
Prep Time: 15 minutes
Cook Time: 45 minutes
Chill Time: 3+ hours
Total Time: About 4 hours
How to Serve Heavenly Cherry Pistachio Cheesecake Bars
These bars are versatile dessert stars, perfect for lots of serving styles:
With Whipped Cream: A cloud of freshly whipped cream takes them to the next level.
Fresh Fruit: Serve alongside a medley of berries for a fresh, vibrant touch.
Coffee or Tea: Pair with your favorite hot drink for an afternoon pick-me-up.
Party Platters: These bars hold their shape well, making them great for buffets or potlucks.
On Their Own: Rich and satisfying enough to enjoy solo as a sweet treat anytime.
Additional Tips
Here are some extra pointers to get your bars perfect every time:
Prep Ahead: Make the crust and filling the day before and bake fresh, or bake ahead and chill until serving.
Toasting Pistachios: Toast them lightly in a dry skillet for extra flavor before adding.
Cherry Options: Frozen cherries work great—just thaw and drain excess juice to avoid sogginess.
Storage Tips: Keep leftovers refrigerated in an airtight container for up to 4 days.
Freeze for Later: These bars freeze well wrapped tightly—thaw overnight before serving.
FAQ Section
Q1: Can I use other nuts instead of pistachios?
A1: Yes! Almonds, walnuts, or pecans would be delicious swaps.
Q2: Can I substitute fresh cherries with frozen or canned?
A2: Absolutely. Just thaw frozen cherries and drain canned ones well to prevent extra moisture.
Q3: Can I make these bars vegan?
A3: With some ingredient swaps like vegan cream cheese and egg replacers, yes! The texture will be slightly different but still tasty.
Q4: How do I prevent the cheesecake from cracking?
A4: Bake at a lower temperature and avoid overbaking; the slight wobble in the center is key.
Q5: What’s the best pan size to use?
A5: An 8×8 or 9×9 inch square baking pan works best for these bars.
Q6: Can I add other fruits?
A6: Definitely! Blueberries, raspberries, or chopped strawberries would be great additions.
Q7: How long do these bars last?
A7: Stored in the fridge, they last up to 4 days. Freeze for longer storage.
Q8: Can I make mini bars or cupcakes instead?
A8: Yes! Use a muffin tin lined with cupcake papers and adjust baking time to about 20-25 minutes.
Q9: How to get a crunchy crust?
A9: Press the crust firmly into the pan and bake it for 8-10 minutes before adding the filling.
Q10: What’s the best way to cut these bars cleanly?
A10: Chill thoroughly and use a sharp knife wiped clean between cuts.
There you go! Heavenly Cherry Pistachio Cheesecake Bars that are as beautiful as they are delicious. Perfect for impressing guests or treating yourself to a slice of pure bliss. Can’t wait for you to try these—you’re going to nail it!
Print
Heavenly Cherry Pistachio Cheesecake Bars
- Total Time: 45 minutes
- Yield: 4 packets 1x
- Diet: Gluten Free
Description
Savory cheeseburger-inspired foil packets filled with seasoned ground beef, potatoes, and melted cheddar, perfect for grilling or baking.
Ingredients
- 1 lb ground beef (80/20)
- 4 medium Yukon gold potatoes, thinly sliced
- 1 medium yellow onion, sliced
- 1 cup shredded cheddar cheese
- 2 tbsp Worcestershire sauce
- 1 tsp garlic powder
- 1 tsp onion powder
- 1 tsp smoked paprika
- 1/2 tsp salt
- 1/4 tsp black pepper
- 1/4 cup dill pickle slices
- 2 tbsp olive oil
- 4 tbsp ketchup (optional, for serving)
Instructions
- Preheat grill to medium-high (400°F/200°C) or oven to 400°F (200°C). Cut four 12×12-inch sheets of heavy-duty aluminum foil.
- In a large bowl, mix ground beef, Worcestershire sauce, garlic powder, onion powder, smoked paprika, salt, and pepper until well combined.
- Toss sliced potatoes and onions with olive oil in another bowl.
- Divide potato-onion mixture evenly among foil sheets, placing in the center. Top each with a portion of seasoned ground beef, forming a loose patty shape. Add pickle slices on top.
- Fold foil over ingredients, sealing tightly to form packets. Place on grill or baking sheet.
- Grill or bake for 25-30 minutes, until beef is cooked through (160°F/71°C internal temperature) and potatoes are tender.
- Carefully open packets, sprinkle cheddar cheese over beef, and reseal for 2-3 minutes to melt cheese. Serve with ketchup, if desired.
Notes
- Substitute ground turkey or plant-based meat for a lighter or vegetarian option.
- Add diced bell peppers or mushrooms for extra veggies.
- Store leftovers in the fridge for up to 3 days; reheat in oven or microwave.
- Prep Time: 15 minutes
- Cook Time: 30 minutes
- Category: Main Dish
- Method: Grilling or Baking
- Cuisine: American
Nutrition
- Serving Size: 1 packet
- Calories: 480 kcal
- Sugar: 3 g
- Sodium: 720 mg
- Fat: 28 g
- Saturated Fat: 11 g
- Unsaturated Fat: 15 g
- Trans Fat: 0.5 g
- Carbohydrates: 28 g
- Fiber: 4 g
- Protein: 28 g
- Cholesterol: 95 mg


