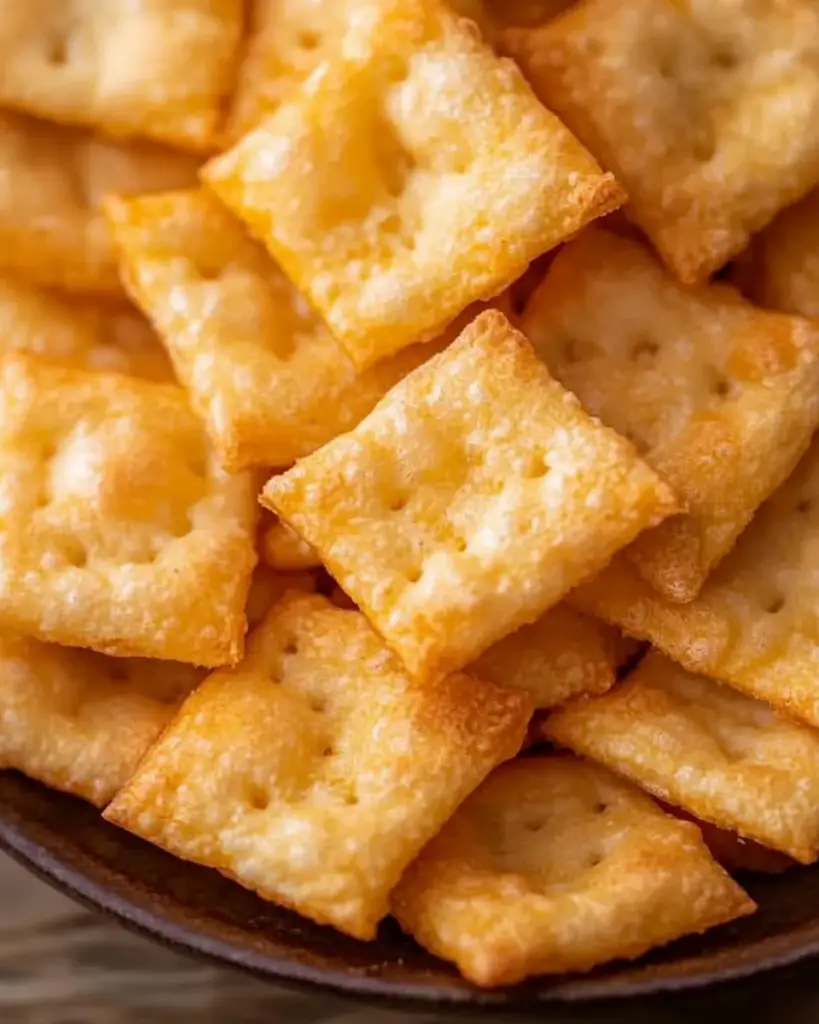
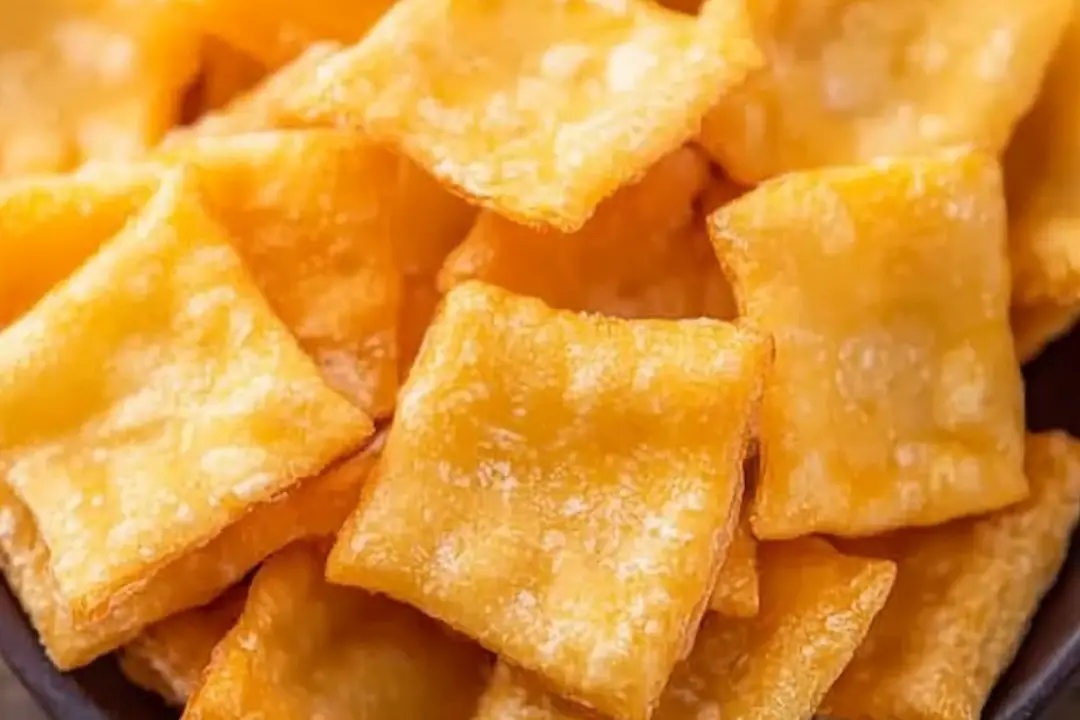
Who doesn’t love a crispy, cheesy snack that’s totally irresistible? If you’re a fan of Cheez-Its, you’re going to love this homemade version! These little bites are perfectly crunchy, with that iconic cheesy flavor you crave, and the best part? They’re made right in your own kitchen! Imagine the warm, savory smell wafting through your house as they bake, filling the air with a promise of snack-time bliss. Trust me, once you make these, you’ll never want to go back to the store-bought kind!
Why You’ll Love Homemade Cheez-Its
There are so many reasons to fall in love with these homemade Cheez-Its, but let me break it down for you:
Simple Ingredients
You probably already have most of the ingredients in your pantry—cheddar cheese, butter, flour, and a few seasonings. No need for a list of unpronounceable chemicals here!
Crispy, Cheesy Goodness
The texture is spot-on, with each bite delivering the perfect crunch. The cheese flavor is bold and savory, with just the right amount of salt. One bite, and you’ll be hooked.
Made From Scratch
Making your own Cheez-Its means you can customize the cheese flavor to your liking (sharp cheddar, anyone?). Plus, there’s something extra satisfying about making a snack from scratch.
Better Than Store-Bought
Sure, the store-bought version is convenient, but homemade is always better, right? These are fresher, tastier, and free from any weird additives. Plus, you can bake them exactly to your preferred level of crunch.

Disclosure: This post contains affiliate links.If you click and make a purchase, I may earn a small commission at no extra cost to you.
Ingredients
Here’s what you’ll need to make your own homemade Cheez-Its:
- Cheddar cheese (shredded, preferably sharp)
- All-purpose flour
- Unsalted butter (cold and cut into small pieces)
- Salt
- Water
- Garlic powder (optional, for extra flavor)
- Paprika (optional, for a little kick)
(Note: Full ingredient measurements are provided in the recipe card below.)
Instructions
Making Homemade Cheez-Its is super easy. Just follow these simple steps, and you’ll have a batch of crunchy cheesy goodness in no time!
Step 1: Preheat the Oven
Preheat your oven to 350°F (175°C) and line a baking sheet with parchment paper. This will help keep the Cheez-Its from sticking and make cleanup a breeze.
Step 2: Mix the Dry Ingredients
In a large bowl, whisk together the flour, salt, garlic powder, and paprika (if using). This will ensure the seasonings are evenly distributed.
Step 3: Add the Cheese and Butter
Add the shredded cheddar cheese to the flour mixture. Using your fingers or a pastry cutter, work the cold butter into the mixture until it resembles coarse crumbs. You want the butter to be evenly distributed but not fully blended in. The little chunks of butter are what will help create those delicious flaky layers.
Step 4: Add Water
Slowly add cold water, one tablespoon at a time, stirring after each addition, until the dough comes together. You don’t want it to be too wet or too dry—just enough to form a dough that holds together.
Step 5: Roll Out the Dough
Turn the dough out onto a lightly floured surface. Roll it out to about 1/8-inch thickness. The thinner you roll the dough, the crispier your Cheez-Its will be!
Step 6: Cut Into Squares
Use a sharp knife or a pizza cutter to cut the dough into small squares, about 1 inch in size. If you want them to be extra authentic, you can even use a toothpick to poke a small hole in the center of each square to mimic the classic Cheez-It shape.
Step 7: Bake
Transfer the squares onto your prepared baking sheet. Bake in the preheated oven for 10-12 minutes, or until the Cheez-Its are golden brown and crispy. Keep an eye on them, as they can go from perfect to overdone pretty quickly.
Step 8: Cool and Enjoy
Let the Cheez-Its cool completely on the baking sheet before transferring them to a serving bowl. They’ll crisp up even more as they cool. Grab a handful, sit back, and enjoy!
Nutrition Facts
Servings: 8
Calories per serving: 160
Total Fat: 11g
Saturated Fat: 6g
Cholesterol: 30mg
Sodium: 400mg
Total Carbohydrates: 14g
Dietary Fiber: 1g
Sugars: 0g
Protein: 5g
Preparation Time
Prep Time: 15 minutes
Cook Time: 10-12 minutes
Total Time: 25-30 minutes
How to Serve Homemade Cheez-Its
These Homemade Cheez-Its are the ultimate snack, but they can also be paired with a variety of fun dips and sides. Here are some ideas:
With a Dip
Pair these cheesy crackers with your favorite dips, like ranch dressing, guacamole, or hummus. The crunchiness of the Cheez-Its is the perfect complement to creamy dips.
As a Snack
Of course, you can enjoy them on their own as a snack during movie night, at a party, or just because you’re craving something crispy and cheesy!
In a Salad
Toss these Cheez-Its on top of a salad for an added crunch. They make a fun, cheesy alternative to croutons.
With Soup
Serve alongside a bowl of tomato soup or any creamy soup. The crispy texture and cheesy flavor make for the ultimate dipping companion.
Additional Tips
Customize the Flavor
Feel free to get creative with the seasonings! Add a little cayenne pepper for heat or some dried herbs like rosemary or thyme for a twist.
Make Them Gluten-Free
To make these Cheez-Its gluten-free, just swap out the all-purpose flour with a gluten-free flour blend. Make sure to use a blend that works for baking to get the best texture.
Storage
Store your homemade Cheez-Its in an airtight container at room temperature for up to a week. They’re best enjoyed within the first few days for maximum crunch, but they’ll still be tasty after a few days!
Batch It Up
If you’re making a large batch, these Cheez-Its freeze really well! Just layer them in a freezer-safe bag or container, and they’ll stay fresh for up to 3 months.
FAQ Section
Q1: Can I use pre-shredded cheese?
A1: While it’s possible to use pre-shredded cheese, freshly shredded cheese melts better and will give you a crispier texture. If you do use pre-shredded cheese, be aware that it may have anti-caking agents that could slightly affect the texture.
Q2: Can I make these dairy-free?
A2: Yes, you can! Swap the cheddar cheese with a dairy-free cheese option, and use a plant-based butter to make these dairy-free. They’ll still have that cheesy flavor, just with a different twist.
Q3: Can I use a food processor to make the dough?
A3: Absolutely! If you have a food processor, it can speed up the process. Just pulse the flour, salt, garlic powder, and butter until it resembles coarse crumbs, then add the cheese and pulse again before adding the water.
Q4: How thin should I roll the dough?
A4: Roll the dough to about 1/8-inch thickness. This ensures that your Cheez-Its are nice and crispy without being too hard.
Q5: How can I make these even cheesier?
A5: You can boost the cheese flavor by adding a little grated Parmesan or a dash of cheddar powder to the mix.
Q6: How do I store leftover Cheez-Its?
A6: Store your homemade Cheez-Its in an airtight container at room temperature. They should stay fresh for about 5-7 days, but they’re best when eaten within the first couple of days.
Q7: Can I freeze the dough before baking?
A7: Yes, you can freeze the dough! Simply wrap it tightly in plastic wrap and freeze for up to a month. When ready to bake, let it thaw in the fridge overnight, then proceed with the recipe as usual.
Q8: Can I make these Cheez-Its spicy?
A8: Absolutely! You can add cayenne pepper, chili powder, or even crushed red pepper flakes to the dough to give your Cheez-Its a spicy kick.
Q9: Can I make this recipe without a rolling pin?
A9: Yes! If you don’t have a rolling pin, you can use a clean bottle or even your hands to flatten the dough. Just make sure it’s evenly spread to get consistent baking results.
Q10: How can I make these Cheez-Its a little thicker for a heartier crunch?
A10: Roll the dough out to about 1/4-inch thickness for a thicker, heartier Cheez-It. You’ll get a more substantial crunch, but the flavor will still be just as cheesy and delicious.
Conclusion
These Homemade Cheez-Its are the ultimate cheesy snack that’s not only fun to make but also way more satisfying than the store-bought version. With just a handful of ingredients and a little time, you’ll have a batch of crispy, cheesy crackers that everyone will love. Perfect for snacking, parties, or just enjoying on your own—these homemade Cheez-Its are sure to become a new favorite!
Print
Homemade Cheez-Its
- Total Time: 0 hours
- Yield: Approximately 3 cups of crackers (about 30-40 crackers)
Description
Homemade Cheez-Its are the ultimate cheesy snack! With their crispy texture and rich cheese flavor, these homemade crackers are even better than the store-bought version. Made with real cheese, butter, and a hint of seasoning, these bite-sized crackers are perfect for snacking or serving at a party. Easy to make and way more delicious, you’ll never go back to the box!
Ingredients
-
1 1/2 cups all-purpose flour
-
1/2 teaspoon salt
-
1/4 teaspoon paprika
-
1/2 cup unsalted butter, cold and cubed
-
1 1/2 cups shredded sharp cheddar cheese
-
2-3 tablespoons ice water (as needed)
Instructions
-
Preheat the Oven:
Preheat your oven to 375°F (190°C). Line a baking sheet with parchment paper or a silicone baking mat. -
Prepare the Dough:
In a food processor, combine the flour, salt, and paprika. Add the cubed butter and pulse until the mixture resembles coarse crumbs. -
Add the Cheese:
Add the shredded cheddar cheese to the food processor and pulse until the mixture is well combined. -
Add Water:
Slowly add the ice water, 1 tablespoon at a time, pulsing in between, until the dough just comes together. You might need 2-3 tablespoons of water depending on the consistency. -
Roll Out the Dough:
Turn the dough out onto a lightly floured surface and roll it out to about 1/8-inch thickness. The thinner, the crispier! -
Cut the Crackers:
Using a sharp knife or a pizza cutter, cut the dough into small squares (about 1 inch). If you’d like, use a fork to poke holes in the center of each square for that classic Cheez-It look. -
Bake:
Transfer the cut crackers to the prepared baking sheet, arranging them in a single layer. Bake for 12-15 minutes or until the crackers are golden brown and crispy. -
Cool and Enjoy:
Let the homemade Cheez-Its cool completely on the baking sheet. Once cooled, enjoy them as a snack or store them in an airtight container for up to a week.
Notes
-
Cheese Varieties: You can experiment with different types of cheese, such as mozzarella or gouda, to customize the flavor. However, sharp cheddar gives the best classic Cheez-It taste.
-
Make them Spicy: Add a pinch of cayenne pepper or red pepper flakes to the dough for a spicy kick!
-
Storage: These homemade crackers stay fresh for up to a week in an airtight container. For longer storage, you can freeze them for up to 3 months.
- Prep Time: 10 minutes
- Cook Time: 15-20 minutes
- Category: Snack, Dessert
- Method: Baking
- Cuisine: American
Nutrition
- Serving Size: About 1/4 cup (8-10 crackers)
- Calories: 150
- Sugar: 0g
- Sodium: 150mg
- Fat: 12g
- Saturated Fat: 7g
- Unsaturated Fat: 4g
- Trans Fat: 0g
- Carbohydrates: 12g
- Fiber: 0g
- Protein: 4g
- Cholesterol: 25mg


