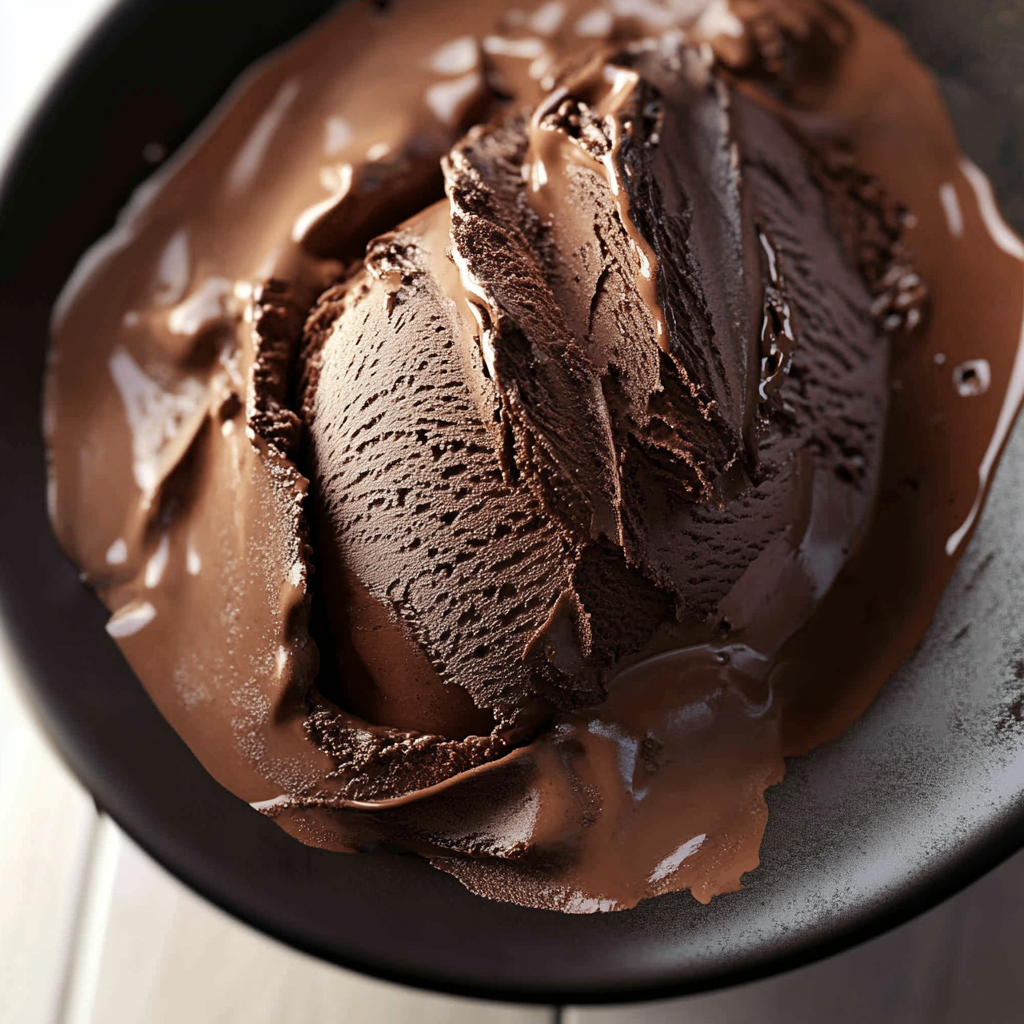
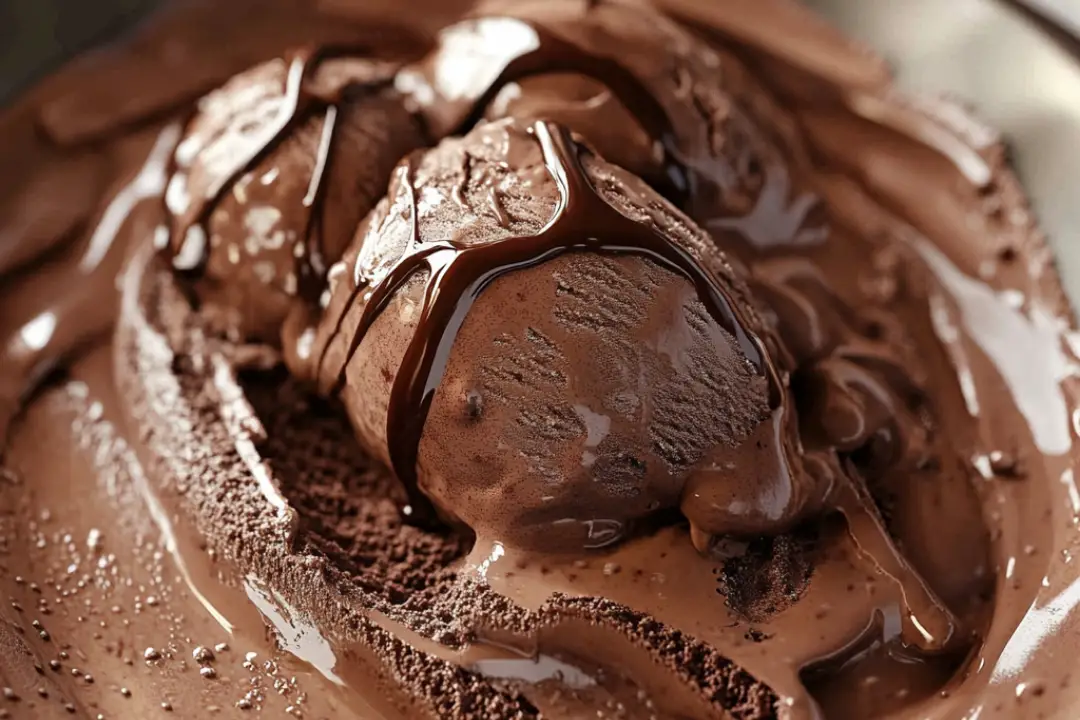
Who’s ready to whip up a scoop (or three) of pure chocolate bliss right in their own kitchen? Homemade Chocolate Ice Cream is that creamy, dreamy dessert that melts in your mouth and leaves you craving more. Imagine the rich, velvety chocolate flavor swirling with just the right amount of sweetness and a silky texture that feels like a little hug on a hot day. Whether you’re treating yourself or impressing friends at your next get-together, this recipe is your ticket to ice cream heaven. Trust me, you’re going to love this one!
Why You’ll Love Homemade Chocolate Ice Cream
This isn’t just any ice cream—it’s an experience. Here’s why this homemade version steals the show:
- Ultra Creamy Texture: Made with real cream and chocolate, every spoonful is luscious and smooth.
- Rich Chocolate Flavor: Deep, intense cocoa combined with melted chocolate for that irresistible chocolaty punch.
- Simple Ingredients: No weird additives or preservatives here—just the good stuff.
- Customizable Sweetness: Adjust the sugar to fit your taste, whether you like it sweeter or more bittersweet.
- Perfect for Any Occasion: Great for summer days, dessert after dinner, or just because you deserve it.

Disclosure: This post contains affiliate links.If you click and make a purchase, I may earn a small commission at no extra cost to you.
Ingredients
This homemade chocolate ice cream comes together with a handful of classic ingredients that make all the difference:
Heavy Cream and Whole Milk
The creamy base that creates that silky, rich texture we all love.
Cocoa Powder
For that deep, chocolatey flavor that hits all the right notes.
Semi-Sweet or Dark Chocolate
Melted into the mix to give an intense chocolate boost and extra creaminess.
Granulated Sugar
Balances the bitterness of the cocoa and chocolate with just the right amount of sweetness.
Egg Yolks
These help thicken the custard base and add to the smooth, creamy texture.
Vanilla Extract
Just a touch to round out the chocolate flavor and add warmth.
Salt
A pinch to enhance all the flavors and make the chocolate really pop.
Instructions
Let’s get that ice cream maker spinning with these simple steps:
Step 1: Prepare the Chocolate Base
In a medium saucepan, whisk together cocoa powder, sugar, and salt. Gradually whisk in the milk and cream until smooth. Heat over medium until the mixture is hot but not boiling, stirring occasionally.
Step 2: Temper the Egg Yolks
In a separate bowl, whisk the egg yolks. Slowly pour about half a cup of the hot chocolate mixture into the yolks while whisking constantly to temper them (this prevents scrambling). Then, pour the yolk mixture back into the saucepan.
Step 3: Cook the Custard
Cook over medium-low heat, stirring constantly, until the mixture thickens and coats the back of a spoon (about 170–175°F or 77–80°C). Remove from heat and stir in the melted chocolate and vanilla extract until smooth.
Step 4: Chill the Mixture
Pour the custard through a fine mesh sieve into a bowl to remove any cooked bits. Cover and chill in the refrigerator for at least 4 hours or overnight. This step is key for a creamy texture.
Step 5: Churn the Ice Cream
Pour the chilled custard into your ice cream maker and churn according to the manufacturer’s instructions until it reaches a soft-serve consistency.
Step 6: Freeze to Firm Up
Transfer the ice cream to an airtight container and freeze for at least 2 hours to firm up before serving.
How to Serve Homemade Chocolate Ice Cream
This ice cream is a star all on its own, but here are some ideas to jazz it up:
- Classic Sundae: Top with whipped cream, nuts, and a drizzle of hot fudge or caramel sauce.
- Ice Cream Sandwiches: Sandwich it between your favorite cookies for a fun treat.
- With Fresh Berries: The tartness of berries pairs beautifully with rich chocolate.
- Mocha Twist: Add a shot of espresso on top for a grown-up coffee-chocolate combo.
- Milkshake: Blend with a splash of milk for a luscious homemade shake.
Additional Tips
- Use High-Quality Chocolate: It makes a noticeable difference in flavor.
- Don’t Skip the Chill: The custard needs time to cool completely before churning to avoid icy texture.
- Customize Flavors: Add a pinch of cinnamon or a splash of peppermint extract for fun variations.
- No Ice Cream Maker? Freeze the mixture in a shallow container, stirring every 30 minutes until creamy.
FAQ Section
Q1: Can I make this dairy-free?
A1: Yes! Use coconut milk and coconut cream for a rich, dairy-free version.
Q2: How long does homemade ice cream last?
A2: Store it in an airtight container in the freezer for up to 2 weeks for best texture and flavor.
Q3: Can I add mix-ins?
A3: Definitely! Chocolate chips, nuts, or chunks of brownies are all great additions—fold them in near the end of churning.
Q4: What if I don’t have an ice cream maker?
A4: Freeze the custard in a shallow container, stirring vigorously every 30 minutes until smooth.
Q5: Can I use milk instead of cream?
A5: You can, but the texture will be less rich and creamy.
Conclusion
Homemade Chocolate Ice Cream is one of those indulgent treats that’s totally worth the little extra effort. It’s rich, creamy, and bursting with chocolate flavor that beats any store-bought version hands down. Whether you’re spoiling yourself or sharing with friends, this recipe is guaranteed to bring smiles and satisfied sighs. So grab your ingredients, crank up that mixer, and get ready to scoop your way to chocolate paradise!
Print
Homemade Chocolate Ice Cream
- Total Time: 15 minutes + freeze time
- Yield: 6 servings
- Diet: Vegetarian
Description
Homemade Chocolate Ice Cream is a creamy, rich, and smooth frozen dessert that you can make easily at home without an ice cream maker. This no-churn recipe uses cocoa powder and chocolate to create deep chocolate flavor with a luscious texture.
Ingredients
- 2 cups heavy whipping cream, cold
- 1 (14 oz) can sweetened condensed milk
- 1/2 cup unsweetened cocoa powder
- 1/2 cup semi-sweet chocolate chips, melted and slightly cooled
- 1 teaspoon vanilla extract
- Pinch of salt
Instructions
- Whip Cream: In a large bowl, whip the cold heavy cream until stiff peaks form.
- Mix Chocolate Base: In another bowl, whisk together sweetened condensed milk, cocoa powder, melted chocolate, vanilla extract, and salt until smooth.
- Fold Together: Gently fold the chocolate mixture into the whipped cream until fully combined, keeping the mixture light and airy.
- Freeze: Pour the mixture into a freezer-safe container, smooth the top, and cover with a lid or plastic wrap.
- Chill: Freeze for at least 6 hours or overnight until firm.
- Serve: Scoop and enjoy plain or with your favorite toppings.
Notes
- Use high-quality cocoa powder and chocolate for the best flavor.
- For extra texture, fold in chocolate chips or nuts before freezing.
- If you prefer, substitute sweetened condensed milk with homemade version or use a dairy-free alternative.
- Store leftovers covered in the freezer for up to 2 weeks.
- Prep Time: 15 minutes
- Cook Time: 0 minutes
- Category: Dessert
- Method: No-Churn, Freezing
- Cuisine: American
Nutrition
- Serving Size: 1/2 cup
- Calories: 300 kcal
- Sugar: 28 g
- Sodium: 60 mg
- Fat: 20 g
- Saturated Fat: 13 g
- Unsaturated Fat: 6 g
- Trans Fat: 0 g
- Carbohydrates: 28 g
- Fiber: 2 g
- Protein: 4 g
- Cholesterol: 80 mg


