Introduction
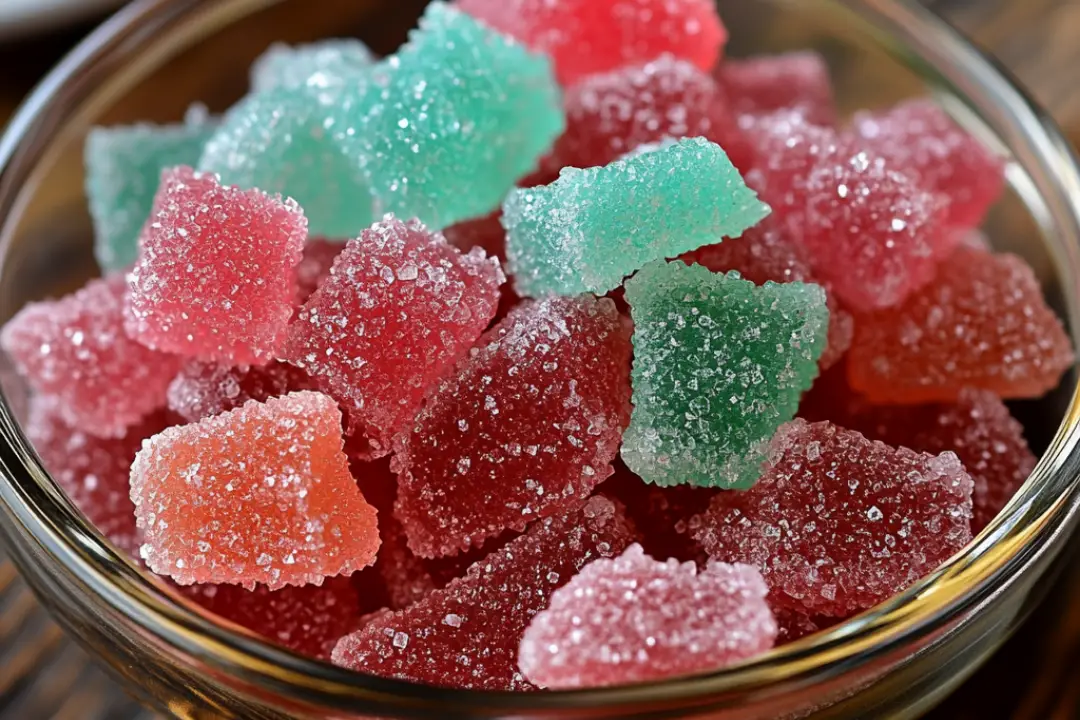
There’s something incredibly magical about homemade Pop Rocks. The moment you drop them into your mouth, they fizz and crackle, transforming a simple snack into a playful explosion of sound and flavor. I still remember the first time I tried them as a kid—the excitement and wonder of feeling the tiny bubbles popping against my tongue was unforgettable. Recently, I decided to recreate that nostalgic experience in my kitchen, and let me tell you, it was an adventure! My family joined in on the fun, and we had a blast experimenting with different flavors and colors. The kids couldn’t stop giggling as they enjoyed the fizzy treats. If you’re looking to add some whimsy to your snack game, you’ve come to the right place!
Ingredients
To make your very own Homemade Pop Rocks, you’ll need the following ingredients:
- 2 cups granulated sugar 🍬
- 1/4 cup light corn syrup 🌽
- 1/4 cup water 💧
- 1 teaspoon baking soda 🥄
- 1 teaspoon citric acid (for the pop) 🍋
- Flavoring extracts (optional, like strawberry or raspberry) 🍓
- Food coloring (optional) 🌈
- Cornstarch (for dusting) 🌽
Instructions
Prepare Your Workspace
- Line a baking sheet with parchment paper and lightly dust it with cornstarch. This will help prevent the candy from sticking.
Make the Candy Syrup
- Combine Ingredients: In a medium saucepan, mix the granulated sugar, light corn syrup, and water. Cook over medium heat, stirring until the sugar is fully dissolved.
- Attach the Thermometer: Once dissolved, attach a candy thermometer to the side of the pan. Stop stirring when the mixture begins to boil.
Boil the Mixture
- Reach the Hard-Crack Stage: Allow the mixture to boil without stirring until it reaches 300°F (hard-crack stage). This ensures the candy will harden properly when cooled.
Add Baking Soda and Citric Acid
- Quickly Remove from Heat: Once the syrup reaches the desired temperature, remove it from the heat. Carefully stir in the baking soda and citric acid. The mixture will bubble and foam, creating that signature crackly texture.
Add Flavor and Color
- Optional Enhancements: If you’d like to add some fun flavors and colors, drop in a few drops of your chosen flavor extract and food coloring, stirring gently to combine.
Pour and Cool
- Spread the Mixture: Pour the bubbling candy mixture onto the prepared baking sheet and spread it out evenly. Let it cool completely and harden for about 30 minutes.
Break It Up
- Crack the Candy: Once fully cooled, break the candy into small pieces using a mallet or rolling pin.
Store and Enjoy
- Storage: Store your homemade Pop Rocks in an airtight container to prevent moisture from affecting the fizz. Enjoy the popping fun!
Nutrition Facts
- Servings: About 2 cups of Pop Rocks
- Calories per serving: Approximately 100 calories
- Sugar: 25g
- Sodium: 5mg
- Fat: 0g
- Saturated Fat: 0g
- Trans Fat: 0g
- Carbohydrates: 25g
- Fiber: 0g
- Protein: 0g
- Cholesterol: 0mg
Preparation Time
- Prep Time: 10 minutes ⏳
- Cook Time: 10 minutes ⏳
- Total Time: 30 minutes ⏳
How to Serve
- Serve your Homemade Pop Rocks in small bowls or treat bags.
- Great for parties, as a fun snack, or even as a topping for ice cream!
- Pair with other treats for a playful dessert platter.
Additional Tips
- Increase the Tang: Add more citric acid for an extra tangy and fizzy experience.
- Temperature Check: Ensure that your candy reaches exactly 300°F to achieve the right texture.
- Safety First: Handle the candy carefully when breaking it up—it can be sharp.
- Clean Up: Be prepared for a bit of a mess, as the candy mixture can stick to surfaces.
- Flavor Fun: Experiment with different flavor extracts for unique tastes!
Recipe Variations
- Fruit Flavors: Try different fruit extracts like lemon, cherry, or blue raspberry for a fun twist.
- Chocolate Pop Rocks: Use chocolate-flavored candy and cocoa powder for a decadent version.
- Seasonal Colors: Adjust the food coloring based on holidays (like red and green for Christmas or pastels for Easter).
Serving Suggestions
- Ice Cream Topping: Sprinkle Pop Rocks on top of vanilla or chocolate ice cream for a fun texture.
- Decorate Desserts: Use them to decorate cupcakes or cakes for added flair and excitement.
- Party Favors: Package them in small bags as party favors for children’s parties or candy-themed events.
Freezing and Storage
- Storage: Keep your Pop Rocks in an airtight container to prevent moisture from affecting their fizz.
- Freezing: While freezing is not recommended, if you need to store them longer, you can try vacuum sealing them to preserve their texture.
FAQ Section
- Can I use different sugars?
- Yes, you can experiment with other sugars, but granulated sugar is preferred for the best results.
- What happens if I don’t have a candy thermometer?
- If you don’t have a thermometer, you can test the mixture by dropping a small amount into cold water. If it forms hard, brittle strands, it’s ready.
- Why do you add baking soda?
- Baking soda helps create the unique popping texture in the candy.
- Is citric acid necessary?
- While citric acid adds a tangy flavor and enhances the fizzing effect, you can omit it if desired.
- Can I use flavored syrups instead of extracts?
- Yes, flavored syrups can work, but they may change the consistency of the candy.
- How long will they last?
- When stored properly in an airtight container, Pop Rocks can last for several weeks.
- Can I make these with kids?
- Yes! Just ensure to supervise during the cooking stage as the candy mixture can get very hot.
- Can I add nuts or other solid toppings?
- It’s best to keep the mixture smooth for the popping effect, but you can sprinkle toppings on the surface after pouring.
- What if my Pop Rocks aren’t popping?
- If they aren’t popping, it may be due to moisture. Ensure they are stored in a dry environment.
- Can I double the recipe?
- Yes, you can double the recipe, but make sure to use a larger pot to accommodate the increased volume.
Conclusion
Making homemade Pop Rocks is not only a fun kitchen experiment but also a delightful way to relive childhood memories. With just a few simple ingredients and some care, you can create these fizzy treats that are sure to impress both kids and adults alike. Whether you’re enjoying them straight out of the bowl or using them as a whimsical topping for your favorite desserts, homemade Pop Rocks are a hit in any setting. So gather your ingredients, put on your favorite music, and get ready to make some noise in the kitchen! 🍬✨
Print
Homemade Pop Rocks Recipe
- Total Time: 20 minutes
- Yield: About 2 cups of Pop Rocks 1x
- Diet: Vegetarian
Description
Enjoy the fun of creating your own Homemade Pop Rocks! This easy recipe delivers that delightful fizz and pop in every bite, perfect for kids and adults alike. Customize with your favorite flavors and colors for a unique treat.
Ingredients
- 2 cups granulated sugar
- 1/4 cup light corn syrup
- 1/4 cup water
- 1 tsp baking soda
- 1 tsp citric acid (for the pop)
- Flavoring extracts (optional, like strawberry or raspberry)
- Food coloring (optional)
- Cornstarch (for dusting)
Instructions
- Prepare Your Workspace: Line a baking sheet with parchment paper and lightly dust it with cornstarch.
- Make the Candy Syrup: In a medium saucepan, combine sugar, corn syrup, and water. Cook over medium heat, stirring until the sugar dissolves. Attach a candy thermometer and stop stirring when the mixture starts to boil.
- Boil the Mixture: Boil the mixture until it reaches 300°F (hard-crack stage) to ensure proper hardening.
- Add Baking Soda and Citric Acid: Remove the syrup from heat and quickly stir in baking soda and citric acid. The mixture will bubble and foam.
- Add Flavor and Color: Stir in a few drops of your chosen flavor extract and food coloring if desired.
- Pour and Cool: Pour the bubbling mixture onto the prepared baking sheet and spread evenly. Allow it to cool completely and harden, about 30 minutes.
- Break It Up: Once cooled, break the candy into small pieces using a mallet or rolling pin.
- Store and Enjoy: Store in an airtight container to keep the fizz intact. Enjoy your homemade Pop Rocks!
Notes
- Add more citric acid for a tangier experience.
- Ensure the candy reaches exactly 300°F for the right texture.
- Handle the broken candy carefully as it can have sharp edges.
- Prep Time: 10 mins
- Cook Time: 10 minutes
- Category: candy
- Method: Stovetop
- Cuisine: American
Nutrition
- Serving Size: 1/2 cup
- Calories: 200
- Sugar: 50g
- Sodium: 5mg
- Fat: 0g
- Saturated Fat: 0g
- Unsaturated Fat: 0g
- Trans Fat: 0g
- Carbohydrates: 50g
- Fiber: 0g
- Protein: 0g
- Cholesterol: 0g


