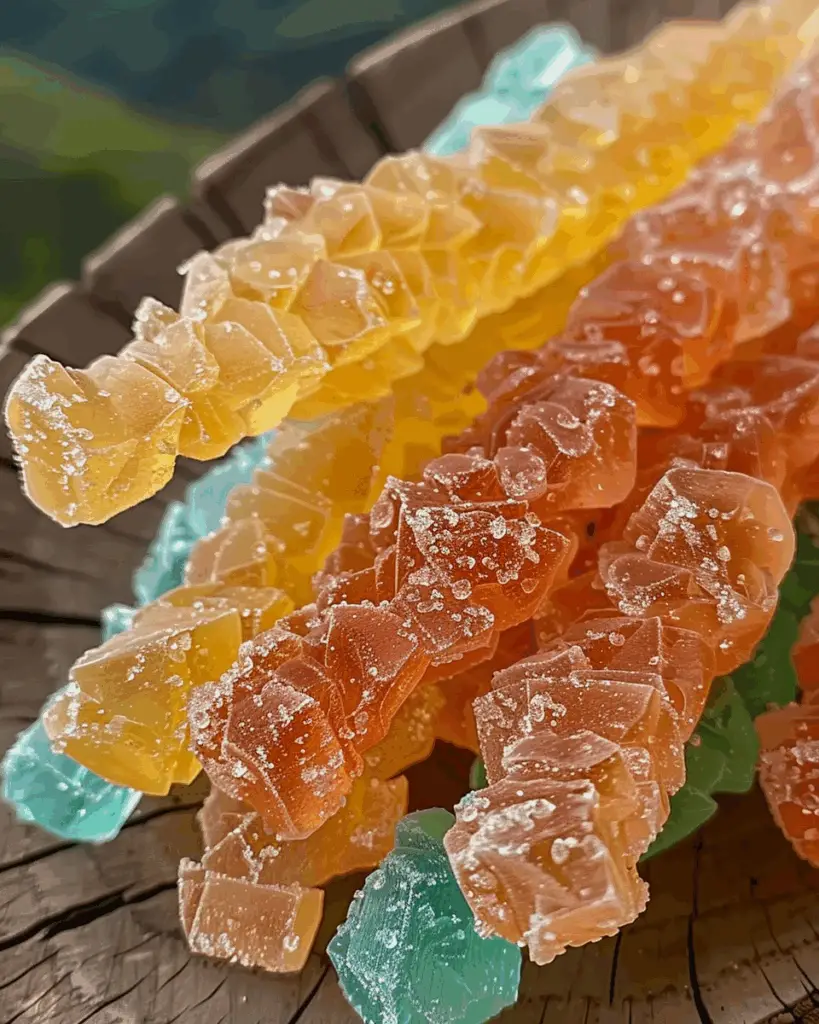
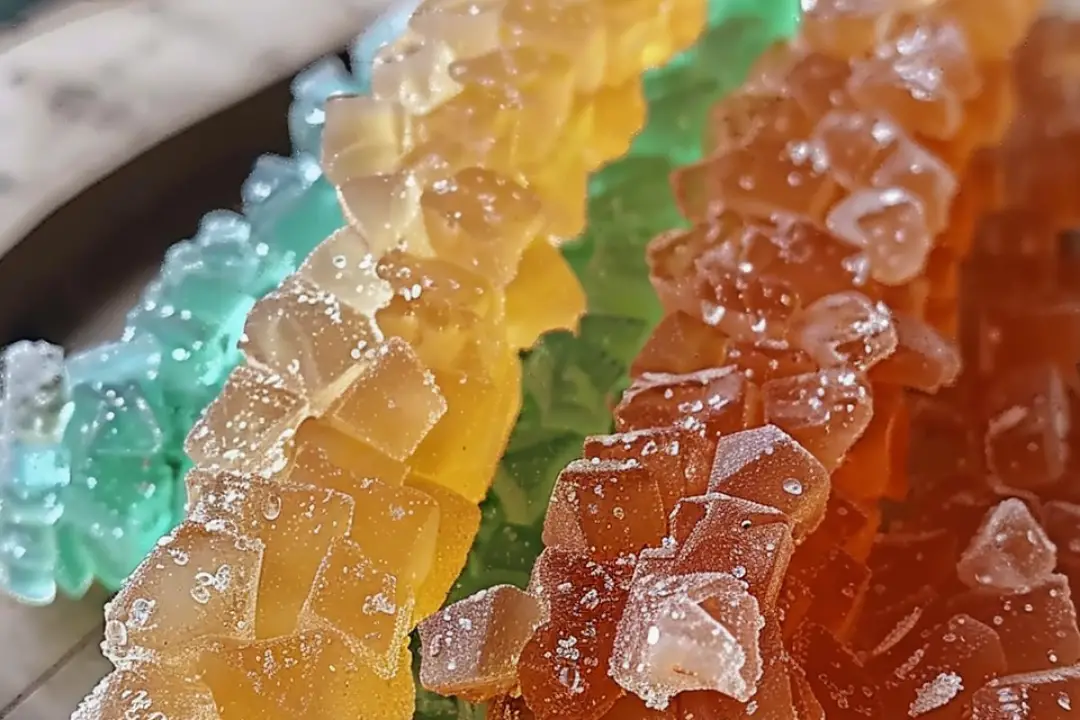
Who doesn’t love a fun, sweet treat that you can make yourself? Homemade Rock Candy is just one of those magical treats that takes you right back to childhood. It’s simple, it’s sweet, and it’s the perfect little project to get you in the kitchen. The best part? You get to watch crystals grow right before your eyes! If you’ve ever marveled at the shiny, colorful sugar crystals that form on a stick, then you’ll absolutely love making your own at home. It’s like a science experiment meets dessert—and the result is pure sugar-coated joy.
Imagine biting into these crunchy, sugary crystals, with each bite just bursting with sweetness. You can even get creative with colors and flavors, making it your own unique version of this classic candy. Whether you’re making it for a special occasion, gifting it to friends, or just indulging your sweet tooth, homemade rock candy is always a hit. Ready to make some? Let’s dive in!
Why You’ll Love Homemade Rock Candy
Fun to Make: Watching the crystals grow is a fascinating process—it’s like magic happening right in your kitchen!
Customizable: You can color and flavor your rock candy however you like. Pick your favorite colors or even add a few drops of flavoring for a personalized touch.
Perfect for Gifting: These little sugar crystals are adorable and make great DIY gifts for friends and family.
Simple Ingredients: All you need are a few pantry staples—sugar, water, and a little patience!
Sweet and Crunchy: The crunch of the crystals is so satisfying, and the pure sugar flavor is absolutely irresistible.

Disclosure: This post contains affiliate links.If you click and make a purchase, I may earn a small commission at no extra cost to you.
Ingredients in Homemade Rock Candy
Granulated Sugar: The main ingredient, and the source of all those sweet sugar crystals.
Water: Used to dissolve the sugar and form the syrup for crystal growth.
Food Coloring (optional): Adds a fun pop of color to your rock candy.
Flavoring (optional): You can add extracts like vanilla, almond, or lemon for a hint of flavor.
Wooden Skewers or String: These act as the “base” for your crystals to form on.
Clothespins (for string method): To keep the string suspended and prevent it from touching the sides of the jar.
Instructions
Prepare Your Equipment
If you’re using wooden skewers, grease them lightly with some cooking spray to help the crystals stick. If you’re using string, tie it securely around a pencil or skewer so it can hang freely inside the jar without touching the sides or bottom. Set up your jars or glasses, one for each color or flavor you want to make.
Make the Sugar Syrup
In a large saucepan, combine the water and sugar in a 1:2 ratio (1 cup of water to 2 cups of sugar). Heat over medium heat, stirring constantly, until the sugar has completely dissolved and the syrup is clear. You want to make sure there’s no sugar left undissolved, or it might affect the crystal growth.
Add Color and Flavor (Optional)
Once the syrup is clear, you can add food coloring and flavoring if you’d like. A few drops of food coloring will create vibrant, fun hues. A few drops of your favorite flavor extract will add a unique twist to your candy. Stir well to combine.
Pour the Syrup into Jars
Carefully pour the hot syrup into your prepared jars, leaving about an inch of space at the top. Let the syrup cool slightly, just enough so that it’s not boiling hot.
Insert the Skewers or String
Place the wooden skewers or string into the jar, ensuring they don’t touch the sides or bottom. You can use a clothespin to hold the string in place, or simply lean the skewer across the top of the jar to keep it suspended.
Wait for the Magic to Happen!
Here comes the fun part—waiting! Over the next few days, the sugar will start to crystallize on the skewers or string. The crystals may take anywhere from 3 to 7 days to form fully, depending on the temperature and humidity in your environment. The longer you wait, the bigger the crystals will grow.
Enjoy Your Rock Candy
Once your candy has fully crystallized, remove it from the jar and let it dry for a few hours. Then, it’s time to enjoy your homemade rock candy! You can break it into smaller pieces or enjoy it on the skewer or string.
Nutrition Facts
Servings: 10–12
Calories per serving: Approximately 50–60 (depends on size)
Preparation Time
Prep Time: 10 minutes
Wait Time: 3–7 days
Total Time: 3–7 days (depending on crystal growth time)
How to Serve Homemade Rock Candy
As a Snack: Enjoy the crunchy sugar crystals on their own as a fun treat.
As a Beverage Stirrer: Add a colorful stick of rock candy to a glass of lemonade, iced tea, or even hot chocolate for a sweet, decorative touch.
For Gifting: Wrap the rock candy in cellophane bags or tie it with ribbon for a homemade gift that’s both beautiful and delicious.
As Party Favors: Give each guest their own stick of homemade rock candy at your next gathering. It’s a sweet party favor that everyone will enjoy!
Additional Tips
Patience is Key: The crystals need time to grow, so don’t rush the process. The longer they grow, the bigger and crunchier they’ll become.
Check for Cleanliness: Make sure your jars, skewers, and string are completely clean and dry before you start, as any leftover moisture or dirt could interfere with crystal growth.
Don’t Disturb the Jars: Avoid moving the jars or stirring the syrup once the crystals have started forming. You want them to grow in a stable, undisturbed environment.
Experiment with Flavors: You can mix different flavors and colors to create unique combinations of rock candy. Try experimenting with fruit extracts or even a combination of flavors for a fun twist.
FAQ Section
Q1: Can I make rock candy without food coloring?
A1: Yes, you can! The rock candy will still form without food coloring; it will just be clear. You can also make different natural flavors, like vanilla or mint, without the need for coloring.
Q2: How long does it take for the crystals to grow?
A2: It typically takes 3 to 7 days for the crystals to form, depending on the temperature and humidity in your environment. The crystals will grow faster in warmer, drier areas.
Q3: Can I use other liquids instead of water?
A3: While water is the best liquid for rock candy, you could experiment with flavored liquids like fruit juices, though the crystals may not form as easily or consistently.
Q4: What can I do if the crystals don’t form?
A4: If the crystals aren’t forming, it could be due to the syrup being too cool or the jars being disturbed. Try reheating the syrup and making sure everything is clean and undisturbed.
Q5: Can I reuse the syrup to make more rock candy?
A5: Yes, you can reuse the syrup, but it may be less effective the second time around. It’s best to start fresh for optimal crystal growth.
Q6: Can I flavor my rock candy?
A6: Absolutely! Add a few drops of your favorite flavor extract (like vanilla, almond, or lemon) to the syrup for a unique twist.
Q7: How do I store rock candy?
A7: Store your rock candy in an airtight container to keep it from absorbing moisture. It will last for several weeks if stored properly.
Q8: Can I make rock candy with brown sugar instead of white sugar?
A8: While you can experiment with brown sugar, the crystals may not form as effectively, and the candy will have a different texture and flavor. White granulated sugar works best for rock candy.
Q9: Can I make this recipe with kids?
A9: Absolutely! Making rock candy is a great project for kids. They can help with mixing, adding color and flavor, and—of course—watching the crystals grow! Just make sure to handle the hot syrup with caution.
Q10: Can I make rock candy without skewers or string?
A10: Yes, you can! You can create rock candy without skewers or string by simply pouring the syrup into a shallow dish and allowing crystals to form on the surface.
Conclusion
Homemade Rock Candy is a fun, easy, and totally customizable treat that will add a little magic to your kitchen. Whether you’re making it for a special occasion or just as a fun project, it’s sure to be a hit with everyone. The process of watching sugar crystals grow is like something straight out of a science experiment—and the results? Sweet, crunchy, and totally delicious!
Print
Homemade Rock Candy
- Total Time: 3-7 days (crystal growth)
- Yield: 1 jar of rock candy (varies by jar size)
- Diet: Vegetarian
Description
Homemade Rock Candy is a fun and sugary treat that’s both easy to make and visually stunning. Crystals form over a string or stick as the sugar syrup cools, creating colorful sugar crystals. Perfect for kids or as a fun edible decoration for cakes, drinks, or just for snacking. With a bit of patience, you can create beautiful rock candy in a variety of colors and flavors.
Ingredients
- 3 cups granulated sugar
- 1 cup water
- 1 teaspoon flavoring (optional, such as vanilla, almond, or fruit extracts)
- Food coloring (optional, for colored crystals)
- Wooden skewers or cotton strings
- Clothes pins (to hold skewers in place)
Instructions
- In a medium saucepan, combine the water and sugar. Heat over medium heat, stirring constantly until the sugar completely dissolves and the syrup comes to a boil.
- Once the syrup starts boiling, reduce the heat to low and continue stirring for another 3-5 minutes to ensure all sugar is dissolved. Be careful not to let the syrup burn.
- Remove the saucepan from heat and allow the syrup to cool slightly for 5 minutes.
- If you’d like to add color, drop a few drops of food coloring into the syrup. Stir until the color is evenly distributed.
- If you’re adding flavoring, now is the time to mix in the extract of your choice.
- Pour the syrup into glass jars or glasses (a clean mason jar works well). Make sure the jar is deep enough for the skewer or string to hang freely without touching the sides.
- Dip your wooden skewer or cotton string into the syrup, ensuring it’s fully coated. Place the skewer or string in the jar, securing it in place with a clothes pin on the edge of the jar. The skewer should be suspended in the jar without touching the sides or bottom.
- Place the jar in a cool, undisturbed spot and allow the crystals to grow. This can take 3-7 days depending on the size of the crystals and the temperature of your environment. Be patient and watch as the sugar crystals slowly form along the skewer or string.
- Once the crystals have grown to your desired size, remove the rock candy from the jar and allow it to dry before serving or storing.
Notes
- The temperature of the environment affects how quickly the crystals form. A cooler spot will slow down the process, allowing for larger crystals to form.
- If you’re making multiple colors, divide the syrup into separate containers before adding food coloring and flavoring to each.
- If using cotton string, make sure to coat it with sugar before placing it in the syrup. This will give the crystals something to latch onto right away.
- Rock candy can last for several weeks if stored in a dry, airtight container. Avoid humid conditions, as moisture can dissolve the crystals.
- Prep Time: 10 minutes
- Cook Time: 10 minutes
- Category: Candy, Dessert
- Method: Boiling, Crystallizing
- Cuisine: American
Nutrition
- Serving Size: 1 piece of rock candy (varies by size)
- Calories: 50
- Sugar: 13g
- Sodium: 0mg
- Fat: 0g
- Saturated Fat: 0g
- Unsaturated Fat: 0g
- Trans Fat: 0g
- Carbohydrates: 13g
- Fiber: 0g
- Protein: 0g
- Cholesterol: 0mg


