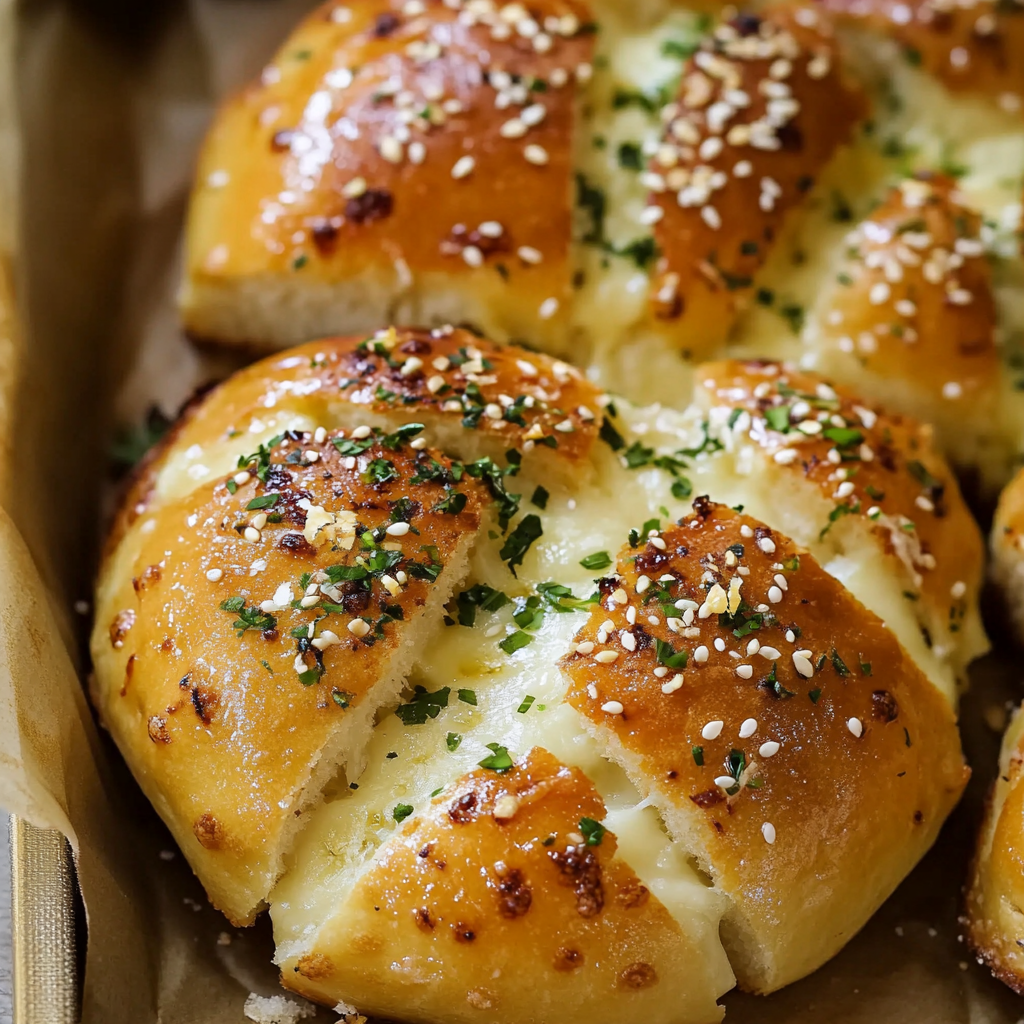
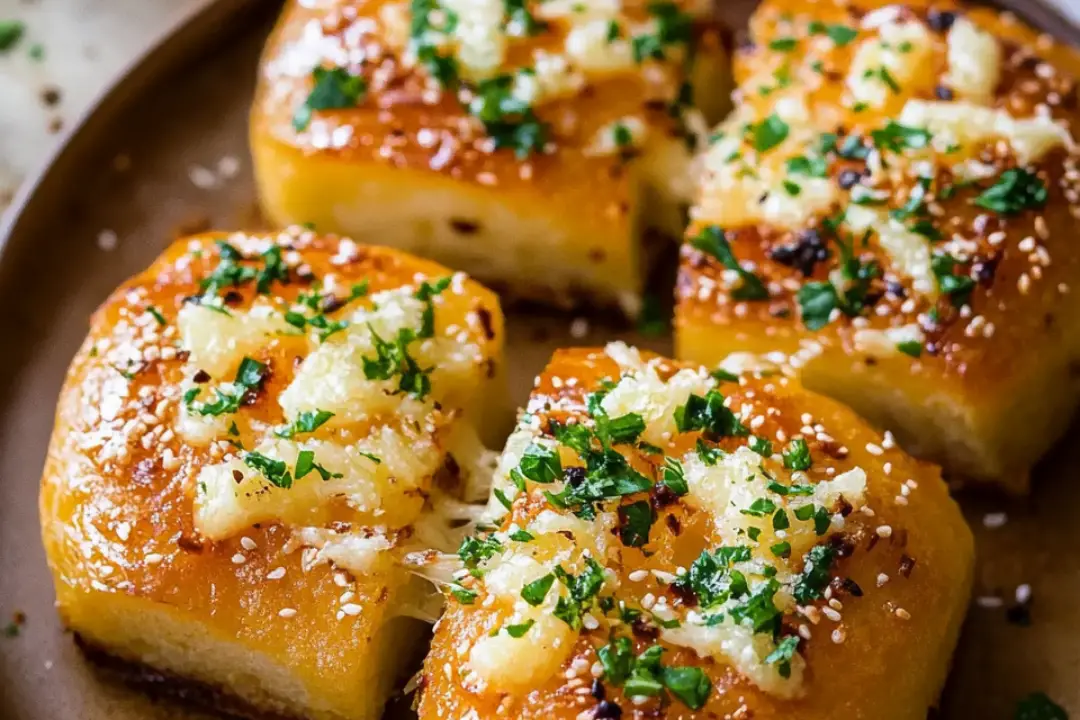
Ohhh yes — let’s talk about Korean Garlic Cheese Bread, aka the ultimate sweet-savory snack that’ll make your kitchen smell like absolute heaven. Imagine a golden, fluffy bun, sliced like a blooming flower, stuffed with luscious cream cheese, then soaked in a rich, buttery garlic custard before being baked to perfection. The outside is crisp and garlicky, the inside is warm and creamy, and trust me — it’s love at first bite. This one’s a serious game-changer.
Why You’ll Love Korean Garlic Cheese Bread
This isn’t your average garlic bread. It’s on another level — here’s why:
Sweet + Savory Bliss: The dreamy combo of garlicky butter and slightly sweet cream cheese hits every craving.
Bakery-Style at Home: This trendy Korean street food is totally do-able in your own kitchen.
Textural Perfection: Crispy edges, soft bread, gooey cheese… yeah, it’s the trifecta.
Easy to Customize: Add herbs, more cheese, or go extra garlicky — it’s all up to you.
Impressively Delicious: It looks fancy but is surprisingly simple to make. Great for brunches, parties, or just spoiling yourself.

Disclosure: This post contains affiliate links.If you click and make a purchase, I may earn a small commission at no extra cost to you.
Ingredients in Korean Garlic Cheese Bread
Let’s dive into the key players that make this bread so unforgettable:
Soft Dinner Rolls or Brioche Buns: The fluffier, the better. You want them pillowy inside with enough structure to hold the filling.
Cream Cheese: Softened and slightly sweetened to create that creamy center.
Garlic: Loads of it. Fresh minced garlic brings bold flavor.
Butter: The base of that luscious garlic custard soak.
Eggs: Help bind the custard mixture and give a glossy finish.
Milk or Cream: Adds richness to the garlic custard.
Sugar: Just a touch, balancing the savory with a hint of sweetness.
Parsley or Chives (optional): For that fresh, herby finish.
(Note: The full ingredients list, including measurements, is provided in the recipe card directly below.)
Instructions
Ready to make your kitchen smell like a bakery in Seoul? Let’s get started:
Prep the Buns
Using a serrated knife, carefully slice each bun into six wedges, like you’re cutting a pizza, but don’t cut all the way through. You want them to stay connected at the base.
Make the Cream Cheese Filling
Mix softened cream cheese with a little sugar until smooth. Spoon or pipe the mixture between the wedges of each bun, stuffing generously.
Prepare the Garlic Custard
In a bowl, whisk together melted butter, minced garlic, eggs, milk or cream, a touch of sugar, and chopped parsley or chives if using.
Dip & Soak
Gently dip each stuffed bun into the garlic mixture, making sure it’s fully coated — especially between the slices.
Bake to Perfection
Place buns on a parchment-lined baking sheet and bake at 350°F (175°C) for 15–18 minutes, until the tops are golden and the cheese is warm and melty.
Serve
Best served warm — and don’t be shy about going in for seconds!
Nutrition Facts
Servings: 4–6
Calories per serving: Approx. 300–350
Preparation Time
Prep Time: 15 minutes
Cook Time: 18 minutes
Total Time: 33 minutes
How to Serve Korean Garlic Cheese Bread
This beautiful bread can totally steal the show on its own, but here are a few fun ways to serve it:
- Brunch Boards: Serve alongside eggs, fresh fruit, and coffee.
- Party Appetizer: Cut into quarters for bite-sized, cheesy goodness.
- As a Side Dish: Pairs perfectly with creamy soups or salads.
- Late-Night Snack: Warm one up and live your best life.
- Garnish: Add extra chopped herbs or even a sprinkle of grated parmesan before serving.
Additional Tips
- Use room temperature cream cheese: Makes it way easier to mix and pipe.
- Don’t skimp on the garlic: That bold flavor is what makes this dish sing.
- Use quality bread: A good soft roll or brioche makes a big difference.
- Pipe carefully: A piping bag or zip-top bag with the corner cut works best for neat stuffing.
- Eat fresh: They’re best enjoyed warm right out of the oven — but leftovers can be reheated!
FAQ Section
Q1: Can I make these ahead of time?
A1: Yes! Assemble and refrigerate, then bake fresh when ready to serve.
Q2: Can I use store-bought buns?
A2: Absolutely — soft brioche buns or milk bread work great.
Q3: Can I freeze them?
A3: Freeze before baking. When ready, bake straight from frozen at 350°F until golden and warmed through.
Q4: Can I make it spicier?
A4: Add chili flakes or a dash of sriracha to the custard for a kick.
Q5: Is it very sweet?
A5: No, just lightly sweetened to balance the savory garlic and cheese.
Q6: Can I make it vegetarian?
A6: It already is! Just double-check your ingredients for any hidden additives.
Q7: Can I substitute the cream cheese?
A7: Mascarpone or ricotta works in a pinch, but the texture and flavor will vary slightly.
Q8: How do I keep leftovers?
A8: Store in the fridge and reheat in the oven or air fryer for best texture.
Q9: Can I add more cheese?
A9: Of course! A sprinkle of shredded mozzarella inside or on top is heavenly.
Q10: What’s the best way to reheat them?
A10: Reheat in a 300°F oven for 8–10 minutes or until warmed through and crispy on the outside.
Conclusion
Korean Garlic Cheese Bread is one of those magical recipes that hits every note — crispy, creamy, garlicky, and just a little bit sweet. Whether you’re making it for brunch, a party, or just because you deserve something amazing today, this dish is pure comfort with a delicious twist. So grab those buns and get baking — because once you try this, there’s no going back.
Print
Korean Garlic Cheese Bread
- Total Time: 35 minutes
- Yield: 6 servings
- Diet: Vegetarian
Description
A viral Korean street food favorite — soft bread filled with sweet cream cheese and dipped in a rich garlic butter sauce, then baked to golden perfection. A savory-sweet explosion in every bite!
Ingredients
- 6 small round bread rolls (brioche or dinner rolls work well)
- For the Cream Cheese Filling:
- 8 oz cream cheese, softened
- 2 tbsp powdered sugar
- 1 tbsp milk (optional, for smoother texture)
- For the Garlic Butter Sauce:
- 1/2 cup unsalted butter, melted
- 4 cloves garlic, minced
- 2 tbsp honey or sugar
- 2 tbsp mayonnaise
- 1 tbsp chopped parsley
- 2 eggs, beaten
- 1/4 tsp salt
Instructions
- Preheat oven to 350°F (175°C). Line a baking sheet with parchment paper.
- In a bowl, beat cream cheese with powdered sugar (and milk if using) until smooth. Transfer to a piping bag or ziplock bag with a corner snipped off.
- Cut each bread roll into 6 wedges (like a flower) but do not cut all the way through.
- Pipe cream cheese filling into the center and between the sections of each roll.
- In another bowl, whisk together melted butter, garlic, honey (or sugar), mayonnaise, parsley, eggs, and salt to make the garlic sauce.
- Dip each filled roll into the garlic butter sauce or spoon the mixture generously over the top and sides.
- Place rolls on the prepared baking sheet and bake for 12–15 minutes until golden and set.
- Serve warm and enjoy!
Notes
- Use soft, sweet rolls like brioche for best results.
- Make sure the cream cheese is very soft to pipe easily.
- You can prepare the filling and garlic sauce ahead of time and assemble just before baking.
- Prep Time: 20 minutes
- Cook Time: 15 minutes
- Category: Snack, Bread
- Method: Baking
- Cuisine: Korean
Nutrition
- Serving Size: 1 bread roll
- Calories: 400 kcal
- Sugar: 8 g
- Sodium: 320 mg
- Fat: 28 g
- Saturated Fat: 16 g
- Unsaturated Fat: 9 g
- Trans Fat: 0 g
- Carbohydrates: 28 g
- Fiber: 1 g
- Protein: 7 g
- Cholesterol: 100 mg


