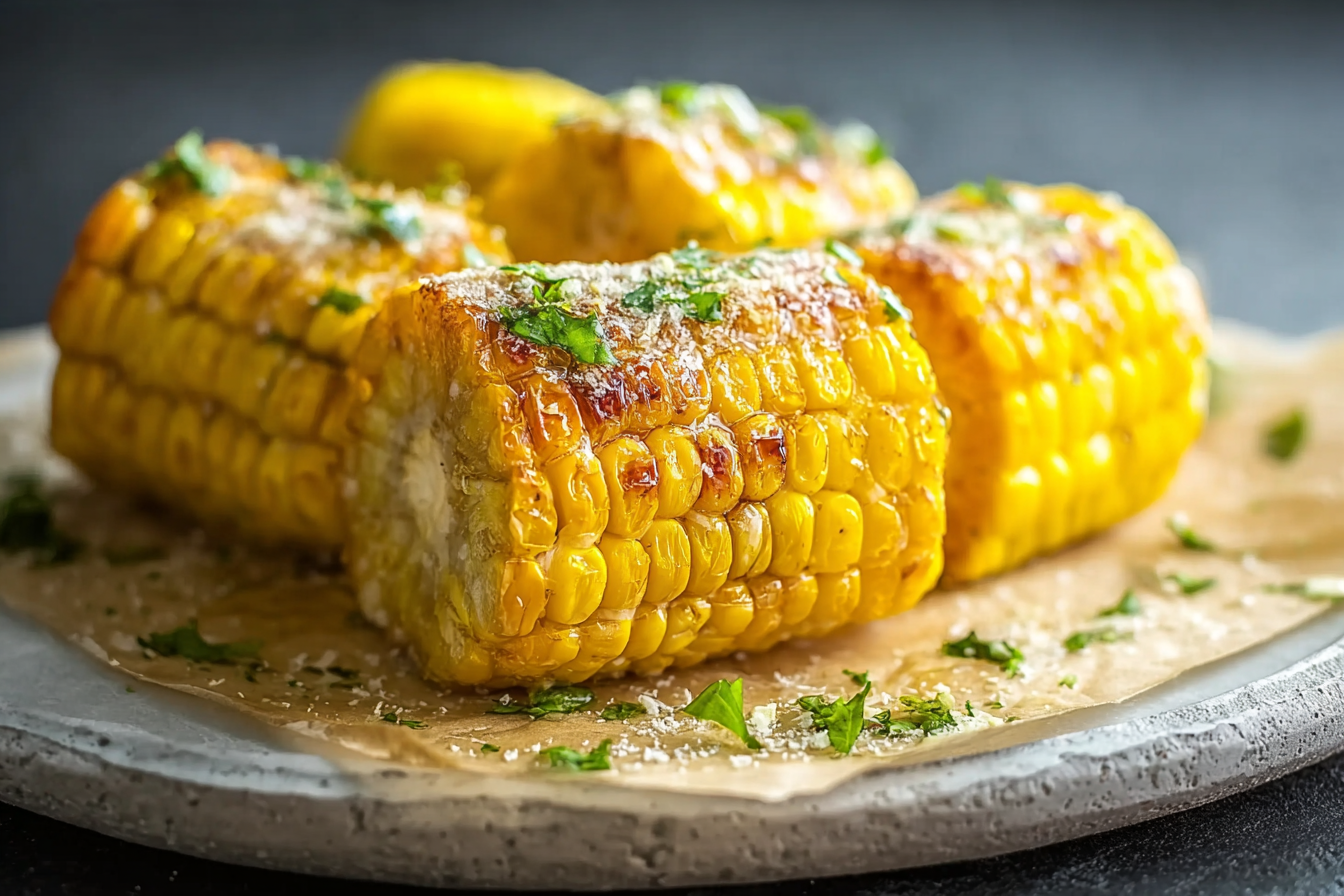
Microwave corn on the cob is one of those simple kitchen hacks that transforms a basic vegetable into a mouthwatering side dish in minutes. For many home cooks and food lovers, finding ways to prepare fresh, flavorful meals without spending hours in the kitchen is essential. That’s where this guide comes in. Here, we are diving deep into how to make microwave corn on the cob perfectly every time.
At Recipes Tasteful, we believe in keeping things practical without sacrificing flavor. When we started this blog, the goal was simple: to share easy, reliable recipes anyone could recreate at home. As busy parents, we often struggled with making wholesome meals during hectic weekdays. That is why we began experimenting with quicker cooking methods. This article is part of that journey.
This is more than just a how-to guide. It’s a comprehensive resource packed with tips, step-by-step directions, and answers to questions you may have about preparing microwave corn on the cob. You will also discover clever variations and mistakes to avoid so you can enjoy tender, buttery kernels with minimal effort.
By the end of this guide, you’ll know exactly how to prepare corn on the cob in your microwave, whether you want to cook it with the husk on, without the husk, or even wrapped in a paper towel.
Table of Contents
Table of Contents
Why You’ll Love Microwave Corn on the Cob
The beauty of microwave corn on the cob lies in its simplicity and versatility. Whether you’re serving it plain with butter or dressing it up with spicy, zesty, or cheesy toppings, microwave corn on the cob fits seamlessly into any meal plan. It pairs beautifully with grilled meats, fresh salads, and even hearty vegetarian dishes, making it a go-to side dish for busy weeknights or summer cookouts.
What sets microwave corn on the cob apart from other cooking methods is how easily it adapts to your needs. Preparing a quick snack for one? Or feeding a family of four? With microwave corn on the cob, you don’t need to adjust much. It’s as effortless for one ear as it is for multiple servings, and the results are consistently delicious.
The next time you’re craving fresh, sweet corn but don’t have time to boil a large pot of water or heat up the grill, remember this: microwave corn on the cob delivers perfect, juicy kernels in minutes with almost no cleanup.
Why Microwave Corn on the Cob?
So why has microwave corn on the cob become such a favorite among home cooks? For starters, it’s a major time-saver. Traditional boiling or grilling can take up to 20 minutes, but with microwave corn on the cob, you can have perfectly cooked ears in as little as 4 minutes.
Another advantage of microwave corn on the cob is how it preserves the natural sweetness and crisp texture of the kernels. Unlike boiling, where some flavor can leach into the water, microwaving allows the corn to steam in its own moisture. This means every bite of microwave corn on the cob bursts with fresh, garden-grown flavor.
For anyone short on time, microwave corn on the cob is a game changer. You don’t need a large pot, gallons of water, or extra utensils. Just a microwave-safe plate, a damp paper towel or microwave-safe wrap, and you’re ready to cook.
Is It Better to Boil or Microwave Corn on the Cob?
This question comes up often: is traditional boiling superior, or does microwave corn on the cob really hold its own? While boiling has been the go-to method for generations, it has its drawbacks. You have to wait for water to boil, and some of the corn’s natural sugars are lost to the cooking liquid.
By contrast, microwave corn on the cob works faster and keeps all the flavor locked in. Because the husk or wrap traps steam, microwave corn on the cob essentially steams itself, resulting in plump, juicy kernels with no added water.
Cleanup is also a breeze. There’s no heavy pot to lift or drain. With microwave corn on the cob, all you need is a microwave and a few minutes of your time. This makes microwave corn on the cob ideal for anyone in a small kitchen or for those cooking only one or two ears at a time.
Whether you’re whipping up a quick weeknight dinner or adding a side to your summer BBQ menu, microwave corn on the cob saves time without compromising taste.
Microwave Corn vs. Traditional Methods: Taste, Time, and Texture
When comparing these two methods side by side:
- Taste: Microwave corn tends to have a fresher, more concentrated flavor.
- Time: A single ear of corn cooks in as little as 2 minutes in the microwave, while boiling may take 10 minutes or more.
- Texture: Microwaving preserves the crispness of the kernels better, preventing them from turning mushy.
If you are someone who loves perfectly cooked corn with minimal hassle, the microwave method is worth trying.
Print
Can You Make Delicious Microwave Corn on the Cob?
- Total Time: 7 minutes
- Yield: 1 serving
- Diet: Vegetarian
Description
Quick and easy microwaved corn on the cob delivers tender, juicy kernels in just minutes with minimal cleanup.
Ingredients
- 1 ear fresh corn
Instructions
- Gather all ingredients.
- Remove husk and silk from ear of corn.
- Wet a paper towel and wring it out so it’s moist but not dripping.
- Wrap the moist towel around the ear of corn and place it on a microwave-safe plate.
- Microwave on high for 2 to 5 minutes, until kernels are tender but still crisp when poked with a knife.
- Carefully remove and discard the paper towel before serving.
Notes
- Cooking time may vary depending on microwave wattage and corn size.
- For extra flavor, butter and season the corn after microwaving.
- Use caution when removing the hot paper towel to avoid steam burns.
- Prep Time: 2 minutes
- Cook Time: 5 minutes
- Category: Side Dish
- Method: Microwave
- Cuisine: American
Nutrition
- Serving Size: 1 ear
- Calories: 77
- Sugar: 6 g
- Sodium: 15 mg
- Fat: 1 g
- Saturated Fat: 0 g
- Unsaturated Fat: 0.5 g
- Trans Fat: 0 g
- Carbohydrates: 17 g
- Fiber: 2 g
- Protein: 3 g
- Cholesterol: 0 mg
Step-by-Step Guide: How to Microwave Corn on the Cob
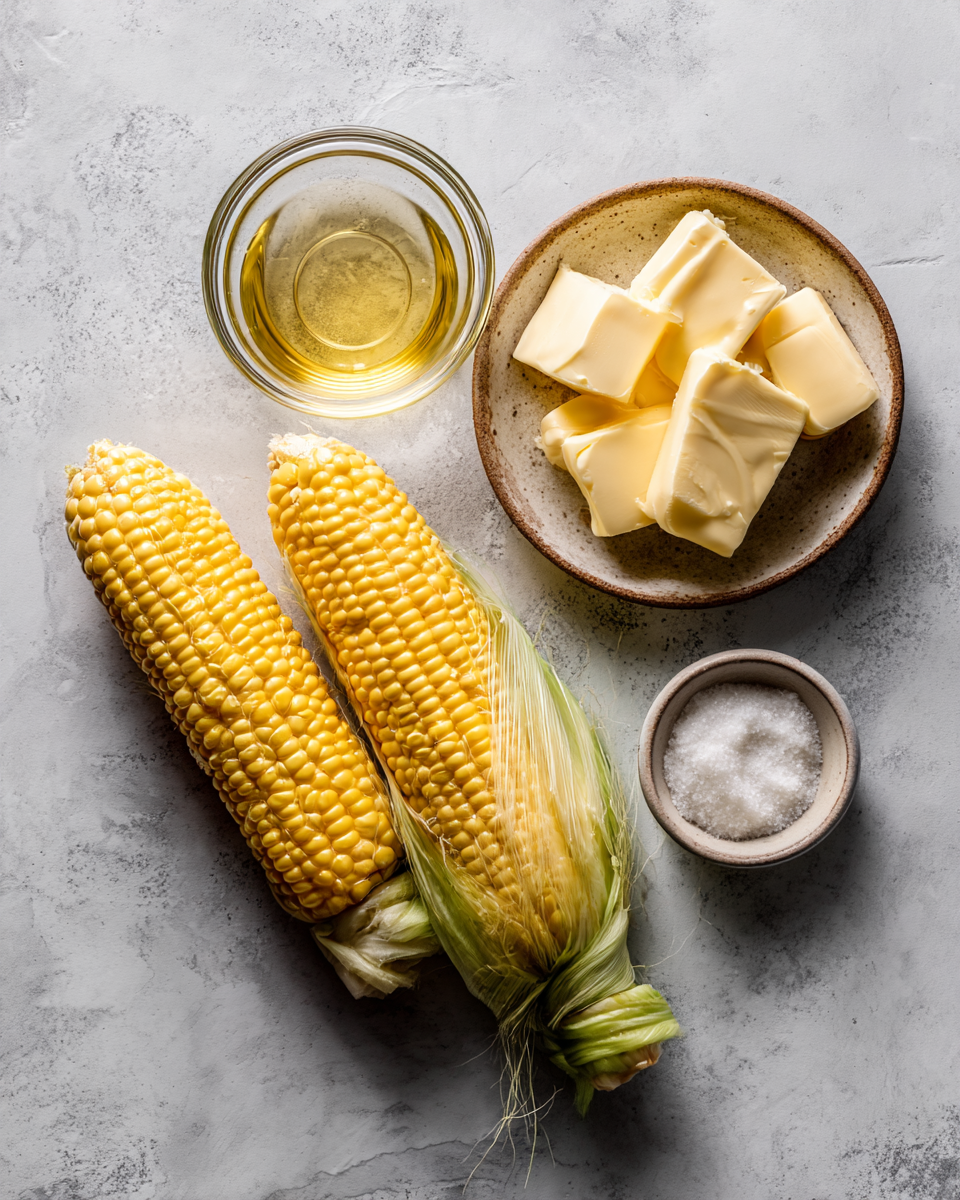
Cooking microwave corn on the cob is not just about throwing an ear of corn into the microwave. To achieve perfectly tender and juicy results, there are specific steps and tips that can make all the difference. This section will walk you through everything you need to know, from ingredients to different preparation methods.
Ingredients You Will Need
The beauty of this method lies in its simplicity. You do not need fancy tools or complicated ingredients. Here is what you will need:
- 1 ear of fresh corn on the cob
- A damp paper towel (if you are cooking without the husk)
- Microwave-safe plate
- Optional toppings: butter, salt, pepper, or flavored seasoning blends
For larger servings, you can easily double or triple the ingredients. The cooking time will need minor adjustments, which we will discuss later.
Directions: Cooking Corn in the Microwave
Once your ingredients are gathered, follow these steps carefully for the best results.
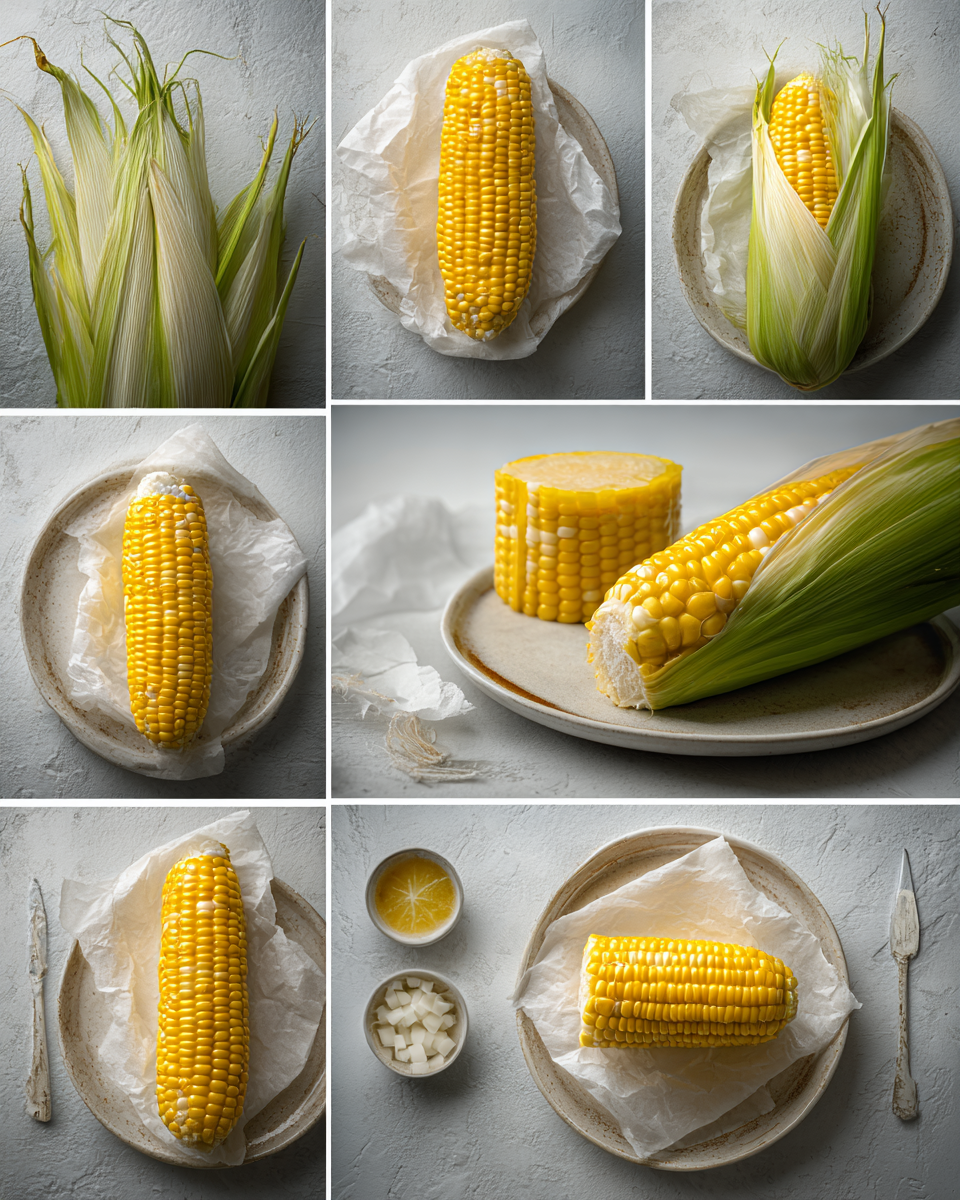
Step 1: Prepare the Corn
If your corn still has the husk, decide whether you want to leave it on or remove it. Cooking with the husk on can help trap steam and infuse flavor. Cooking without the husk allows you to season the corn beforehand and reduces cleanup.
To remove the husk: Peel away the outer green leaves and pull off the silky threads. Rinse the corn under cool water to remove any remaining silk strands.
Step 2: Wrap in a Damp Paper Towel (if husk is removed)
This step is crucial if you are cooking corn without the husk. Take a clean paper towel, run it under water, and wring out the excess moisture so it is damp but not dripping. Wrap the paper towel around the corn completely.
This helps create steam, keeping the kernels tender and juicy as they cook. Place the wrapped corn on a microwave-safe plate.
Step 3: Cook in the Microwave
Microwave your corn on high heat. For one ear of corn, cook for 2 to 5 minutes depending on the wattage of your microwave. Start with 2 minutes and check for doneness by poking a kernel with a knife. If it is still firm, continue cooking in 30-second intervals until tender.
If you are cooking multiple ears of corn, add about 2 minutes per additional ear. For example, four ears may take approximately 8 to 10 minutes. Arrange them in a single layer on the plate for even cooking.
How to Cook Corn on the Cob in the Microwave With Paper Towel
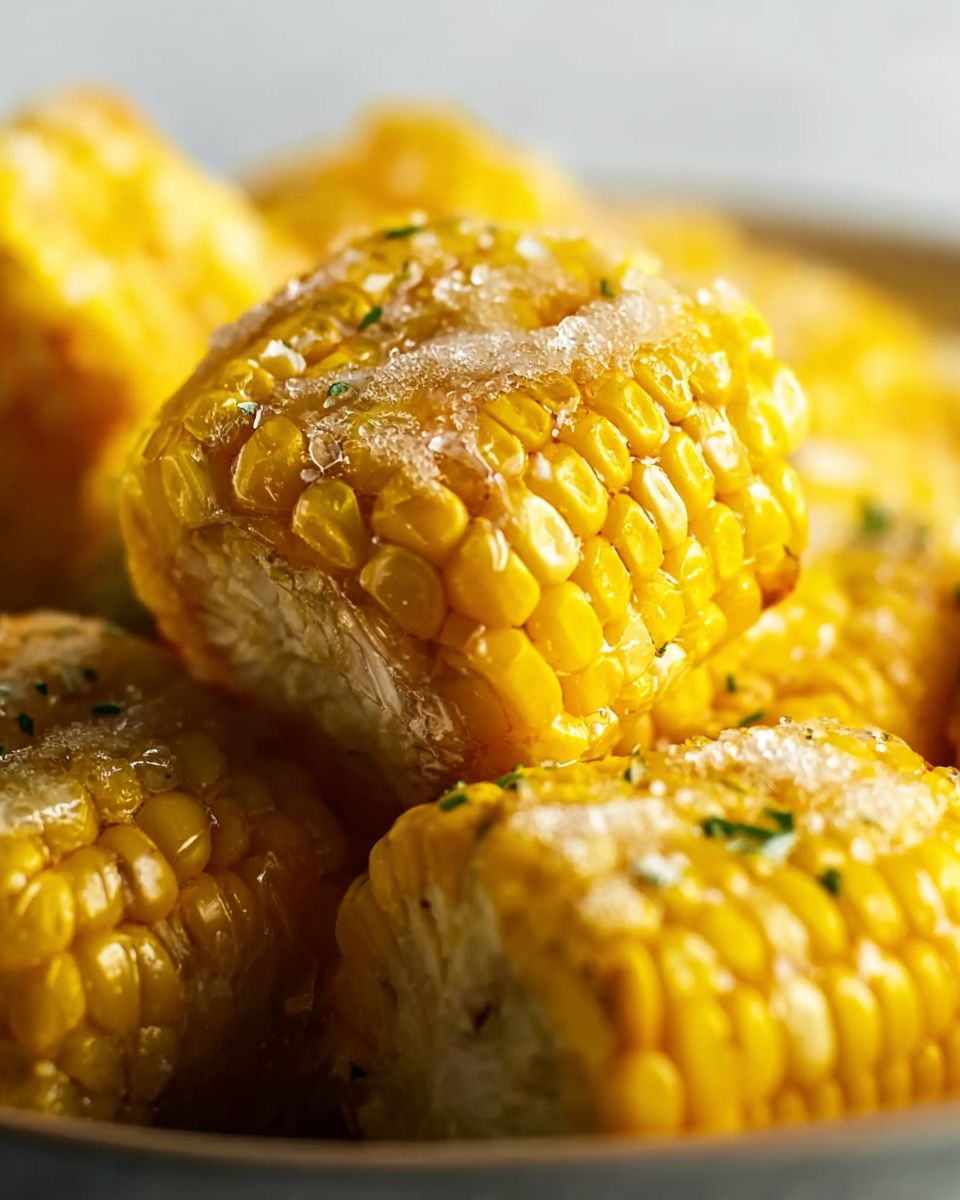
This is one of the most popular methods, especially for those who prefer shucked corn. Here is why it works so well. The moist paper towel acts as a makeshift husk, steaming the corn gently and preventing it from drying out.
After cooking, carefully remove the paper towel using tongs or oven mitts, as it will be hot and may release steam. Top with butter, salt, and pepper before serving.
Microwave Corn on the Cob Shucked or Unshucked?
Both methods work, but they deliver slightly different results.
- Shucked Corn: Best if you want to season the corn before cooking. It is also a cleaner process since you remove all husk and silk beforehand.
- Unshucked Corn: Retains more moisture naturally and creates less prep work. After cooking, the husk and silk are easier to remove as they loosen from the heat.
If you are in a rush or cooking for one, microwaving corn in the husk is the fastest and least messy option.
How Long to Microwave Corn on the Cob: Timing Guide
Microwave times will vary based on the number of ears you are cooking and your microwave’s wattage. Here is a quick reference chart:
| Number of Ears | Time (High Power) |
|---|---|
| 1 ear | 2 to 5 minutes |
| 2 ears | 4 to 6 minutes |
| 3 ears | 6 to 8 minutes |
| 4 ears | 8 to 10 minutes |
For best results, rotate the corn halfway through cooking to ensure even heating.
How Long to Microwave 4 Ears of Corn
When microwaving four ears of corn, arrange them evenly on a large microwave-safe plate. Cook for 8 minutes and check for doneness. If needed, continue in 1-minute intervals until all ears are tender.
How Long to Microwave Corn on the Cob in Water
Some people prefer placing a small amount of water in the bottom of a microwave-safe dish. Place shucked corn in the dish with about 2 tablespoons of water. Cover loosely with a microwave-safe lid or plastic wrap and cook for 2 to 4 minutes per ear.
Microwave Corn on the Cob in a Pyrex Dish
Pyrex dishes are excellent for microwaving multiple ears of corn. Place the corn inside, add a little water to the bottom, cover the dish, and microwave as directed. This method is especially useful for larger servings or reheating cooked corn.
Tips for Perfect Microwave Corn on the Cob
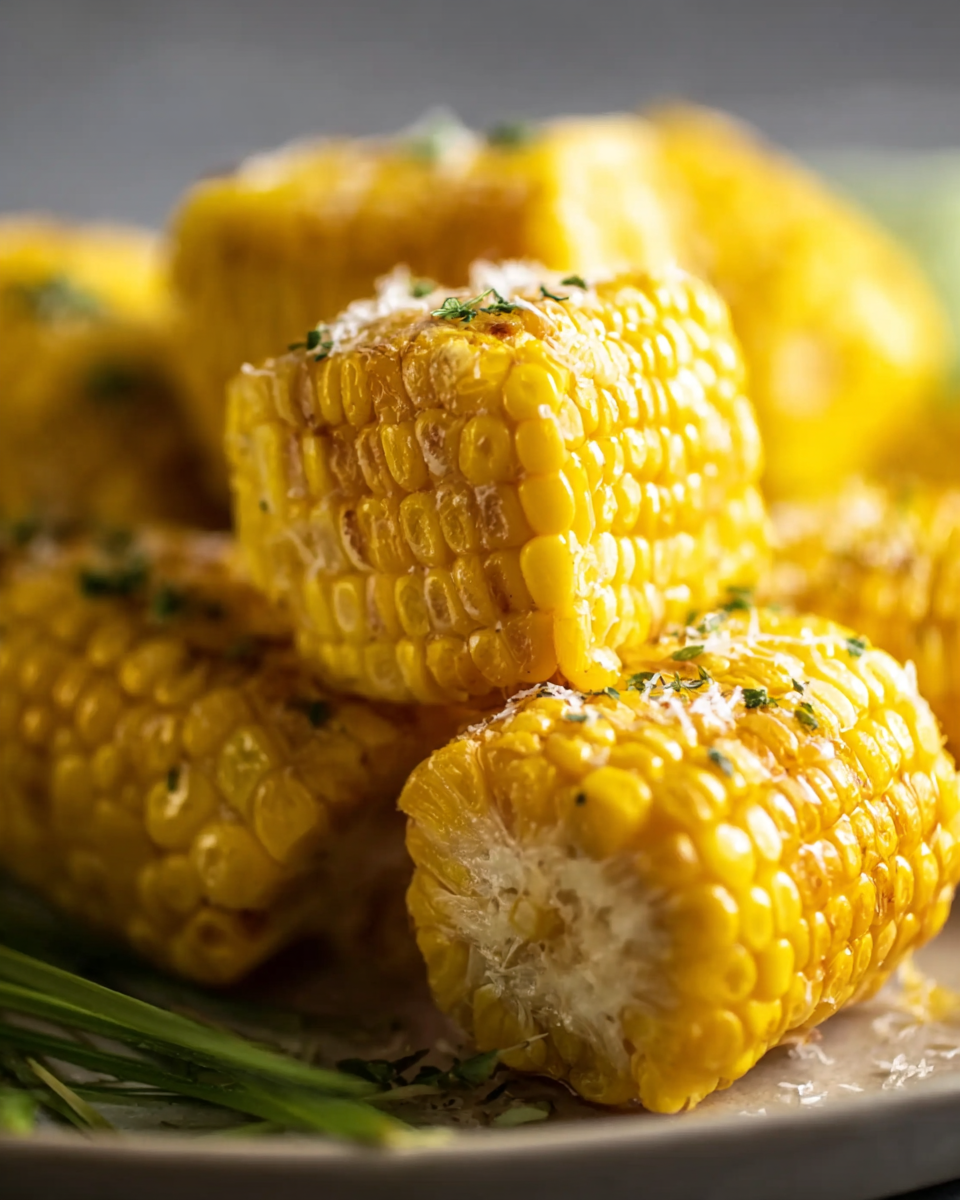
Microwaving corn on the cob is easy, but a few insider tips will ensure consistently excellent results every time you cook it.
Choose Fresh Corn for Maximum Flavor
Start with fresh corn—bright green husks and plump kernels are key. Overripe or dry corn won’t absorb steam well, which is essential when using a microwave.
If you’re cooking outdoors, consider our Parmesan Garlic Grilled Corn as a smoky counterpart to your quick microwave method.
Season Before or After Microwaving
You can add salt, pepper, or a touch of butter before cooking if using a damp paper towel, which helps the seasoning infuse into the kernels as they steam. If cooking with the husk on, wait to season until after cooking.
Our Cheesy Garlic Butter Corn on the Cob demonstrates how vibrant flavors can complement corn prepared with minimal water.
Rotate Ears for Uniform Heating
Whether shucked or in the husk, rearrange the corn halfway through cooking. This helps ensure even heating, particularly when cooking multiple ears at once.
Common Mistakes to Avoid When Microwaving Corn
Microwaving is fast and simple, but watch out for these common pitfalls:
- Overcooking: Corn can go from crisp-tender to rubbery quickly. Stick to the suggested cooking ranges and adjust in 30-second increments if needed.
- Skipping the Moisture: If cooking shucked corn, a dry paper towel will not generate enough steam. It needs to be damp to work effectively.
Serving Suggestions for Microwave Corn
Microwaved corn pairs beautifully with a range of dishes and can easily be dressed up or down.
Pair it with our Quick & Easy Summer Corn Medley for a bright, veggie-packed side or serve alongside Grilled Hot Honey Chicken with Sweet Corn Salad for a satisfying meal.
Quick Buttered Corn Recipe
After microwaving, slather the corn with softened butter and season with salt and pepper. For added flavor, consider smoked paprika or lime zest.
Microwave corn on the cob without the husk? Absolutely—just wrap it in a damp paper towel to preserve moisture and steam the kernels to juicy perfection.
Microwave corn on the cob in the husk? Yes, that method is easy, neat, and adds moisture directly from the husk into the ear, giving you tender results with no fuss.
Is it better to boil or microwave corn on the cob? Microwaving wins on speed and flavor retention. You avoid boiling out soluble sugars and it requires only a plate, not a full pot of water.
How to cook corn on the cob in the microwave with paper towel? Moisten a paper towel, wrap the shucked corn, cook on high, then carefully unwrap before seasoning and serving.
How long to microwave corn on the cob in water? Place shucked corn in a shallow dish with a little water (about 2 tablespoons), cover, and microwave 2 to 4 minutes per ear; adjust timing for multiple ears.
Microwave corn on the cob shucked? That’s done by removing the husk, wrapping in a damp towel, and microwaving 2 to 5 minutes depending on the ear count.
Microwave corn on the cob in a Pyrex dish? Yes, arrange ears in a Pyrex dish with a couple tablespoons of water, cover, and microwave. Great for multiple ears.
Health Benefits of Eating Corn on the Cob
Corn on the cob is not just a tasty side dish—it also offers a range of health benefits that make it a smart addition to your meals. When prepared in the microwave, it retains much of its natural nutrition because it cooks quickly with minimal water loss.
Packed with Essential Nutrients
Each ear of corn is rich in fiber, which supports healthy digestion. Corn also contains vitamins like B1 (thiamine), B5 (pantothenic acid), and folate. These vitamins play a role in energy production and overall heart health.
For more nutritious side dishes, try our Easy Garlic Butter Green Beans or Quick Lemon Herb Broccoli, both of which complement microwave corn perfectly.
Low in Fat and Naturally Gluten-Free
Microwave corn on the cob is naturally low in fat unless you choose to slather it with butter. It is also gluten-free, making it a safe choice for people with gluten sensitivities.
For a healthy main course to serve alongside your corn, consider Grilled Lemon Garlic Chicken, a dish that balances lean protein with the sweet flavor of corn.
Expanded Serving Ideas for Microwave Corn
Microwave corn on the cob is highly versatile. Here are a few creative ways to serve it:
- Mexican Street Corn Style: After microwaving, brush the corn with mayonnaise, sprinkle with cotija cheese, chili powder, and a squeeze of lime juice.
- Herb Butter Corn: Mix softened butter with chopped fresh herbs like parsley, basil, or cilantro and apply liberally to hot corn.
- Parmesan Crusted Corn: Roll hot corn in grated Parmesan cheese for a salty, umami-rich twist.
Pair any of these with our Crispy Oven-Baked Chicken Tenders for a kid-friendly dinner option.
More Microwave Corn Questions Answered
Many readers also wonder about the finer points of preparing corn in the microwave. Let’s answer these questions in depth.
Microwave Corn on the Cob in the Husk
Leaving the husk on acts as a natural steamer. Simply place the entire ear, husk and all, in the microwave. Cook on high for 3 to 5 minutes. Once done, cut off the stem end and squeeze the corn out of the husk. The silk comes off effortlessly.
This is one of the simplest ways to make corn with no need for paper towels or dishes.
Common Mistakes to Avoid When Microwaving Corn on the Cob
Although microwaving corn is one of the easiest ways to prepare it, a few common mistakes can impact the taste and texture. Understanding these pitfalls helps ensure you achieve juicy, flavorful corn every time.
Overcooking the Corn
Microwaves cook food quickly, and corn is no exception. Leaving it in too long can result in dry, tough kernels that lack sweetness. To avoid this, start with the minimum suggested cooking time and check for doneness. If the kernels need more time, microwave in 30-second increments until tender.
Forgetting to Moisten the Paper Towel
When microwaving shucked corn, a dry paper towel offers little protection against the intense heat. Without enough moisture, the corn may dry out and lose its natural juices. Always dampen the paper towel properly so it can create steam around the corn during cooking.
Using a Plate That Is Not Microwave-Safe
Placing the corn on a plate not intended for microwave use can lead to cracks or even dangerous chemical leaching. Always use a microwave-safe plate or shallow dish to ensure safety and even heating.
Pro Tips for Perfect Microwave Corn Every Time
To elevate your microwave corn on the cob, consider these expert tips:
Rotate for Even Cooking
Microwave ovens often have hot spots, which can leave some parts of the corn undercooked. Rotating the corn halfway through cooking helps it heat evenly and avoids cold spots in the kernels.
Let It Rest After Cooking
Once the timer stops, let the corn rest for about one minute. The residual heat will finish cooking the kernels and help distribute moisture evenly throughout the ear.
Season Immediately for Best Flavor
When corn is still hot, the kernels are most receptive to absorbing flavors. Add butter, salt, herbs, or spices as soon as you remove the corn from the microwave for the best results.
Conclusion: Why Microwave Corn on the Cob Should Be Your Go-To Method
Microwave corn on the cob is more than just a shortcut. It is a method that delivers convenience, speed, and incredible flavor in one simple process. Whether you are preparing a quick family meal, cooking for one, or adding a fresh vegetable to your dinner spread, microwaving corn saves you time without compromising quality.
This technique captures the natural sweetness and crisp texture of fresh corn. Unlike boiling, which can strip away delicate sugars and nutrients, microwaving cooks the kernels in their own moisture, locking in flavor and preserving essential vitamins.
For busy weeknights, this method is a game changer. Instead of waiting for a large pot of water to boil, you can enjoy juicy, tender corn on the cob in under five minutes. All you need is a microwave-safe plate and, optionally, a damp paper towel if your corn is shucked.
It’s no wonder so many people now prefer microwave corn on the cob over traditional methods. With minimal effort and clean-up, this approach makes fresh, delicious corn accessible any day of the week.
Final Tips and Takeaways for Microwave Corn on the Cob
To wrap up, here is a quick summary of everything you need to know for perfect results:
- Choose fresh corn with bright green husks and plump kernels for the best flavor and texture.
- Microwave times vary depending on the number of ears. Start with 2 to 5 minutes for one ear and add 2 minutes per additional ear.
- Shucked corn needs a damp paper towel to prevent drying out, while unshucked corn naturally steams in its husk.
- Always use a microwave-safe plate or dish to avoid damage to your cookware and ensure even heating.
- Season immediately after cooking while the corn is hot, so butter and flavors absorb fully into the kernels.
Following these tips guarantees that your microwave corn on the cob will be a hit every time.
Frequently Asked Questions About Microwave Corn on the Cob
How to make corn on the cob in the microwave with paper towel?
The paper towel method is one of the easiest and cleanest ways to prepare corn on the cob in the microwave. It is especially useful if your corn is already shucked or if you want to season it lightly before cooking.
Steps for the paper towel method:
Remove the husk and silk from your corn. Rinse it under cold water to eliminate any remaining silk strands.
Take a clean paper towel, wet it under running water, and wring out excess moisture so it is damp but not dripping.
Wrap the damp towel completely around the ear of corn. This will lock in steam during cooking.
Place the wrapped corn on a microwave-safe plate.
Microwave on high for 2 to 5 minutes depending on the size of the ear and the power of your microwave.
Let the corn rest for about 1 minute after microwaving to allow the heat to distribute evenly.
Carefully remove the paper towel. Season with butter, salt, pepper, or any preferred toppings, and serve hot.
This method produces tender, juicy corn and requires no pots, boiling water, or lengthy preparation.
Can you cook an ear of corn in the microwave without the husk?
Absolutely. Cooking corn on the cob without the husk is a popular method and works beautifully with a simple trick: wrap the shucked ear in a damp paper towel before microwaving.
Here’s why this method works:
The damp paper towel traps moisture and creates steam around the kernels.
It prevents the corn from drying out, which is a common problem when microwaving shucked corn directly.
Steps:
Remove the husk and silk completely from the corn.
Dampen a paper towel with water and wring out any excess so it is moist but not dripping.
Wrap the corn snugly in the damp towel and place it on a microwave-safe plate.
Microwave on high for 2 to 5 minutes, checking for tenderness after the 2-minute mark.
Once cooked, carefully unwrap the towel—it will be hot and release steam.
Can you microwave corn on the cob in the UK?
Yes, microwaving corn on the cob works just as well in the UK as it does anywhere else. Most modern UK microwaves operate at similar wattages to those in other countries, usually between 700 and 1000 watts.
The steps remain the same:
Place your corn (either shucked and wrapped in a damp paper towel or unshucked) on a microwave-safe plate.
Cook on high for the recommended time, adjusting slightly if your microwave has a lower wattage.
After cooking, let the corn rest for a minute or two to allow steam to finish the cooking process.
It’s worth noting that in the UK, sweetcorn is often slightly smaller in size than some varieties grown in North America. This may mean slightly shorter cooking times, so check for doneness after 2 to 3 minutes for a single ear.
How long does corn on the cob take in the microwave?
The time it takes to microwave corn on the cob depends on several factors, including whether the corn is shucked or still in the husk, the power of your microwave, and how many ears you are cooking at once.
For a single ear of corn:
If the corn is shucked and wrapped in a damp paper towel, microwave on high for 2 to 5 minutes. Start checking after 2 minutes to avoid overcooking.
If the corn is unshucked, microwave for about 3 to 5 minutes. Cooking with the husk helps trap steam naturally, so you may find this method more forgiving.
For multiple ears of corn:
Two ears typically take 4 to 6 minutes.
Three ears may require 6 to 8 minutes.
Four ears often need 8 to 10 minutes.
Always check doneness by carefully poking a kernel with a knife or fork. The kernels should feel tender but not mushy. If they need more time, continue cooking in 30-second intervals, rotating the ears halfway through.

