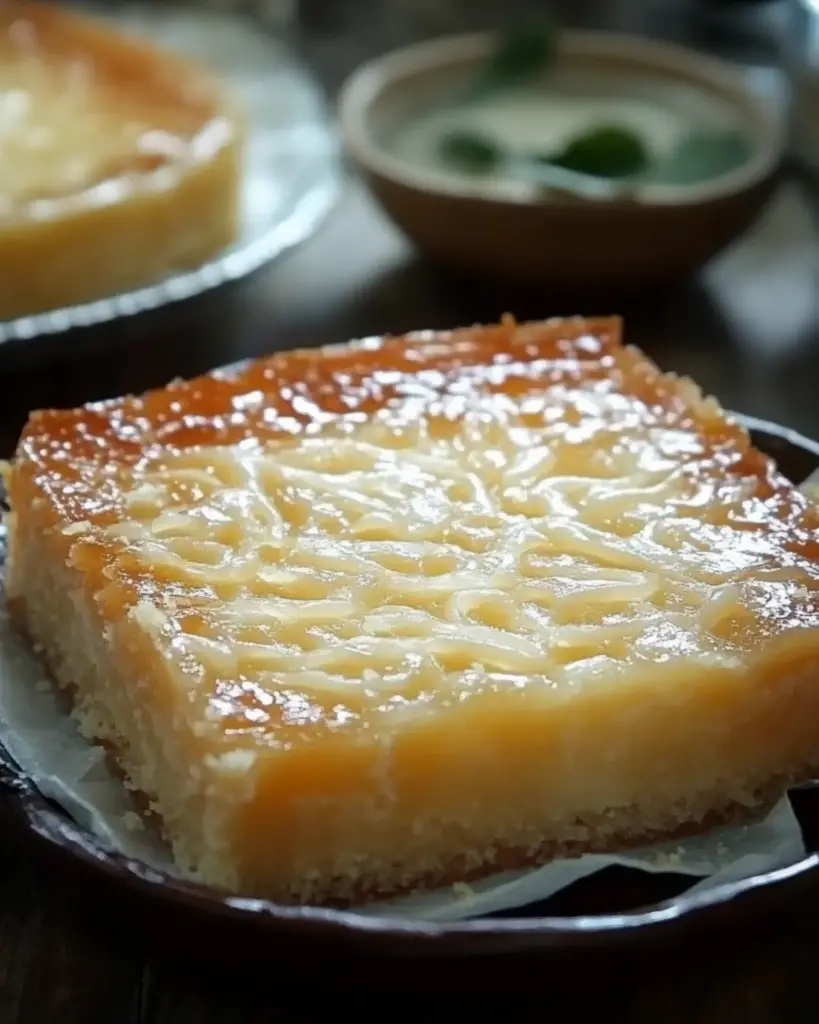
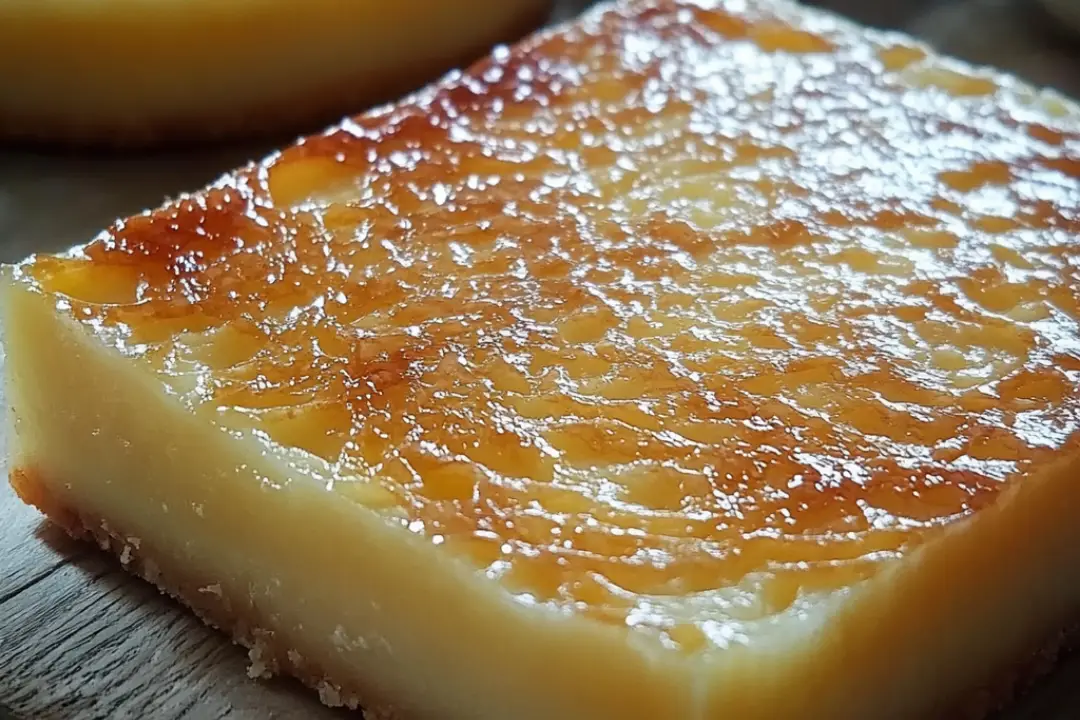
If you’ve never had cassava cake, you’re in for a treat. This version is a no-bake recipe, making it even easier and quicker to enjoy the sweet, rich flavors of this Filipino dessert. The cassava (a root vegetable) is grated and combined with coconut milk, sugar, and a hint of vanilla to create a silky, slightly chewy texture that’s truly one-of-a-kind. And the best part? No baking required—just chill, set, and dig in!
This cake has all the comforting, tropical flavors of cassava cake, but without the need for an oven. Whether you’re looking for a unique dessert to bring to your next party or just want a simple yet impressive treat for yourself, this no-bake cassava cake is the way to go. Trust me, once you try it, you’ll be hooked.
Why You’ll Love No-Bake Cassava Cake
This no-bake cassava cake is everything you love about traditional cassava cake but with a fraction of the effort! Here’s why it’s going to become a staple in your dessert repertoire:
Quick and Easy:
With just a few ingredients and no baking involved, you’ll have this cake ready to set in the fridge with minimal effort. It’s a fantastic last-minute dessert option.
Rich and Creamy:
The combination of cassava, coconut milk, and sweetened condensed milk makes this cake incredibly rich and creamy. Every bite is indulgent and full of tropical flavor.
Perfect Texture:
It has the right balance of smoothness and chewiness, thanks to the cassava, and it holds up well when chilled, making it easy to slice and serve.
Great for Any Occasion:
Whether you’re celebrating something special or just treating yourself on a quiet evening, this dessert fits perfectly into any situation. Plus, it’s sure to impress!

Disclosure: This post contains affiliate links.If you click and make a purchase, I may earn a small commission at no extra cost to you.
Ingredients
For the Cake:
- Cassava (grated): This root vegetable is the star of the cake. It has a slightly nutty, earthy flavor that’s perfect for this creamy dessert.
- Coconut Milk: This adds a rich, tropical creaminess that’s essential to the flavor profile.
- Sweetened Condensed Milk: For that perfect balance of sweetness and creaminess.
- Evaporated Milk: Helps to keep the cake moist while adding a subtle richness.
- Eggs: Provides structure to the cake and helps bind everything together.
- Sugar: To sweeten the cake—just the right amount to complement the coconut and cassava flavors.
- Butter: For a smooth, buttery richness that brings everything together.
For the Topping:
- Coconut Flakes: Sweetened shredded coconut flakes give the top a bit of texture and extra coconut flavor. You can also toast them for a little crunch if you prefer.
Instructions
Step 1: Prepare the Mixture
- Combine Wet Ingredients: In a large mixing bowl, whisk together the coconut milk, sweetened condensed milk, evaporated milk, eggs, and sugar. Stir until the sugar is dissolved and the mixture is smooth.
- Add Grated Cassava: Gradually fold in the grated cassava until it’s well mixed with the wet ingredients. Make sure the cassava is fully coated in the liquid mixture.
- Stir in Butter: Melt the butter and stir it into the cassava mixture. This will help to give the cake a richer flavor and smoother texture.
Step 2: Chill and Set
- Prepare the Pan: Lightly grease a square or round pan (about 8×8 or similar size) or line it with parchment paper for easy removal later.
- Pour the Mixture into the Pan: Pour the cassava mixture into the prepared pan, spreading it out evenly with a spatula.
- Chill: Cover the pan with plastic wrap and place it in the refrigerator for at least 4-6 hours, or until the cake has fully set and firmed up. Overnight chilling works best if you want it to be perfectly set.
Step 3: Add the Topping
- Top with Coconut Flakes: Once the cassava cake is chilled and firm, sprinkle sweetened shredded coconut flakes over the top for a delicious and colorful garnish.
Step 4: Serve and Enjoy!
- Serve Cold: Slice the cake into squares and enjoy! It’s best served chilled, and you can garnish with more coconut or even a drizzle of condensed milk if you want to go all out.
Nutrition Facts
Servings: 12
Calories per serving: 250
Total Fat: 12g
Saturated Fat: 10g
Cholesterol: 45mg
Sodium: 40mg
Total Carbohydrates: 34g
Dietary Fiber: 2g
Total Sugars: 25g
Protein: 3g
Vitamin A: 6% of your daily value
Vitamin C: 0% of your daily value
Calcium: 4% of your daily value
Iron: 6% of your daily value
Preparation Time
- Prep Time: 15 minutes
- Chill Time: 4-6 hours (or overnight)
- Total Time: 4 hours 15 minutes (or overnight)
How to Serve No-Bake Cassava Cake
- As a Dessert: Serve this as a stand-alone dessert or alongside tropical fruit like mangoes, pineapple, or papaya to really enhance those island flavors.
- With a Cup of Tea or Coffee: Pair it with a warm drink for the perfect afternoon treat or evening snack.
- Garnish with Extra Coconut: If you love coconut, don’t be shy to top it with a little extra toasted coconut flakes or a drizzle of sweetened condensed milk for added indulgence.
Additional Tips
- Make Ahead: This no-bake cassava cake actually tastes even better the next day, after it has had time to set and chill in the fridge.
- Grating Cassava: If you’re using fresh cassava, be sure to grate it finely for the best texture. If you’re using frozen grated cassava, make sure it’s thawed and drained of excess liquid before adding it to the mixture.
- Flavor Variations: Feel free to experiment with a splash of vanilla extract, or even a pinch of cinnamon or nutmeg to change up the flavor profile.
FAQ Section
Q1: Can I make this with frozen cassava?
A1: Yes! If using frozen grated cassava, just make sure it’s fully thawed and drained before using.
Q2: How do I store leftovers?
A2: Store the cake in an airtight container in the refrigerator for up to 5 days. It’s best when kept cold!
Q3: Can I use fresh cassava instead of frozen?
A3: Absolutely! Just peel and grate the fresh cassava, but remember to cook it slightly before using to get rid of any toxins in raw cassava.
Q4: Can I add any other toppings?
A4: You can! If you like, try adding toasted sesame seeds, a sprinkle of cocoa powder, or even chopped nuts for some added crunch.
Q5: Is this dessert vegan?
A5: This recipe contains eggs and dairy, but you can easily make it vegan by swapping those for alternatives like flax eggs and plant-based milks.
Q6: Can I freeze the no-bake cassava cake?
A6: Yes, you can freeze it! Just make sure to wrap it tightly in plastic wrap and store it in a freezer-safe container. Thaw it in the fridge overnight before serving.
Q7: Can I make a bigger batch?
A7: Absolutely! Just double the ingredients and use a larger pan. You might need to chill it a little longer, but it’ll still be delicious.
Q8: Can I use coconut cream instead of coconut milk?
A8: Yes! If you want an even richer texture, coconut cream can be substituted, but you may need to adjust the sweetness since it’s a little thicker.
Q9: What other variations can I try?
A9: You can experiment with adding mango puree, banana, or even chocolate chips for an interesting twist.
Q10: Can I make this a layered cake?
A10: Yes! You can make a layered version by dividing the mixture into smaller portions and layering them in between other fillings like fruit or cream.
Conclusion
This No-Bake Cassava Cake is the ultimate tropical dessert that’s easy to make, full of flavor, and guaranteed to impress. Whether you’re new to cassava or a long-time fan, this cake is perfect for any occasion. So, grab your ingredients, chill, and enjoy every creamy, coconut-y bite!
Print
No-Bake Cassava Cake
- Total Time: 0 hours
- Yield: 9-12 servings
- Diet: Vegetarian
Description
This No-Bake Cassava Cake is a delicious and easy-to-make Filipino dessert that combines the rich flavor of cassava with a creamy, sweet topping. No oven required! Perfect for a simple treat that’s sure to satisfy your sweet cravings.
Ingredients
For the Cake:
- 2 cups grated cassava (fresh or frozen, thawed)
- 1 can (14 oz) coconut milk
- 1 can (12 oz) condensed milk
- 1/2 cup evaporated milk
- 1/2 cup sugar (adjust to taste)
- 1/4 cup butter, melted
- 1 tsp vanilla extract
- Pinch of salt
For the Topping:
- 1/2 cup coconut milk
- 1/4 cup sugar
- 2 tbsp cornstarch
- 1/4 tsp vanilla extract
Instructions
- Prepare the Cake Base:
- In a large mixing bowl, combine the grated cassava, coconut milk, condensed milk, evaporated milk, sugar, melted butter, vanilla extract, and a pinch of salt. Stir well until everything is fully combined and the mixture is smooth.
- Transfer the mixture into a greased 9×9-inch or 8×8-inch baking dish or a heatproof container.
- Chill the Cake:
- Refrigerate the cassava mixture for at least 4 hours, or until it sets and firms up. This is the “cake” portion that will become soft and custardy once chilled.
- Prepare the Topping:
- In a saucepan, whisk together the coconut milk, sugar, and cornstarch. Place the saucepan over medium heat and cook, whisking constantly, until the mixture thickens and forms a creamy custard.
- Once thickened, remove from heat and stir in the vanilla extract.
- Assemble the Cake:
- After the cassava cake has set in the refrigerator, pour the coconut custard topping over the top of the cake.
- Spread it evenly and return the cake to the fridge to chill for an additional 1-2 hours, allowing the topping to set and firm up.
- Serve:
- Once the cake is fully chilled and the topping is set, slice into squares and serve cold. Enjoy this deliciously creamy and rich No-Bake Cassava Cake!
Notes
- Cassava: If using frozen cassava, ensure it is fully thawed and drained before use.
- Sweetness: Adjust the amount of sugar in both the cake base and the topping to suit your sweetness preference.
- Topping Variations: For a richer topping, you can mix in some grated cheese with the custard topping.
- Prep Time: 15 minutes
- Cook Time: 5-6 hours (including both the cake and topping)
- Category: Dessert
- Method: No-Bake
- Cuisine: Filipino
Nutrition
- Serving Size: 1 slice (1/12 of the recipe)
- Calories: 210 kcal
- Sugar: 22g
- Sodium: 45mg
- Fat: 9g
- Saturated Fat: 7g
- Unsaturated Fat: 2g
- Trans Fat: 0 g
- Carbohydrates: 30g
- Fiber: 1g
- Protein: 1 g
- Cholesterol: 25mg


