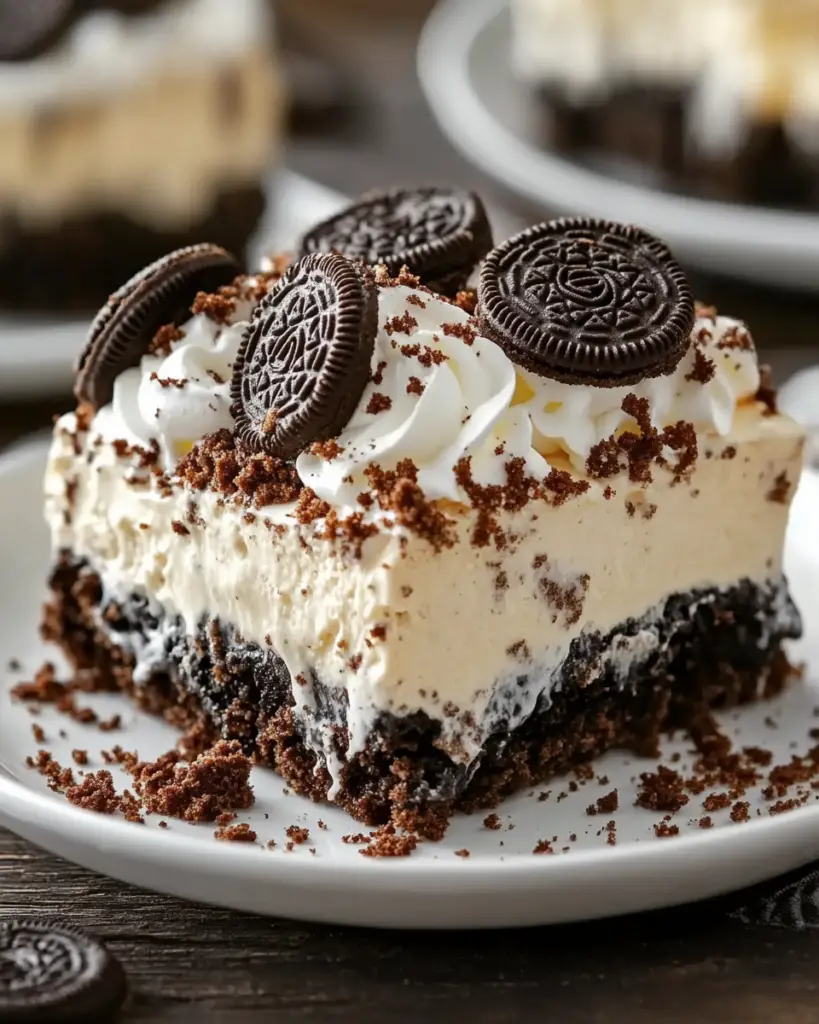
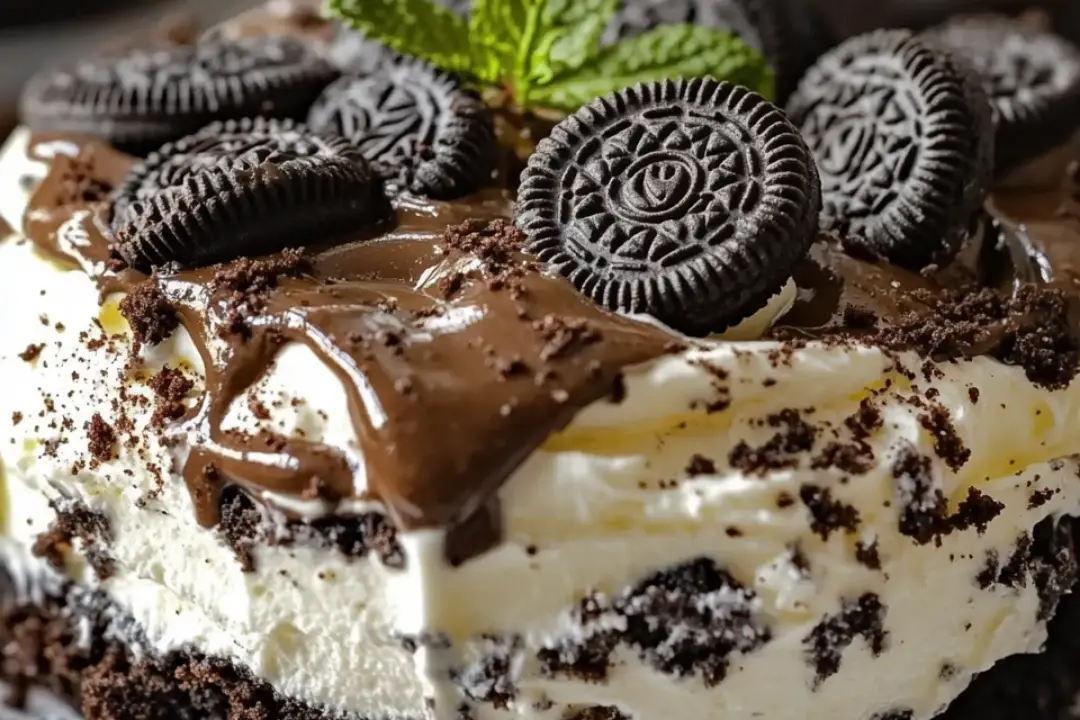
If you’re looking for a dessert that’s irresistibly creamy, decadently sweet, and oh-so-easy to make, then this No Bake Oreo Dessert is your new best friend! Picture this: layers of creamy cheesecake filling, a buttery Oreo crust, and plenty of crushed Oreos sprinkled throughout. The best part? No baking required! This dessert comes together in a snap and chills in the fridge while you daydream about the glorious, velvety texture and rich flavor that awaits. Trust me, it’s the kind of treat that will have everyone asking for the recipe!
Why You’ll Love No Bake Oreo Dessert
No Baking Required
Who doesn’t love a dessert that doesn’t need to go anywhere near an oven? This no-bake treat is easy to whip up and even easier to enjoy.
Irresistible Oreo Flavor
The star of the show here is the beloved Oreo cookie, with its signature chocolatey crunch and creamy filling. Each bite has that perfect Oreo balance—crunchy, creamy, and oh so satisfying.
Simple Ingredients
This dessert is made with ingredients you probably already have in your pantry. No need to hunt down anything fancy—just grab a pack of Oreos and a few essentials, and you’re ready to go.
Perfect for Any Occasion
Whether it’s a holiday gathering, a birthday party, or a simple weekend treat, this No Bake Oreo Dessert is a crowd-pleaser. It’s easy to make ahead of time, and it’s sure to disappear in a flash!

Disclosure: This post contains affiliate links.If you click and make a purchase, I may earn a small commission at no extra cost to you.
Ingredients
Here’s what you’ll need to make this dreamy, no-bake dessert:
For the Crust:
- Oreos: Crushed to perfection, they form the base of this delicious dessert.
- Butter: Adds richness to the Oreo crust and helps hold it all together.
For the Filling:
- Cream Cheese: The creamy base for the filling, giving it that smooth, cheesecake-like texture.
- Whipped Topping: Light and fluffy, it adds the perfect consistency to the filling.
- Powdered Sugar: Sweetens the filling and balances the cream cheese’s tanginess.
- Vanilla Extract: Adds a little warmth and depth of flavor.
- More Oreos: Crushed into the filling for extra crunch and Oreo goodness.
(Note: Full ingredient measurements are provided in the recipe card below.)
Instructions
Make the Oreo Crust
- Start by crushing the Oreos into fine crumbs using a food processor or placing them in a ziplock bag and smashing them with a rolling pin.
- In a medium bowl, combine the crushed Oreos with melted butter. Mix until everything is evenly coated.
- Press the Oreo mixture into the bottom of a 9×9-inch baking dish to form a crust. Use the back of a spoon to press it down firmly.
- Place the crust in the fridge to chill while you make the filling.
Prepare the Creamy Filling
- In a large mixing bowl, beat the cream cheese until smooth and fluffy.
- Add the powdered sugar and vanilla extract, and continue to beat until fully combined.
- Fold in the whipped topping until smooth.
- Gently fold in the crushed Oreos, making sure they’re evenly distributed throughout the filling.
Assemble the Dessert
- Spread the creamy Oreo filling evenly over the chilled Oreo crust.
- Use a spatula to smooth the top so it’s nice and even.
- Chill the dessert in the fridge for at least 4 hours, or overnight, for the best results.
Serve and Enjoy
- Once the dessert is fully chilled and set, slice it into squares and serve.
- Garnish with extra crushed Oreos or a dollop of whipped cream for that extra touch of indulgence.
Nutrition Facts
Servings: 12
Calories per serving: 310
Fat per serving: 21g
Carbs per serving: 33g
Protein per serving: 3g
Sugar per serving: 20g
Preparation Time
Prep Time: 15 minutes
Chill Time: 4 hours
Total Time: 4 hours 15 minutes
How to Serve No Bake Oreo Dessert
This dessert is rich enough to enjoy on its own, but here are a few ideas to make it even more special:
With Fresh Berries
Serve a few fresh raspberries or strawberries on the side to add a burst of freshness that pairs wonderfully with the creamy Oreo filling.
Topped with Whipped Cream
For that extra indulgence, top each slice with a dollop of whipped cream or a drizzle of chocolate syrup for an even more decadent treat.
As Part of a Dessert Platter
This dessert is perfect for a sweet spread. Pair it with other easy-to-make desserts like No Bake Cheesecake or Chocolate Pudding Cups for a full dessert table!
Additional Tips
Make Ahead
This dessert is perfect for making ahead of time. In fact, it tastes even better after it has had a chance to set in the fridge for a few hours (or overnight).
Variations
Feel free to switch up the Oreos! You can use Mint Oreos, Golden Oreos, or any other flavor you love to create a fun twist on the classic.
Add More Layers
For extra indulgence, you can add a layer of chocolate ganache or fudge in between the crust and filling for even more rich flavor.
Storage
Keep any leftover No Bake Oreo Dessert covered in the fridge for up to 3 days. It’s best enjoyed chilled!
FAQ Section
Q1: Can I make this dessert without cream cheese?
A1: If you prefer a dairy-free version, you can substitute the cream cheese with a dairy-free cream cheese alternative or Greek yogurt, though the texture may differ slightly.
Q2: How do I know when the dessert is fully chilled?
A2: The filling should be firm and set, and the crust will hold together when you slice it. It’s usually ready after about 4 hours, but overnight chilling is best!
Q3: Can I use a different cookie for the crust?
A3: Absolutely! You can substitute the Oreos with graham crackers, chocolate wafer cookies, or any cookie of your choice for a different flavor.
Q4: How can I make the crust firmer?
A4: If your crust feels too soft, add a little more melted butter and press it down more firmly into the pan before chilling.
Q5: Can I freeze this dessert?
A5: Yes! You can freeze the dessert for up to 1 month. Just be sure to cover it well, and let it thaw in the fridge before serving.
Q6: How can I make the filling fluffier?
A6: Make sure to beat the cream cheese until smooth and fluffy before adding the whipped topping. For extra fluff, you can use a hand mixer to beat the filling ingredients.
Q7: Can I add more mix-ins to the filling?
A7: Yes! You can fold in mini chocolate chips, chopped nuts, or even a swirl of peanut butter for extra flavor and texture.
Q8: Can I make this dessert in advance for a party?
A8: Definitely! This is a great make-ahead dessert. Just prepare it a day or two ahead of time and keep it chilled until you’re ready to serve.
Q9: How long does the dessert last in the fridge?
A9: This No Bake Oreo Dessert will stay fresh in the fridge for up to 3 days, but it’s so good that it probably won’t last that long!
Q10: Can I use homemade whipped cream instead of store-bought?
A10: Yes, homemade whipped cream works beautifully in this recipe. Just make sure to whip it until stiff peaks form before folding it into the filling.
Conclusion
No Bake Oreo Dessert is the perfect blend of simplicity and indulgence. With minimal effort and maximum flavor, it’s a dessert you’ll want to make over and over again. Whether you’re serving it at a party or enjoying it on a quiet afternoon, this treat is sure to become a new favorite. Enjoy every creamy, Oreo-packed bite!
Print
No Bake Oreo Dessert
- Total Time: 0 hours
- Yield: 12 servings 1x
Description
This No Bake Oreo Dessert is the ultimate treat for Oreo lovers! With layers of creamy filling, crushed Oreo cookies, and a buttery crust, this dessert is incredibly easy to make and doesn’t require any baking. It’s perfect for a quick and indulgent dessert that everyone will love!
Ingredients
For the Crust:
- 24 Oreo Cookies (crushed)
- 1/4 cup Unsalted Butter (melted)
For the Creamy Filling:
- 8 oz Cream Cheese (softened)
- 1/4 cup Powdered Sugar
- 2 cups Heavy Whipping Cream (chilled)
- 1 tsp Vanilla Extract
- 12 Oreo Cookies (chopped, for mixing into the filling)
For the Topping:
- 8 Oreo Cookies (whole or crushed, for garnish)
Instructions
- Prepare the Crust:
- In a food processor or using a rolling pin, crush the 24 Oreo cookies into fine crumbs.
- In a mixing bowl, combine the crushed Oreos with the melted butter. Stir until the mixture is well combined and holds together when pressed.
- Press the mixture into the bottom of a 9×9-inch baking dish to form an even crust. Chill the crust in the refrigerator while you prepare the filling.
- Make the Creamy Filling:
- In a medium mixing bowl, beat the softened cream cheese and powdered sugar together until smooth and creamy.
- In a separate large bowl, whip the heavy cream and vanilla extract until stiff peaks form.
- Gently fold the whipped cream into the cream cheese mixture until combined.
- Stir in the chopped Oreos, mixing until evenly distributed throughout the filling.
- Assemble the Dessert:
- Remove the crust from the refrigerator and spread the creamy filling evenly over the crust.
- Smooth the top with a spatula and cover the dessert with plastic wrap.
- Chill:
- Refrigerate the dessert for at least 4 hours or preferably overnight to allow it to set.
- Garnish and Serve:
- Before serving, garnish the dessert with whole or crushed Oreos on top for an extra Oreo crunch!
- Slice and enjoy!
Notes
- You can use a 9×13-inch dish for a thinner layer or double the recipe for a larger crowd.
- Make sure the heavy cream is very cold before whipping for the best texture.
- This dessert can be made ahead of time and stored in the fridge for up to 3 days.
- Prep Time: 15 minutes
- Cook Time: None
- Category: Dessert
- Method: No-Bake
- Cuisine: American
Nutrition
- Serving Size: 1 slice (based on 12 servings)
- Calories: 350
- Sugar: 27
- Sodium: 100mg
- Fat: 25g
- Saturated Fat: 15g
- Unsaturated Fat: 7g
- Trans Fat: 0g
- Carbohydrates: 34g
- Fiber: 2g
- Protein: 30g
- Cholesterol: 60mg


