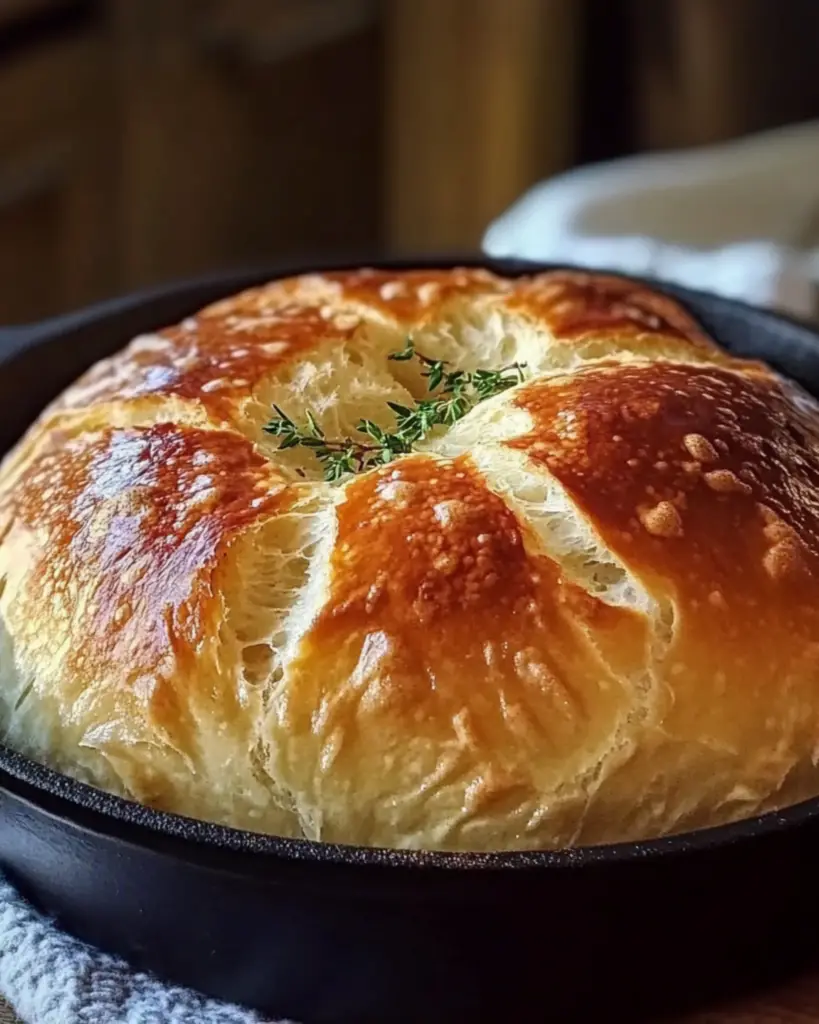
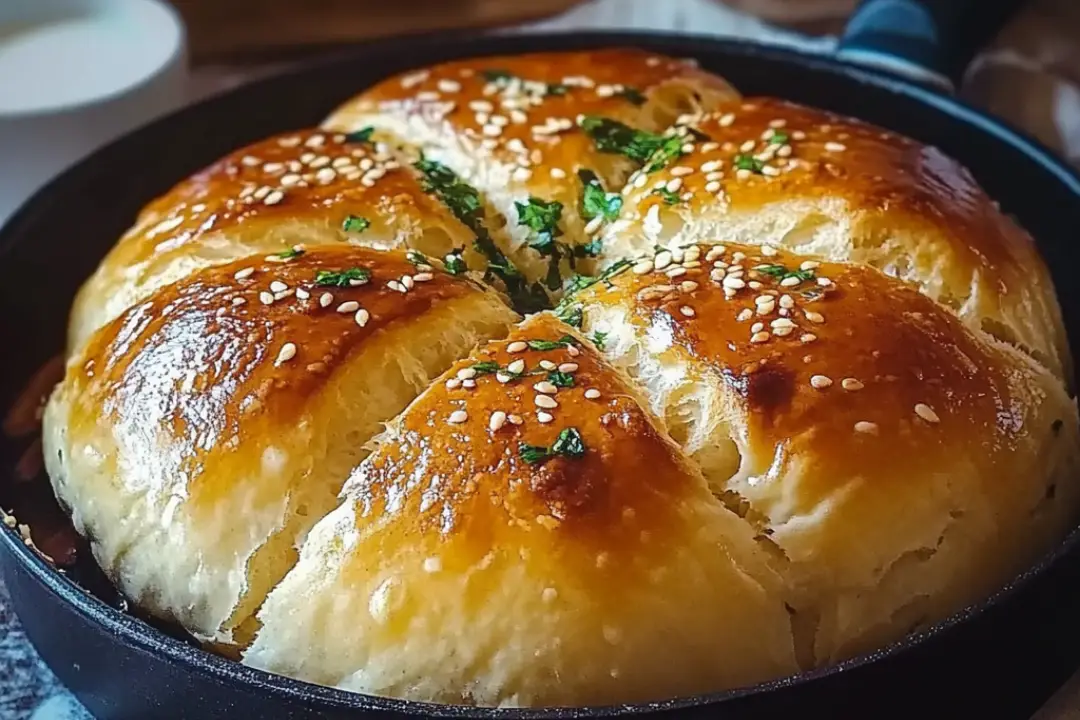
If you’ve been craving fresh, homemade bread but don’t want to turn on your oven, this No-Oven Stovetop Bread is the perfect solution! With just a few basic ingredients and a stovetop, you can easily whip up a warm, soft loaf of bread that’s golden on the outside and fluffy on the inside. This bread is incredibly simple to make and doesn’t require any fancy equipment, making it an excellent option for beginners or anyone without access to an oven. It’s perfect for quick weeknight dinners, brunches, or whenever you need a comforting homemade bread without the long wait.
Why You’ll Love No-Oven Stovetop Bread
This stovetop bread is a game-changer. Here’s why it’s so great:
Quick and Easy
No need to wait for your oven to preheat or worry about complicated steps. This bread comes together quickly and is ready to serve in no time!
No Special Equipment Needed
You don’t need a bread machine, mixer, or even an oven to make this bread. A simple stovetop and a few basic kitchen tools are all you need.
Soft and Fluffy
This bread is perfectly soft on the inside, with a light, airy texture that pairs wonderfully with any meal.
Customizable
Add your favorite herbs, seeds, or spices to personalize the flavor. This bread is versatile and can be adapted to suit your taste.
Perfect for Beginners
If you’re new to baking, this recipe is an ideal way to get started without the need for complicated techniques or a long list of ingredients.

Disclosure: This post contains affiliate links.If you click and make a purchase, I may earn a small commission at no extra cost to you.
Ingredients
Here’s what you need to make this delicious No-Oven Stovetop Bread:
All-Purpose Flour
The main ingredient for the bread dough, all-purpose flour gives the bread structure and texture.
Baking Powder
Baking powder is used as the leavening agent, helping the bread rise and become light and fluffy.
Salt
Salt enhances the flavor of the bread and balances out the sweetness.
Sugar
A small amount of sugar adds a touch of sweetness and helps activate the baking powder.
Milk
Milk adds moisture to the dough and contributes to a tender, soft bread. You can also use dairy-free alternatives like almond milk.
Butter
Butter adds richness to the bread and contributes to a golden, crisp exterior.
Olive Oil (Optional)
A bit of olive oil can be used for extra flavor and to help with frying the bread.
(Note: Full ingredient measurements are in the recipe card above!)
Instructions
Ready to make this stovetop bread? Here’s how to do it:
1. Prepare the Dough
In a large mixing bowl, combine the all-purpose flour, baking powder, salt, and sugar. Add the milk and melted butter, and stir until a dough begins to form. If the dough is too sticky, add a little more flour. If it’s too dry, add a touch more milk until it’s soft but not overly sticky.
2. Knead the Dough
Lightly flour your work surface and turn the dough out onto it. Knead the dough for 3-4 minutes, or until it becomes smooth and elastic. This will help develop the gluten, giving the bread structure.
3. Roll Out the Dough
Roll the dough into a flat circle or oval shape that will fit comfortably in your skillet. You can make the bread as thick or thin as you prefer, but keep in mind that a thinner dough will cook more quickly.
4. Heat the Skillet
Heat a large, heavy skillet (preferably cast iron) over medium heat. Add a little butter or olive oil to the pan to prevent sticking and give the bread a nice, crispy exterior.
5. Cook the Bread
Place the rolled-out dough into the heated skillet. Cook for about 3-4 minutes on the first side until golden brown. Flip the bread and cook for another 3-4 minutes on the other side until it’s golden and fully cooked through. You can check the doneness by inserting a toothpick—if it comes out clean, the bread is ready.
6. Serve and Enjoy
Once the bread is fully cooked, remove it from the skillet and place it on a cutting board to cool slightly. Slice and enjoy with your favorite spread or as an accompaniment to a meal.
Nutrition Facts
Servings: 8
Calories per serving: 150
Fat: 7g
Carbohydrates: 20g
Protein: 3g
Sugar: 2g
Sodium: 180mg
Preparation Time
Prep Time: 10 minutes
Cook Time: 10 minutes
Total Time: 20 minutes
How to Serve No-Oven Stovetop Bread
With Butter and Jam
Spread some butter and your favorite jam or fruit preserves on a warm slice of this bread for a simple, comforting snack.
As a Side Dish
Serve this bread alongside soups, stews, or salads. Its fluffy texture is perfect for soaking up sauces and gravies.
Toasted
Toast the bread slices in a pan with a little butter for a crispy, golden treat that’s perfect for breakfast or a snack.
Additional Tips
- Use a Heavy Skillet: A heavy skillet, like cast iron, ensures even heat distribution, resulting in a crispy crust and evenly cooked bread.
- Don’t Overmix the Dough: Be careful not to overwork the dough, as this can result in a denser texture. Mix until just combined.
- Try Adding Flavorings: Customize the bread by adding garlic, herbs, or grated cheese to the dough for an extra burst of flavor.
- Adjust the Thickness: If you prefer thicker bread, roll the dough out thicker, but keep in mind it may take a little longer to cook through.
FAQ Section
Q1: Can I make this bread gluten-free?
A1: Yes! You can substitute all-purpose flour with a gluten-free flour blend. Make sure the flour blend includes a leavening agent or add additional baking powder.
Q2: Can I use almond milk instead of regular milk?
A2: Yes, almond milk or any other dairy-free milk can be used as a substitute for regular milk.
Q3: Can I add herbs or cheese to the dough?
A3: Absolutely! Feel free to add herbs like rosemary, thyme, or oregano, or mix in some shredded cheese for a savory twist.
Q4: How do I store leftover bread?
A4: Store leftover bread in an airtight container or wrap it in plastic wrap. Keep it at room temperature for up to 2 days or refrigerate it for longer storage.
Q5: Can I make this bread ahead of time?
A5: While this bread is best enjoyed fresh, you can prepare the dough ahead of time and refrigerate it for up to 24 hours before cooking.
Q6: Can I freeze this bread?
A6: Yes, you can freeze the cooked bread for up to 1 month. Wrap it tightly in plastic wrap or foil before freezing, and reheat it in a skillet or oven.
Q7: Can I use coconut oil instead of butter?
A7: Yes, coconut oil works well as a substitute for butter if you want a dairy-free option.
Q8: What kind of skillet should I use?
A8: A cast-iron skillet is the best choice, but you can also use any heavy-bottomed skillet with a lid to ensure even heat distribution.
Q9: How can I make the bread fluffier?
A9: Make sure to knead the dough just enough to bring it together, and don’t overwork it. A slightly softer dough also helps produce fluffier bread.
Q10: Can I double the recipe?
A10: Yes, you can double the recipe to make more bread. Just ensure your skillet is large enough to cook the bread in batches, if necessary.
Conclusion
This No-Oven Stovetop Bread is the perfect solution for anyone who craves fresh, warm bread without the hassle of using an oven. Quick, easy, and customizable, it’s a delicious addition to any meal. Whether you enjoy it with a pat of butter or alongside your favorite dish, this stovetop bread will become a go-to in your recipe collection.
Print
No-Oven Stovetop Bread Recipe
- Total Time: 45 minutes
- Yield: 8 servings 1x
- Diet: Vegetarian
Description
This No-Oven Stovetop Bread is a simple, quick, and delicious way to enjoy fresh bread without turning on the oven. Made with basic ingredients like flour, yeast, and warm milk, the bread is boiled before being cooked to a golden crisp on the stovetop. Perfect for when you want homemade bread in no time!
Ingredients
- For the dough:
- 5 cups flour
- 2 cups warm milk
- 1 cup of oil (vegetable or canola)
- 1 tablespoon dry yeast
- 1 tablespoon granulated sugar
- 1 teaspoon salt
- For boiling the dough:
- 2.5 – 3 liters of water
- 1 teaspoon salt
Instructions
- Prepare the Dough:
- In a large mixing bowl, pour in the warm milk, sugar, and dry yeast. Stir it well and let it sit for 5-10 minutes until a frothy top appears, signaling that the yeast is activated.
- Add flour, oil, and salt into the yeast mixture. Stir until it forms a dough. If it’s too sticky or dry, adjust with a little extra flour or milk until you get a smooth, doughy texture.
- Transfer the dough to a floured surface and knead for 8-10 minutes until it’s smooth and elastic.
- Let the Dough Rise:
- Grease a bowl, place the kneaded dough inside, and cover it with a damp cloth. Let it rise in a warm place for about 1 hour or until it doubles in size.
- Prepare for Boiling:
- In a large pot, bring 2.5 to 3 liters of water to a boil. Add 1 teaspoon of salt to the water.
- Shape and Boil the Bread:
- After the dough has risen, punch it down and shape it into balls or any shape you like.
- Drop the shaped dough pieces into the boiling water, a few at a time. Let them boil for 1-2 minutes until they puff up and float to the surface.
- Cook on Stovetop:
- Heat a skillet or griddle over medium heat. Once hot, place the boiled bread pieces on the skillet.
- Cook each side for 2-3 minutes until golden and crispy. Press gently with a spatula for even cooking.
- Serve:
- Serve your stovetop bread warm with butter, jam, or any topping of your choice. Enjoy the fresh and fluffy bread!
Notes
- You can shape the dough into different forms such as small rolls, flatbreads, or even a loaf depending on your preference.
- To add flavor, try sprinkling some garlic powder, herbs, or cheese into the dough before boiling.
- If you don’t have a skillet, a griddle or non-stick pan will work just fine.
- The bread is best served fresh, but you can also store leftovers in an airtight container for up to 2 days.
- Prep Time: 15 minutes
- Cook Time: 30 minutes
- Category: Bread
- Method: Boiling, Stovetop cooking
- Cuisine: Global
Nutrition
- Serving Size: 1 piece (approx. 1/8th of the total bread)
- Calories: 220
- Sugar: 1g
- Sodium: 180mg
- Fat: 12g
- Saturated Fat: 1g
- Unsaturated Fat: 11g
- Trans Fat: 0g
- Carbohydrates: 25g
- Fiber: 2g
- Protein: 4g
- Cholesterol: 0mg


