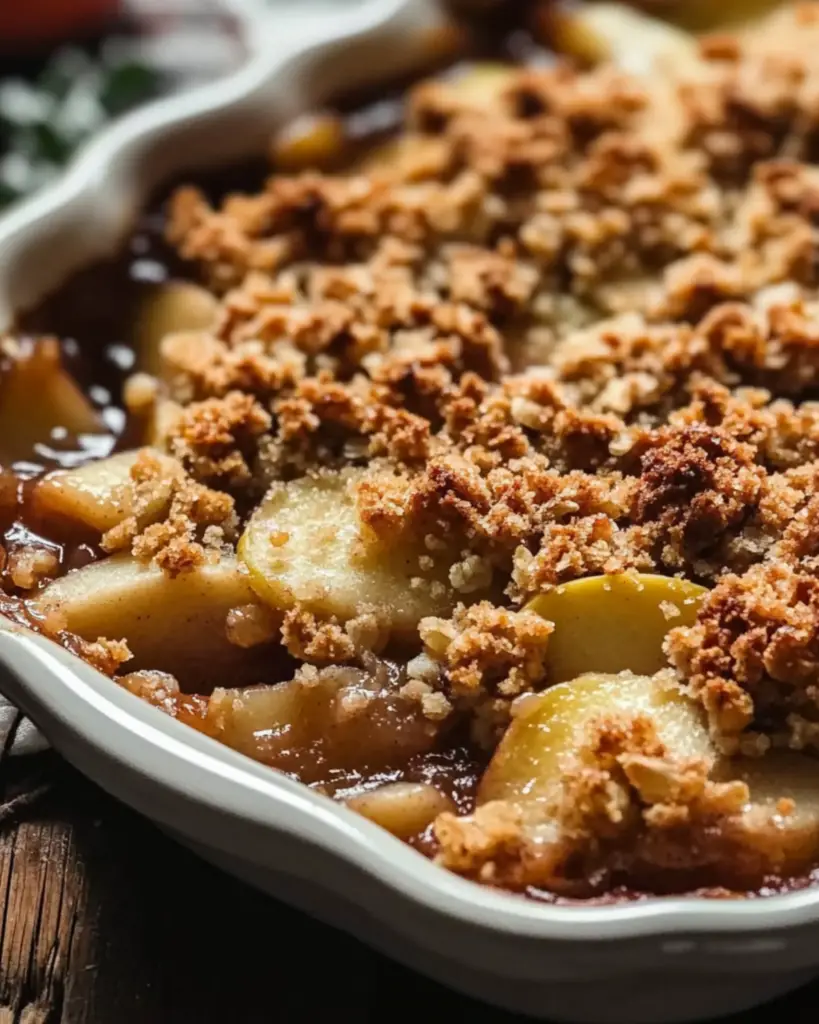
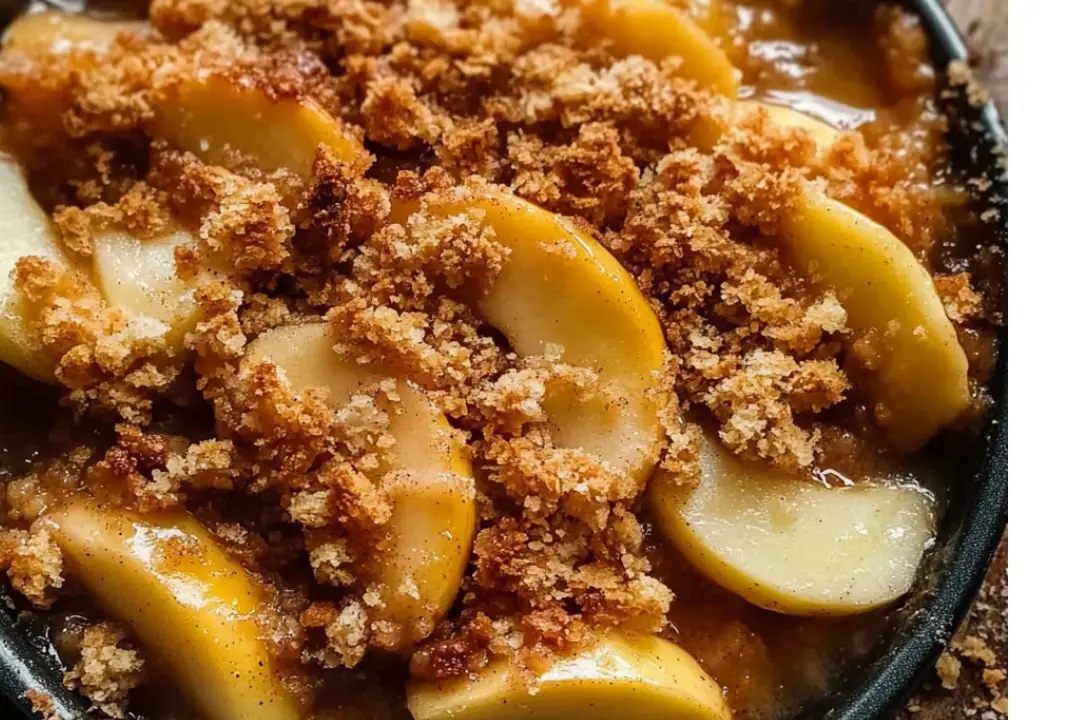
If you’re craving a warm, cozy dessert that fills your kitchen with the comforting scents of cinnamon, butter, and sweet apples—then this Old Fashioned Apple Crisp is just the recipe you need! Think tender, spiced apples tucked beneath a crispy, golden topping that’s perfectly buttery and crumbly. It’s the kind of dessert that reminds you of home, family, and autumn afternoons, no matter the season. Trust me, this one will have everyone coming back for seconds (and thirds!).
Whether you’re baking it for a holiday gathering, a weekend treat, or just because you deserve something sweet, this apple crisp delivers on every level. It’s simple, delicious, and feels like a warm hug in dessert form. Ready to dive in?
Why You’ll Love Old Fashioned Apple Crisp
Here’s why this classic dessert will quickly become a favorite:
Perfect Balance of Sweet & Tart
The apples bring just the right amount of sweetness, balanced with a hint of tartness—especially if you mix in some Granny Smiths. The cinnamon-sugar mixture perfectly complements the apples without overwhelming them.
Easy to Make
No complicated techniques here! This recipe uses basic ingredients that come together easily. All you need is a bit of stirring, some patience while it bakes, and you’ve got a dessert that’s bound to impress.
Buttery, Crumbly Topping
The crisp topping is the star of the show! A mixture of oats, flour, butter, and sugar forms a golden, crumbly crust that contrasts beautifully with the soft, spiced apples underneath.
Serve It Warm
There’s something about a warm apple crisp that just makes it perfect. Pair it with a scoop of vanilla ice cream or a dollop of whipped cream, and you’re in dessert heaven.
Classic Comfort Food
Apple crisp is one of those nostalgic desserts that remind you of family gatherings, fall festivals, or Sunday dinners. It’s a classic for a reason—always a crowd-pleaser and never goes out of style.

Disclosure: This post contains affiliate links.If you click and make a purchase, I may earn a small commission at no extra cost to you.
Ingredients
This Old Fashioned Apple Crisp recipe uses a handful of pantry staples to create a rich and flavorful dessert. Here’s what you’ll need:
Apples
For the filling, you want apples that hold their shape and offer a good balance of sweetness and tartness. Granny Smith, Honeycrisp, or a mix of both work wonderfully.
Sugar
Both brown sugar and white granulated sugar are used in the filling to sweeten the apples and create that irresistible syrupy goodness.
Cinnamon & Nutmeg
These warm spices give the filling its comforting flavor. If you’re feeling adventurous, you can even add a pinch of cloves or ginger!
Lemon Juice
A squeeze of lemon juice brightens up the apples and helps balance out the sweetness.
Butter
Melted butter forms the base of the crispy topping and gives it that golden, irresistible texture.
Oats
Old-fashioned rolled oats create that perfect crumble on top. They give the crisp topping a satisfying chewiness that pairs beautifully with the tender apples.
Flour
A bit of all-purpose flour helps to hold the topping together, giving it a slight crunch without being too thick or doughy.
Vanilla Extract
A splash of vanilla enhances the flavor of both the apples and the topping. It’s a small touch that makes a big difference!
(Note: The full ingredient list, including measurements, is provided in the recipe card directly below.)
Instructions
Let’s get baking! This apple crisp is incredibly straightforward and easy to make.
Step 1: Preheat Your Oven
Preheat your oven to 350°F (175°C) so it’s ready to go when the crisp is assembled.
Step 2: Prepare the Apples
Peel, core, and slice the apples into thin wedges. Place them into a large bowl. Sprinkle the apples with sugar, cinnamon, nutmeg, and a squeeze of lemon juice. Toss everything together until the apples are evenly coated. Pour the apple mixture into a greased 9×9-inch (or similar size) baking dish.
Step 3: Make the Crisp Topping
In a separate bowl, combine the oats, flour, sugar, and a pinch of cinnamon. Stir in the melted butter and vanilla extract until the mixture is crumbly. The topping should have a sandy texture with small clumps.
Step 4: Assemble the Crisp
Evenly spread the crisp topping over the apples in the baking dish. It doesn’t have to be perfect—some areas can have a little more topping, some a little less. The unevenness adds to the charm!
Step 5: Bake to Perfection
Place the baking dish in the preheated oven and bake for 45–50 minutes, or until the apples are tender and the topping is golden brown and crispy. You might want to check the crisp halfway through and loosely cover it with foil if it’s browning too quickly.
Step 6: Let It Cool (But Not Too Long!)
Once the crisp is out of the oven, let it cool for about 10 minutes before serving. This will help the juices settle and make it easier to serve—but don’t wait too long to dig in! The best part is still ahead.
Step 7: Serve and Enjoy
Scoop a generous serving into bowls, and for the ultimate indulgence, top it with a scoop of vanilla ice cream or a dollop of freshly whipped cream. It’s comfort food at its finest.
Nutrition Facts
Servings: [Number of servings]
Calories per serving: [Calorie count per serving]
Preparation Time
Prep Time: [Time to prepare ingredients]
Cook Time: [Time to cook or bake]
Total Time: [Total time needed]
How to Serve Old Fashioned Apple Crisp
Old Fashioned Apple Crisp is delicious on its own, but you can make it even more indulgent with a few fun pairings. Here are some ideas:
Vanilla Ice Cream
The classic combo! A scoop of vanilla ice cream on top of warm apple crisp is a match made in dessert heaven. The cold creaminess balances the warmth of the apples beautifully.
Whipped Cream
A dollop of freshly whipped cream adds a fluffy, light contrast to the richness of the crisp. You can even add a little vanilla or cinnamon to the whipped cream for extra flavor.
Caramel Sauce
If you’re feeling extra indulgent, drizzle some homemade or store-bought caramel sauce over your apple crisp for a little extra sweetness and depth.
Tea or Coffee
For a more refined touch, pair this crisp with a cup of tea or coffee. A strong, dark roast coffee or a spiced chai would be perfect to balance the sweetness of the dessert.
Additional Tips
Use Different Apples
Experiment with different types of apples to find your favorite combination! A mix of sweet and tart apples is ideal, but you can also use all one type if you prefer.
Make it Ahead of Time
This apple crisp can be assembled a day ahead of time and stored in the fridge before baking. Just pop it in the oven when you’re ready to bake! You can also prepare the topping ahead and keep it in the fridge.
Add Nuts
If you love a little crunch, toss in some chopped nuts like pecans or walnuts into the topping. They’ll toast up beautifully while baking and add extra flavor.
Make it Gluten-Free
To make this dessert gluten-free, simply substitute the all-purpose flour with a gluten-free flour blend and ensure your oats are certified gluten-free.
Leftovers
Leftovers can be stored in an airtight container in the fridge for up to 3 days. Reheat in the microwave or oven to enjoy it again. It’s just as good the second time around!
FAQ Section
Q1: Can I use frozen apples for this recipe?
A1: Fresh apples are best for this recipe, but if you use frozen, be sure to thaw and drain them first to avoid excess moisture in the filling.
Q2: Can I make this without oats?
A2: Yes! You can substitute the oats with crushed graham crackers or even a mixture of flour and chopped nuts for a different texture.
Q3: Can I freeze apple crisp?
A3: Absolutely! You can freeze apple crisp before baking, or after baking it. Just make sure it’s tightly covered. When you’re ready to bake, thaw it in the fridge overnight and bake as usual.
Q4: How do I know when the apple crisp is done?
A4: The apples should be tender when pierced with a fork, and the topping should be golden and crispy. If you’re unsure, give it a few extra minutes in the oven.
Q5: How can I make this healthier?
A5: You can reduce the sugar or swap it for a natural sweetener like maple syrup or honey. You can also use whole-wheat flour or almond flour in the topping for a slightly healthier option.
This Old Fashioned Apple Crisp is a nostalgic dessert that’s perfect for any occasion. It’s warm, sweet, and comforting, with a delicious combination of tender apples and a buttery, crispy topping. With minimal effort and maximum flavor, it’s a dessert everyone will love. Enjoy!
Print
Old Fashioned Apple Crisp
- Total Time: 0 hours
- Yield: 6 servings
- Diet: Vegetarian
Description
This Old-Fashioned Apple Crisp is the ultimate comfort dessert, made with tender cinnamon-sugar apples topped with a golden, buttery oat crumble. It’s a perfect treat for fall or any time of the year! Serve warm with a scoop of vanilla ice cream or a dollop of whipped cream for a classic dessert.
Ingredients
For the Apple Filling:
- 6-7 medium apples (about 5 cups), peeled, cored, and sliced (Granny Smith or Honeycrisp work well)
- 1 tablespoon lemon juice
- 1/4 cup granulated sugar
- 1 teaspoon ground cinnamon
- 1/4 teaspoon ground nutmeg
- 1 tablespoon cornstarch (optional, for thicker filling)
For the Crisp Topping:
- 3/4 cup old-fashioned rolled oats
- 1/2 cup all-purpose flour
- 1/2 cup packed brown sugar
- 1/4 teaspoon ground cinnamon
- 1/4 teaspoon salt
- 1/2 cup unsalted butter, cold and cut into small cubes
Instructions
- Preheat the oven: Preheat your oven to 350°F (175°C). Grease an 8×8-inch (or similar-sized) baking dish with butter or cooking spray.
- Prepare the apple filling: In a large bowl, toss the sliced apples with lemon juice, granulated sugar, cinnamon, nutmeg, and cornstarch (if using). Make sure the apples are evenly coated with the sugar and spices.
- Make the crisp topping: In a separate bowl, combine the oats, flour, brown sugar, cinnamon, and salt. Add the cold butter cubes and use a pastry cutter or your fingers to cut the butter into the dry ingredients until the mixture resembles coarse crumbs. The butter should be well-distributed, with pea-sized chunks remaining.
- Assemble the crisp: Spread the apple mixture evenly in the prepared baking dish. Then, sprinkle the oat crumble topping evenly over the apples, covering them completely.
- Bake the crisp: Bake for 40-45 minutes, or until the topping is golden brown and the apples are bubbling. You may want to check the crisp after about 30 minutes and cover it loosely with aluminum foil if the topping is browning too quickly.
- Serve: Let the apple crisp cool for a few minutes before serving. For extra indulgence, top it with vanilla ice cream, whipped cream, or a drizzle of caramel sauce.
Notes
- Apple variety: You can mix and match apples for a better flavor balance. A combination of tart and sweet apples (like Granny Smith and Honeycrisp) gives a perfect balance of flavors.
- Gluten-Free Option: Use gluten-free oats and a gluten-free flour blend to make the topping gluten-free.
- Add-ins: For extra flavor, you can stir in some chopped nuts (like walnuts or pecans) into the topping or sprinkle some on top for added crunch.
- Make ahead: You can prepare the apple filling and topping ahead of time and store them separately in the fridge for up to a day before assembling and baking.
- Prep Time: 15 minutes
- Cook Time: 40-45 minutes
- Category: Dessert
- Method: Baking
- Cuisine: American
Nutrition
- Serving Size: 1/6 of the recipe
- Calories: 290 kcal
- Sugar: 27 g
- Sodium: 85mg
- Fat: 14g
- Saturated Fat: 8 g
- Unsaturated Fat: 5g
- Trans Fat: 0g
- Carbohydrates: 42g
- Fiber: 4g
- Protein: 2g
- Cholesterol: 30mg


