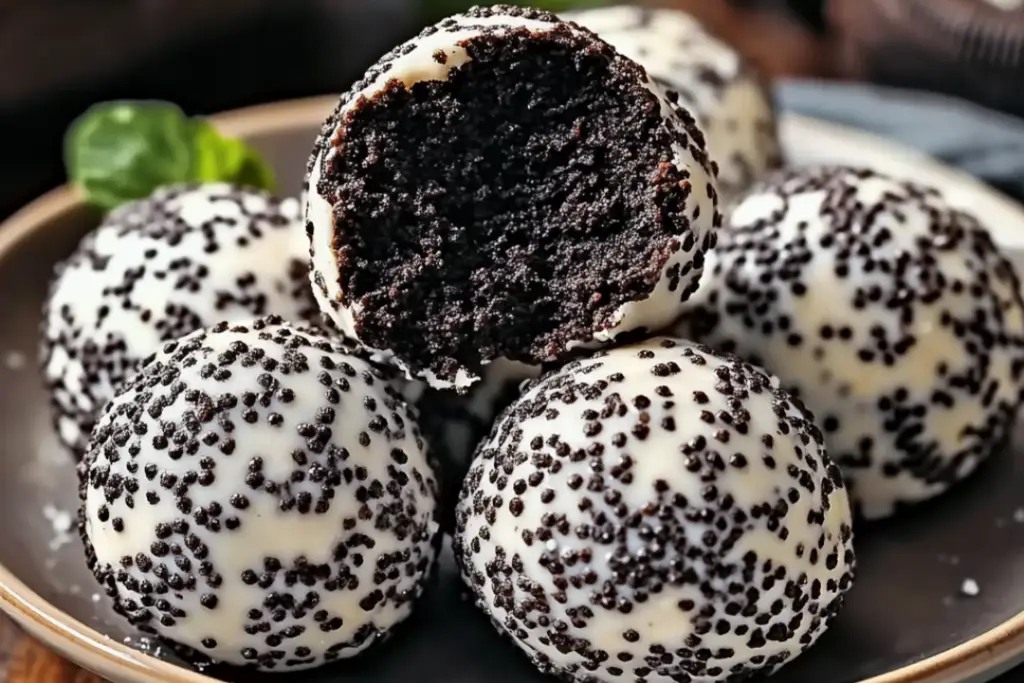
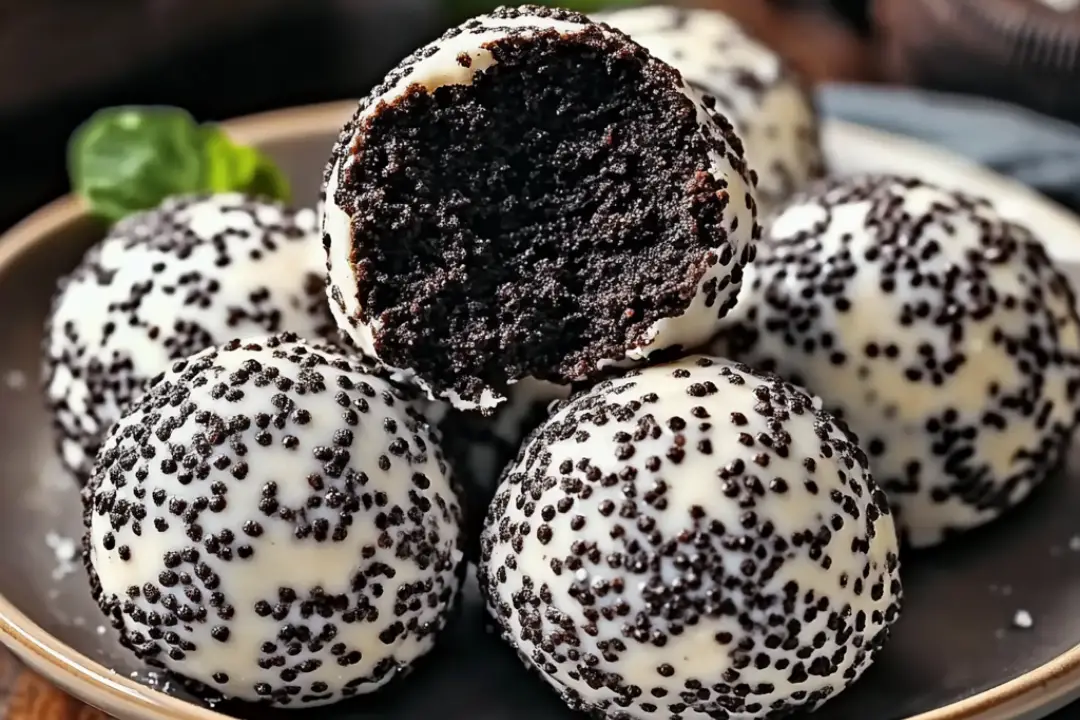
Let’s talk about one of the most irresistible treats that’s so simple to make yet absolutely addictive—Oreo Balls! These little bite-sized wonders are packed with rich Oreo flavor, dipped in creamy chocolate, and topped with a touch of sweetness that’ll make anyone’s day. They’re the perfect dessert for all occasions—whether it’s a holiday gathering, a special celebration, or just a sweet treat to enjoy while binge-watching your favorite show. Trust me, once you try them, you’ll be hooked! Ready to dive in? Let’s get started.
Why You’ll Love Oreo Balls
Here’s why these Oreo Balls are going to be your new go-to dessert:
Easy to Make: No baking required! These Oreo Balls are super simple to whip up, making them perfect for anyone who wants to make something delicious without all the fuss. All you need is a few ingredients and some quick steps.
Perfectly Sweet: The Oreo cookies combined with cream cheese create a sweet, creamy filling that’s balanced out by the rich chocolate coating. They strike that perfect balance of sweetness that everyone loves.
No Oven Needed: Don’t feel like turning on the oven? No problem! These Oreo Balls are made in the fridge, so you won’t heat up your kitchen during those hot summer days.
Crowd-Pleaser: Whether you’re bringing them to a party, giving them as a gift, or just making a batch for yourself, they’re always a hit. Everyone loves the creamy, crunchy, and chocolaty goodness in each bite!
Customizable: Feel free to get creative! You can drizzle them with white chocolate, roll them in sprinkles, or even add a pinch of sea salt to make them your own. There’s no wrong way to enjoy these!

Disclosure: This post contains affiliate links.If you click and make a purchase, I may earn a small commission at no extra cost to you.
Ingredients
These Oreo Balls are made with just a few simple ingredients that you probably already have in your kitchen. Here’s what you’ll need:
Oreo Cookies: The star ingredient! You can use any variety of Oreos, but classic Oreo cookies work best. Crush them up to create that crunchy texture in every bite.
Cream Cheese: This gives the Oreo balls their rich, creamy texture. It binds the crushed Oreos together and makes them melt-in-your-mouth delicious.
Chocolate (Milk or Dark): You’ll need some chocolate to coat your Oreo balls. You can use milk chocolate or dark chocolate, depending on your preference. The melted chocolate coats each ball and gives it that irresistible crunch.
Optional Toppings: You can top your Oreo Balls with sprinkles, crushed Oreos, or a drizzle of extra melted chocolate to make them even more fun!
(Note: the full ingredients list, including measurements, is provided in the recipe card directly below.)
Instructions
Let’s get started on making these easy, delicious Oreo Balls!
Step 1: Crush the Oreos
Start by crushing your Oreos. You can do this by placing them in a zip-top bag and smashing them with a rolling pin, or use a food processor for a quicker, finer crumble. The goal is to break the cookies down into small, crumbly pieces.
Step 2: Mix with Cream Cheese
In a large bowl, combine the crushed Oreos with the cream cheese. Mix it together until the filling is smooth and the Oreos are evenly incorporated. You can use a spoon or your hands to mix it all together—it’ll be thick and sticky, but that’s what makes it so yummy!
Step 3: Shape into Balls
Roll the Oreo and cream cheese mixture into small balls, about 1 inch in diameter. Place them on a baking sheet lined with parchment paper or a silicone mat. You should end up with about 24-30 Oreo balls, depending on the size.
Step 4: Chill the Balls
Place the tray of Oreo balls in the refrigerator for at least 30 minutes, or until they’re firm. This helps them hold their shape and makes them easier to dip in chocolate.
Step 5: Melt the Chocolate
While the Oreo balls are chilling, melt the chocolate. You can do this in a microwave-safe bowl, heating it in 30-second intervals and stirring between each, or you can melt it using a double boiler. Once the chocolate is smooth and melted, you’re ready to dip!
Step 6: Coat in Chocolate
Dip each chilled Oreo ball into the melted chocolate, coating it completely. You can use a fork to help submerge the balls in chocolate and gently tap the fork on the edge of the bowl to remove any excess chocolate.
Step 7: Let Them Set
Place the dipped Oreo balls back onto the parchment-lined baking sheet. If you want, drizzle extra chocolate on top or sprinkle some crushed Oreos for decoration. Then, refrigerate them for another 30 minutes to let the chocolate harden.
Step 8: Serve and Enjoy!
Once the chocolate has set, the Oreo balls are ready to be served! Enjoy them as a quick sweet treat, or share them with friends and family for a crowd-pleasing dessert.
How to Serve Oreo Balls
These Oreo Balls are perfect for just about any occasion. Here are some great ways to serve them:
Party Treats: Bring them to your next potluck or family gathering. They’re easy to serve, and everyone will love them!
Gift Ideas: Pack them into cute boxes or bags for a homemade gift that’s sure to impress. Everyone loves a thoughtful, edible gift.
Holiday Desserts: They’re perfect for Christmas, Valentine’s Day, or any other holiday when you want something festive and fun. You can even add colorful sprinkles or drizzle them with red and green chocolate for extra holiday cheer.
Movie Night: Pop these in a bowl and enjoy them while you’re watching your favorite movie. They’re the ultimate movie snack!
Additional Tips
Make Ahead: Oreo Balls can be made up to 2 days ahead of time. Just store them in an airtight container in the fridge until you’re ready to serve.
Storage: Store leftover Oreo balls in the refrigerator for up to a week. You can also freeze them for longer storage—just keep them in an airtight container or freezer bag for up to 2 months. Let them thaw before serving.
Customize the Coating: While chocolate is the classic coating, feel free to try white chocolate, colored chocolate melts, or even candy coatings for a fun twist. You can also roll them in crushed nuts or sprinkles for extra texture and flair.
FAQ Section
Q1: Can I use gluten-free Oreos?
A1: Yes, gluten-free Oreos work just as well in this recipe. Just be sure to check the label on the cream cheese and chocolate to ensure they’re gluten-free if you need to accommodate a gluten-sensitive diet.
Q2: Can I use chocolate chips instead of melting chocolate?
A2: Absolutely! You can use chocolate chips to coat the Oreo balls. Just be sure to add a little bit of vegetable oil or shortening to the chocolate to help it melt smoothly.
Q3: How do I make Oreo Balls with different flavors?
A3: Try using different flavored Oreos, like mint, peanut butter, or golden Oreos, for a fun twist on the classic. You can also add extracts, like mint or vanilla, to the cream cheese mixture for a flavor boost.
Q4: How do I store Oreo Balls?
A4: Store them in an airtight container in the fridge for up to a week. You can also freeze them for longer storage—just let them thaw in the fridge before eating.
Q5: Can I double the recipe?
A5: Yes! Simply double the ingredients and you’ll have a larger batch of Oreo balls to enjoy or share.
Enjoy!
These Oreo Balls are the ultimate sweet treat that combines rich Oreo flavor with creamy, chocolaty goodness. Whether you’re making them for a party, a gift, or just because you deserve something delicious, these little bites will have everyone asking for the recipe. So, go ahead, give them a try, and get ready for some happy taste buds!

Oreo Balls
- Total Time: 45 minutes
- Yield: About 24 Oreo balls
- Diet: Vegetarian
Description
These Oreo Balls for Christmas are the perfect festive treat! With just a few ingredients, you can create a sweet, indulgent bite-sized treat that’s both creamy and crunchy. Covered in chocolate and decorated with red and green sprinkles, these Oreo balls make an excellent holiday gift, party snack, or just a sweet treat to enjoy with family and friends.
Ingredients
- 1 package (14 oz) Oreo cookies, finely crushed
- 8 oz cream cheese, softened
- 12 oz white chocolate, melted
- 12 oz milk or dark chocolate, melted
- Red and green sprinkles or colored icing for decoration
Instructions
- Prepare the Oreo Mixture: In a large mixing bowl, combine the crushed Oreo cookies and softened cream cheese. Mix thoroughly until it becomes a dough-like consistency.
- Form the Balls: Scoop out about 1 tablespoon of the mixture and roll it into a small ball with your hands. Place the balls on a parchment-lined baking sheet.
- Chill: Refrigerate the Oreo balls for about 30 minutes, or until they are firm enough to handle.
- Coat in Chocolate: Once the Oreo balls have chilled, dip them in the melted white chocolate or milk/dark chocolate. Use a fork to lift them out, allowing the excess chocolate to drip off before placing them back on the baking sheet.
- Decorate: Before the chocolate sets, drizzle with red and green icing or sprinkle with Christmas sprinkles for a festive look.
- Set: Let the coated Oreo balls set at room temperature or in the fridge until the chocolate hardens.
- Serve and Enjoy: Store the Oreo balls in an airtight container in the refrigerator and serve when ready.
Notes
- Decorating tip: For a more professional-looking finish, use a piping bag to drizzle the icing over the Oreo balls instead of just drizzling by hand.
- Flavor variation: Feel free to try using different types of chocolate, like dark chocolate or a combination of both milk and white chocolate, for a layered look.
- Storage: Keep the Oreo balls in an airtight container in the fridge to preserve freshness.
- Make them ahead: Oreo balls can be made up to a week in advance and stored in the fridge until you’re ready to serve.
- Consistency check: If the Oreo mixture feels too dry to form into balls, add a little more softened cream cheese until the dough reaches the right consistency.
- Prep Time: 15 minutes
- Cook Time: 30 minutes
- Category: Dessert
- Method: No-Bake
- Cuisine: American
Nutrition
- Serving Size: 1 Oreo ball
- Calories: 120
- Sugar: 14g
- Sodium: 25 mg
- Fat: 7g
- Saturated Fat: 4g
- Unsaturated Fat: 3g
- Trans Fat: 0g
- Carbohydrates: 15g
- Fiber: 1g
- Protein: 1 g
- Cholesterol: 5mg


