Introduction:
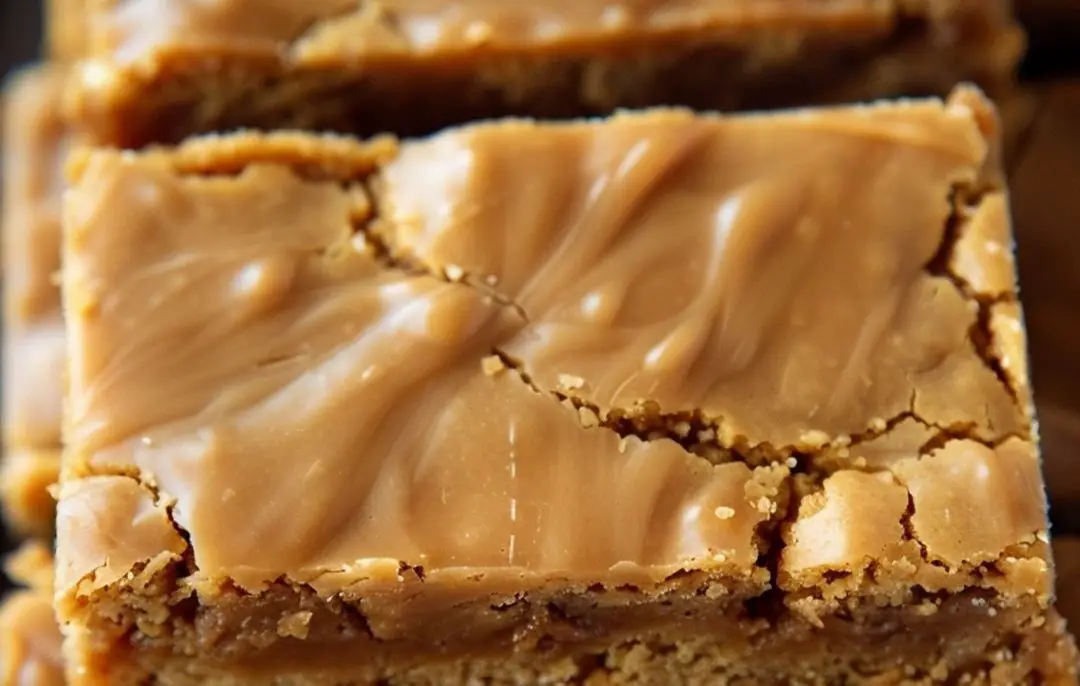
Looking for a scrumptious treat that brings nostalgia and satisfaction in every bite? Look no further than Peanut Butter Lunch Lady Cookie Bars! These delightful bars are a blend of childhood nostalgia and irresistible flavors, perfect for any occasion. Whether you’re craving a midday snack or planning a weekend bake-off, these bars are sure to be a hit. Let’s dive into the delicious world of Peanut Butter Lunch Lady Cookie Bars and learn how to make them yourself!
Why Peanut Butter Lunch Lady Cookie Bars? Peanut Butter Lunch Lady Cookie Bars offer a unique twist on the classic peanut butter cookie. Inspired by the beloved lunch lady treats from school days, these bars combine the creamy richness of peanut butter with the sweetness of chocolate chips, resulting in a mouthwatering treat that’s hard to resist. Plus, they’re easy to make and perfect for sharing with family and friends.
Ingredients:
To make these delectable Peanut Butter Lunch Lady Cookie Bars, you’ll need the following ingredients:
- 1 cup of creamy peanut butter
- 1/2 cup of unsalted butter, softened
- 1 cup of granulated sugar
- 1 cup of packed light brown sugar
- 2 large eggs
- 1 teaspoon of vanilla extract
- 2 cups of all-purpose flour
- 1 teaspoon of baking powder
- 1/2 teaspoon of salt
- 1 1/2 cups of semi-sweet chocolate chips
Instructions:
- Preheat your oven to 350°F (175°C) and grease a 9×13-inch baking dish.
- In a large mixing bowl, cream together the peanut butter, softened butter, granulated sugar, and brown sugar until smooth and creamy.
- Add the eggs, one at a time, beating well after each addition. Stir in the vanilla extract.
- In a separate bowl, whisk together the flour, baking powder, and salt. Gradually add the dry ingredients to the wet ingredients, mixing until well combined.
- Fold in the semi-sweet chocolate chips until evenly distributed throughout the dough.
- Spread the dough evenly into the prepared baking dish, using a spatula to smooth the top.
- Bake in the preheated oven for 25-30 minutes, or until the edges are golden brown and a toothpick inserted into the center comes out clean.
- Allow the bars to cool completely in the baking dish before cutting into squares and serving.
Serving and Storage Tips:
- Serving Suggestions: Peanut Butter Lunch Lady Cookie Bars are best enjoyed fresh out of the oven when they’re still warm and gooey. Serve them as a delicious dessert with a scoop of vanilla ice cream for an extra indulgent treat. You can also cut them into smaller squares and serve them at parties or gatherings as a delightful finger food.
- Storage: If you have any leftovers (which is rare because they’re so delicious!), store them in an airtight container at room temperature for up to 3-4 days. Make sure to let them cool completely before storing to prevent them from becoming soggy. If you want to prolong their freshness, you can also store them in the refrigerator for up to a week.
- Freezing: These cookie bars freeze exceptionally well, making them perfect for meal prep or for keeping on hand for unexpected cravings. Once cooled, wrap individual bars or the entire batch tightly in plastic wrap and then aluminum foil to prevent freezer burn. They can be frozen for up to 2-3 months. When ready to enjoy, simply thaw them at room temperature or reheat them in the microwave for a few seconds for that freshly baked taste.
- Reheating: If you prefer your cookie bars warm and melty, you can easily reheat them in the microwave or oven. For the microwave, place a single serving on a microwave-safe plate and heat on high for 10-15 seconds, or until warm. If using the oven, preheat it to 300°F (150°C), place the bars on a baking sheet, and heat for 5-7 minutes, or until warmed through. Be careful not to overheat them, as they can become dry.
By following these serving and storage tips, you can ensure that your Peanut Butter Lunch Lady Cookie Bars stay fresh, delicious, and ready to enjoy whenever you need a sweet pick-me-up!
FAQ’s:
Conclusion:
Once cooled, these Peanut Butter Lunch Lady Cookie Bars are ready to be enjoyed! Serve them as a delightful snack with a glass of cold milk, or pack them in lunchboxes for a special treat. Whether you’re reliving childhood memories or creating new ones, these bars are sure to satisfy your sweet tooth and leave you craving more. So, gather your ingredients and get baking – your taste buds will thank you!

