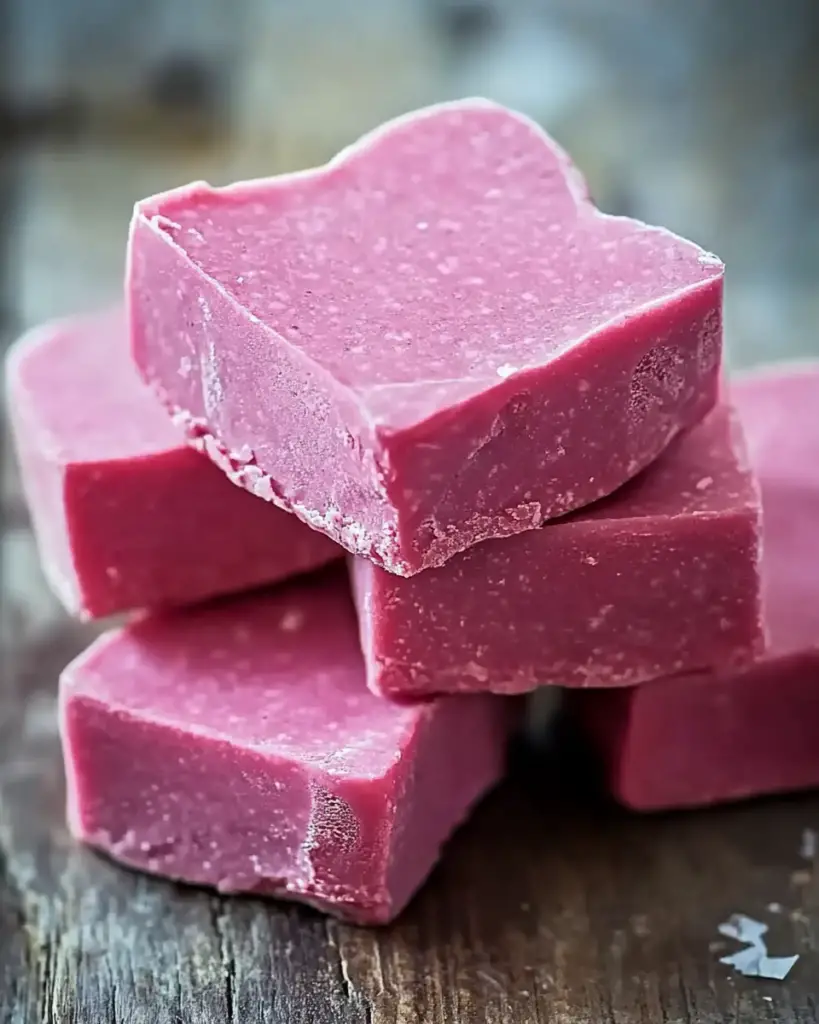
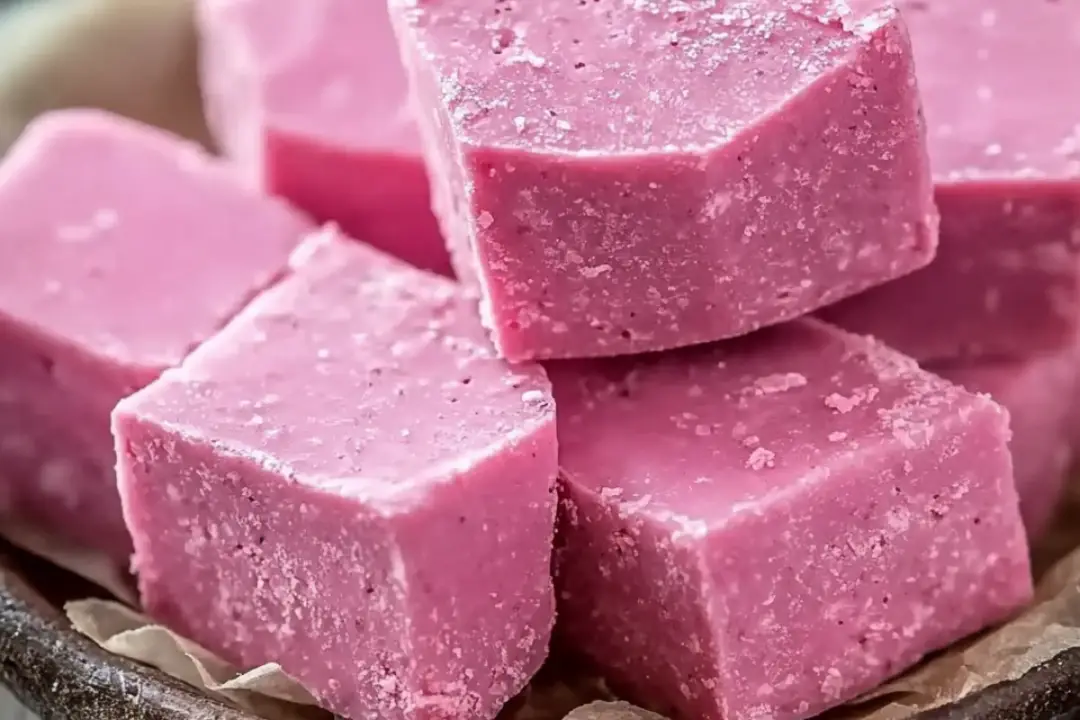
Valentine’s Day just got a whole lot sweeter with this Pink Chocolate Fudge! If you’re looking for a treat that’s rich, creamy, and undeniably festive, this is it. With its silky smooth texture and beautiful pink hue, it’s perfect for celebrating love—whether you’re sharing it with someone special or just treating yourself. Plus, it’s ridiculously easy to make, so you can whip up this gorgeous fudge in no time. Trust me, everyone will be swooning over these pink, chocolatey bites of happiness!
Why You’ll Love Pink Chocolate Fudge for Valentine’s Day
This Pink Chocolate Fudge is everything you need for a delicious Valentine’s treat. Here’s why it’s sure to steal your heart:
Sweet & Creamy
The combination of white chocolate and a hint of strawberry makes this fudge incredibly creamy with just the right amount of sweetness. It’s like a soft, velvety bite of love in every piece.
Festive & Fun
The beautiful pink color makes this fudge a total showstopper, making it perfect for Valentine’s Day celebrations. It’s a fun treat that’s as beautiful as it is delicious!
Quick & Easy
With just a few ingredients and minimal effort, this fudge comes together effortlessly. It’s the perfect last-minute Valentine’s treat for anyone who wants to impress without spending hours in the kitchen.
Versatile
While it’s perfect for Valentine’s Day, you can easily make this fudge for birthdays, anniversaries, or just because. It’s a simple recipe you’ll want to keep in your back pocket year-round.

Disclosure: This post contains affiliate links.If you click and make a purchase, I may earn a small commission at no extra cost to you.
Ingredients
Here’s what you’ll need to create this pink, creamy fudge:
For the Fudge:
- White Chocolate Chips: This is the creamy base of the fudge, giving it that silky texture.
- Sweetened Condensed Milk: Adds richness and smoothness, making the fudge perfectly velvety.
- Pink Food Coloring: This is what gives the fudge its lovely, festive pink color. A little goes a long way!
- Strawberry Extract or Flavoring: To give the fudge a light, fruity flavor that pairs beautifully with the white chocolate.
- A pinch of Salt: To enhance the sweetness and balance out the flavors.
For Garnishing (Optional):
- Sprinkles: Red, pink, or white heart-shaped sprinkles to make it extra festive.
- Freeze-Dried Strawberries: Crushed up for a fruity crunch that adds both flavor and texture.
Instructions
Making this Pink Chocolate Fudge is as easy as melting, mixing, and chilling! Here’s how you do it:
Step 1: Prepare Your Pan
Line an 8×8-inch baking pan (or similar size) with parchment paper, leaving a little overhang so you can easily lift the fudge out once it’s set. This will make the cutting and serving process so much easier!
Step 2: Melt the White Chocolate
In a medium saucepan, combine the white chocolate chips and sweetened condensed milk over low heat. Stir continuously until the chocolate has completely melted and the mixture is smooth and glossy. Be patient and keep the heat low to prevent burning.
Step 3: Add the Flavor and Color
Once your fudge base is melted and smooth, remove it from the heat and stir in the pink food coloring. Start with just a few drops and add more until you get the desired shade of pink. Then, mix in the strawberry extract and a pinch of salt. Taste the mixture and adjust if needed—more extract for a stronger strawberry flavor or more salt if you’d like to balance the sweetness a bit more.
Step 4: Pour and Set
Pour the fudge mixture into your prepared pan, spreading it out evenly. Smooth the top with a spatula to create a flat surface.
Step 5: Chill to Set
Place the pan in the refrigerator and chill for at least 2 hours, or until the fudge is firm and set. If you’re in a hurry, you can even pop it in the freezer for about 30-45 minutes to speed up the process.
Step 6: Garnish & Serve
Once the fudge has set, lift it out of the pan using the parchment paper and transfer it to a cutting board. Cut it into small squares or rectangles.
For an extra special touch, garnish the fudge with heart-shaped sprinkles or crushed freeze-dried strawberries. It’ll make it even more festive for your Valentine’s celebration!
Nutrition Facts
Servings: 16
Calories per serving: 120
Preparation Time
Prep Time: 10 minutes
Chill Time: 2 hours
Total Time: 2 hours 10 minutes
How to Serve Pink Chocolate Fudge for Valentine’s Day
This fudge is the perfect Valentine’s treat! Here are a few ways to serve it:
Gift It
Wrap up your pink fudge in cute little boxes or cellophane bags with a ribbon for the perfect Valentine’s gift. It’s a sweet and personal treat to give to friends, family, or that special someone.
As a Dessert Table Addition
Serve the fudge on a Valentine’s Day-themed dessert table alongside other sweet treats like heart-shaped cookies, cupcakes, and chocolate-dipped strawberries.
Perfect for a Romantic Evening
Treat your loved one to a delicious after-dinner bite of fudge. Pair it with a glass of wine or a cup of hot cocoa to make the evening even sweeter.
Additional Tips
Don’t Overheat the Chocolate
When melting the chocolate, keep the heat on low and stir constantly. This ensures the chocolate melts smoothly without becoming grainy or burned.
Adjust the Sweetness
If you prefer less sweetness, you can use a dark chocolate base instead of white chocolate. Just be sure to adjust the amount of sweetened condensed milk to maintain the fudge’s creamy consistency.
Store Leftovers Properly
Store any leftover fudge in an airtight container in the fridge for up to a week. If you want to store it for longer, you can freeze it for up to 3 months—just be sure to wrap it tightly in plastic wrap or foil before freezing.
Try Different Flavors
Experiment with different extracts! A little almond, vanilla, or even raspberry extract could be great substitutes for the strawberry flavor if you’re looking for a new twist.
FAQ Section
Q1: Can I use milk chocolate instead of white chocolate?
A1: While milk chocolate would work, the texture and color of the fudge will be different. White chocolate is what gives this fudge its creamy, pastel appearance. If you prefer milk chocolate, the fudge will be just as delicious, but the color will be darker.
Q2: How do I make this fudge less sweet?
A2: You can reduce the amount of sweetened condensed milk or swap out some of the white chocolate for dark chocolate to cut down on the sweetness.
Q3: Can I use a different flavoring instead of strawberry?
A3: Yes! You can experiment with other flavors like raspberry, vanilla, or even a citrusy lemon. Just keep in mind that strawberry works particularly well with the pink color.
Q4: Can I make this ahead of time?
A4: Yes, this fudge is perfect for making ahead. It stores well in the fridge for about a week, and even longer in the freezer. Make it a few days before your Valentine’s celebration for a stress-free treat!
Q5: Can I add mix-ins like nuts or chocolate chips?
A5: Absolutely! You can add in some mini chocolate chips, chopped nuts, or even small candy pieces for a fun texture twist. Just be sure to fold them in gently so they don’t overwhelm the creamy fudge.
Q6: How do I store this fudge?
A6: Store the fudge in an airtight container in the fridge for up to one week. You can also freeze it for up to 3 months, but make sure to wrap it tightly to avoid freezer burn.
Q7: Can I make this fudge without sweetened condensed milk?
A7: The sweetened condensed milk is key to giving the fudge its rich, creamy texture. If you don’t have it, you could substitute with a homemade version or another creamy option like heavy cream, but the texture might vary.
Q8: Can I use fresh strawberry puree instead of extract?
A8: Fresh strawberry puree could work, but it may alter the texture and consistency of the fudge. If you use it, make sure to cook it down a bit to reduce the moisture before adding it to the chocolate.
Q9: How do I prevent the fudge from becoming too soft?
A9: Make sure the fudge is completely chilled before cutting it. The more time you give it to set, the firmer it will be. Keep it refrigerated until you’re ready to serve.
Q10: Can I use silicone molds instead of a pan?
A10: Yes! Silicone molds are a fun way to create fudge in various shapes. Just be sure to grease the molds lightly before adding the fudge mixture to help it come out easily.
Conclusion
This Pink Chocolate Fudge is the perfect Valentine’s Day treat—delicious, easy to make, and full of heart! Whether you’re making it to share with loved ones or keeping it all to yourself, it’s sure to bring a smile to anyone’s face. Sweet, creamy, and just the right touch of festive fun, this fudge is the ultimate way to show your love through food. Happy Valentine’s Day!
Print
Pink Chocolate Fudge for Valentine’s Day Recipe
- Total Time: 15 minutes
- Yield: 24 small squares 1x
Description
This smooth and creamy Pink Chocolate Fudge is the perfect sweet treat for Valentine’s Day. It’s easy to make, beautifully pink, and packed with rich chocolate flavor. A delightful gift or dessert for your loved ones!
Ingredients
- 2 cups white chocolate chips
- 1 can (14 oz) sweetened condensed milk
- 1/2 cup heavy cream
- 1/4 cup unsalted butter
- 1/2 tsp vanilla extract
- 1–2 drops of red or pink food coloring (for a vibrant pink color)
- 1/4 cup sprinkles (optional, for decoration)
Instructions
- Prepare the Pan:
- Line an 8×8-inch square baking pan with parchment paper or lightly grease it to prevent the fudge from sticking.
- Melt the Chocolate and Cream:
- In a medium saucepan, combine the white chocolate chips, sweetened condensed milk, heavy cream, and butter over medium heat. Stir frequently until everything is melted and smooth, creating a creamy fudge mixture.
- Add Flavor and Color:
- Once the mixture is smooth, remove from heat and stir in the vanilla extract. Add the red or pink food coloring, starting with just one drop, and stir until the fudge reaches your desired shade of pink.
- Pour the Fudge into the Pan:
- Pour the pink fudge mixture into the prepared baking pan and spread it evenly.
- Chill the Fudge:
- Refrigerate the fudge for at least 2 hours or until it is set and firm enough to cut.
- Decorate:
- Once the fudge has set, remove it from the pan and cut it into small squares.
- If desired, sprinkle with heart-shaped sprinkles or additional decorations to make it extra festive for Valentine’s Day!
- Serve and Enjoy:
- Serve the fudge as is or package it in cute gift bags to share with loved ones!
Notes
- The fudge can be stored in an airtight container in the refrigerator for up to a week.
- For a more decadent treat, you can swirl in a bit of melted milk chocolate or dark chocolate for added richness.
- You can also mix in mini chocolate chips, chopped nuts, or dried fruit to customize the fudge to your taste.
- Prep Time: 10 minutes
- Cook Time: 5 minutes
- Category: Dessert
- Method: Stovetop
- Cuisine: American
Nutrition
- Serving Size: 1 piece
- Calories: 110
- Sugar: 15g
- Sodium: 25mg
- Fat: 6g
- Saturated Fat: 4g
- Unsaturated Fat: 2g
- Trans Fat: 0g
- Carbohydrates: 14
- Fiber: 0g
- Protein: 1g
- Cholesterol: 15mg


