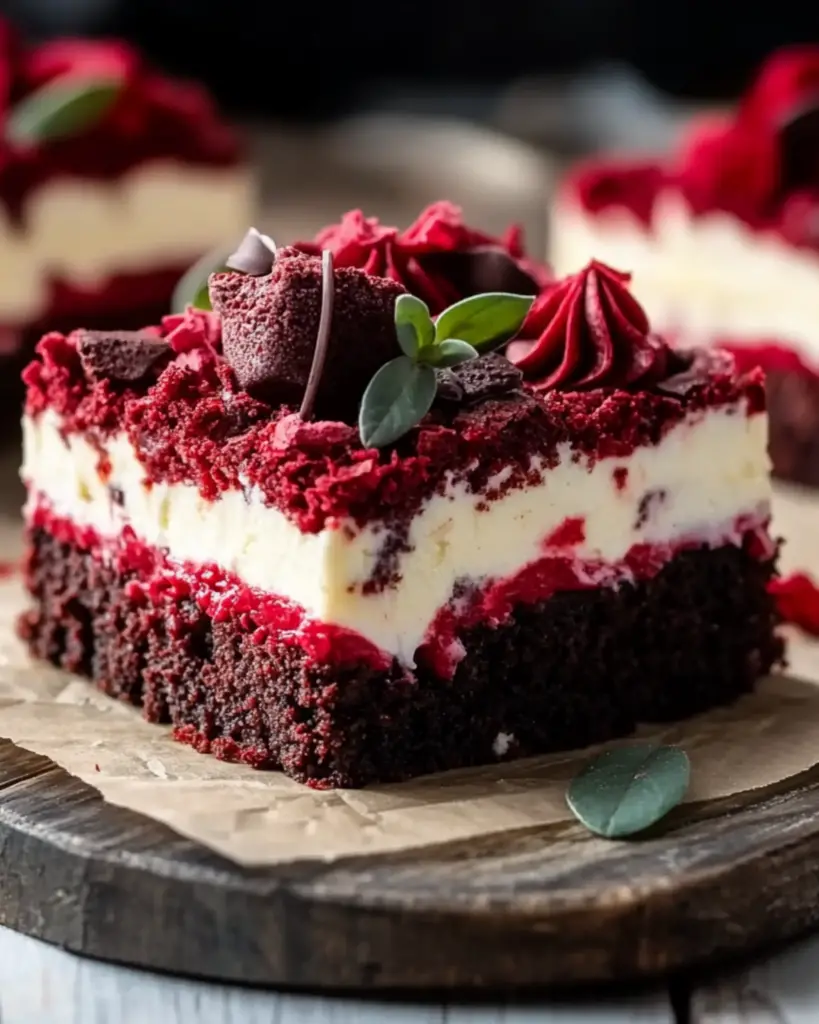
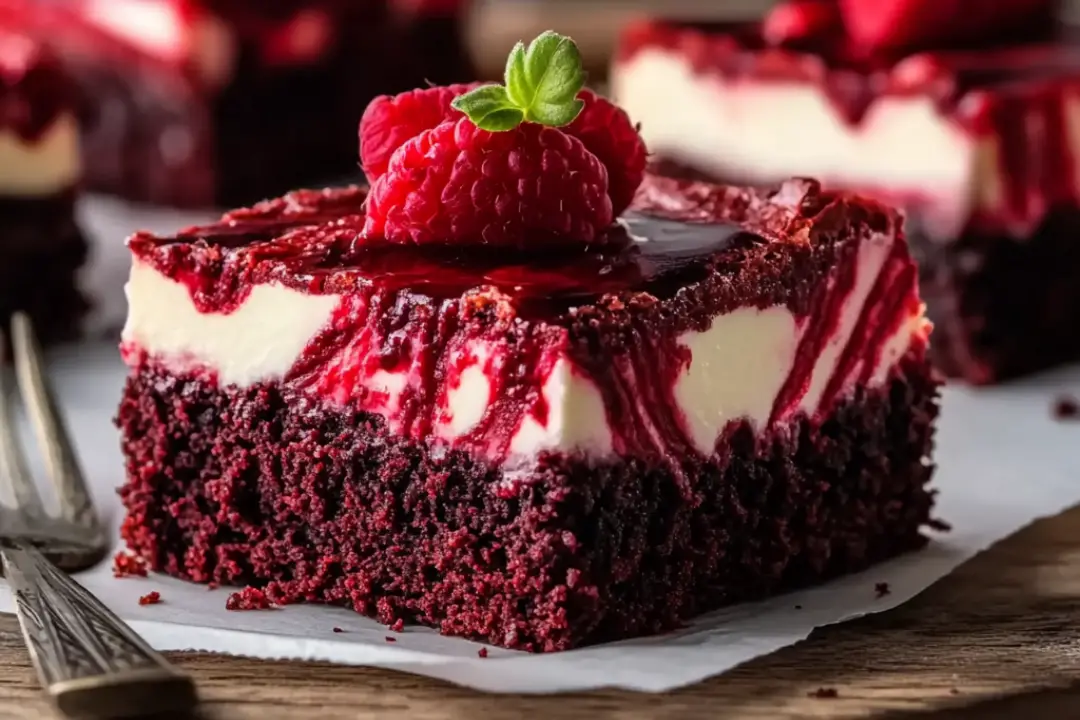
Craving something decadent, indulgent, and just the right amount of festive? Look no further than these Red Velvet Cheesecake Brownies. Imagine the richness of a chocolatey brownie, the creamy, velvety smoothness of cheesecake, and that gorgeous red hue that just screams “I’m special.” These brownies are like a party in your mouth and a perfect blend of two beloved desserts—red velvet cake and cheesecake—all in one glorious treat. Whether you’re making them for a special occasion or simply because you deserve something extraordinary, these are guaranteed to impress!
Why You’ll Love Red Velvet Cheesecake Brownies
This dessert is going to steal the show, and here’s why:
A Beautiful Fusion
Red velvet cake and cheesecake come together in perfect harmony. The moist, cocoa-infused red velvet brownie pairs beautifully with the silky, tangy cheesecake layer. It’s the best of both worlds in a single bite!
Show-Stopping Appearance
Those vibrant red layers, contrasted with the creamy white cheesecake swirl, make these brownies a feast for the eyes. They’re perfect for a celebration, holiday gathering, or just because you want to impress your friends and family.
Moist and Creamy
The brownies are moist and fudgy, while the cheesecake layer brings in a luscious, creamy texture. Every bite melts in your mouth and makes you want more.
Easy to Make
Despite looking and tasting like a gourmet dessert, these brownies are surprisingly simple to make. You don’t need any fancy equipment or advanced skills to create this masterpiece. Just a few simple steps and a little patience, and you’ll be on your way to dessert heaven!
Customizable
Want to add a little twist? You can mix in some chocolate chips into the brownie batter, or top them with a dusting of cocoa powder or even more cheesecake swirls. The possibilities are endless!

Disclosure: This post contains affiliate links.If you click and make a purchase, I may earn a small commission at no extra cost to you.
Ingredients
These are the ingredients that come together to make these Red Velvet Cheesecake Brownies a dream come true:
Brownie Batter
The base of these brownies is made with rich cocoa powder, giving them that indulgent chocolate flavor we all crave.
Red Food Coloring
The key to that signature red velvet look. A few drops give the brownies that perfect pop of color.
Cream Cheese
The star ingredient in the cheesecake layer. Cream cheese gives it that smooth, tangy flavor and creamy texture.
Sour Cream
A touch of sour cream in the cheesecake layer adds tanginess and richness, making it even more velvety.
Sugar
Sugar brings sweetness to both the brownie and cheesecake layers, creating a balanced flavor.
Eggs
Eggs help bind everything together and give the brownies their dense, fudgy texture.
Vanilla Extract
Vanilla adds that extra layer of flavor to both the cheesecake and brownie layers.
(Note: Full ingredient measurements are provided in the recipe card above.)
Instructions
Let’s get to making these show-stopping brownies! Here’s how you can whip them up:
Prepare the Oven and Pan
Preheat your oven to 350°F (175°C) and line a baking pan with parchment paper or lightly grease it to prevent the brownies from sticking.
Make the Brownie Batter
In a medium bowl, mix together melted butter, sugar, eggs, and vanilla extract. Add cocoa powder, flour, salt, and baking powder. Stir until smooth and well-combined. Then, add in a few drops of red food coloring to give it that beautiful red hue. Mix until the color is evenly distributed.
Make the Cheesecake Layer
In a separate bowl, beat together the cream cheese, sour cream, sugar, and egg until smooth and creamy. If you want a little extra flavor, you can add vanilla extract to the cheesecake layer as well. The consistency should be thick but spreadable.
Layer the Batter
Spread half of the red velvet brownie batter into the prepared pan, smoothing it into an even layer. Spoon dollops of the cheesecake mixture on top of the brownie batter, then add the remaining brownie batter on top. Use a knife or toothpick to swirl the cheesecake into the brownie batter, creating that marbled effect.
Bake the Brownies
Bake for 30-35 minutes, or until a toothpick inserted in the center comes out with just a few moist crumbs. Don’t overbake—these brownies are meant to be soft and fudgy, not dry.
Cool and Slice
Allow the brownies to cool completely in the pan. For the cleanest cuts, refrigerate them for about 30 minutes before slicing into squares. These brownies are rich, so a little goes a long way!
Serve and Enjoy
Serve these gorgeous brownies as a sweet treat for any occasion—whether it’s a special celebration or a random Wednesday that deserves something extraordinary.
Nutrition Facts
Servings: 16
Calories per serving: 250
Prep Time: 20 minutes
Cook Time: 35 minutes
Total Time: 55 minutes
How to Serve Red Velvet Cheesecake Brownies
These decadent brownies are delicious on their own, but if you want to make them extra special, here are a few ideas for serving:
With a Scoop of Vanilla Ice Cream
These brownies are made for pairing with ice cream. A scoop of vanilla ice cream on top takes them to a whole new level of indulgence.
Topped with Whipped Cream
A dollop of freshly whipped cream adds a light and airy contrast to the rich, fudgy brownies.
Fresh Berries
Serve with fresh raspberries, strawberries, or blueberries for a refreshing and slightly tart contrast to the sweetness of the brownies.
Chocolate Drizzle
For chocolate lovers, drizzle some melted chocolate on top of the brownies for an extra dose of decadence.
Additional Tips
Prep Ahead
You can prepare these brownies a day ahead of time. Just store them in an airtight container in the fridge and let them come to room temperature before serving.
Don’t Overmix
When making the brownie batter, make sure not to overmix it. Overmixing can result in dense, cakey brownies instead of the rich, fudgy texture we’re going for.
Use Room Temperature Ingredients
For the creamiest cheesecake layer, make sure your cream cheese and sour cream are at room temperature before mixing them together.
Freezing Tips
These brownies freeze beautifully. Once they’ve cooled and been sliced, place them in a single layer on a baking sheet and freeze for 1-2 hours. Then, store them in an airtight container for up to 3 months. Reheat in the microwave for a few seconds before enjoying.
Don’t Skip the Swirl
The marbled look is part of what makes these brownies so irresistible, so don’t skip the swirling step. It adds that beautiful, inviting visual appeal.
FAQ Section
Q1: Can I make these brownies without food coloring?
A1: Yes, you can skip the food coloring if you prefer, but they won’t have that classic red velvet look. They’ll still taste delicious!
Q2: Can I use low-fat cream cheese?
A2: While low-fat cream cheese will work, the texture might be slightly different. For the creamiest cheesecake layer, I recommend using full-fat cream cheese.
Q3: Can I make these brownies in advance?
A3: Absolutely! You can make them a day ahead and store them in the fridge. Just be sure to let them come to room temperature before serving.
Q4: How do I store leftovers?
A4: Store leftovers in an airtight container in the fridge for up to 3 days. These brownies stay fresh and moist when stored properly.
Q5: Can I freeze these brownies?
A5: Yes! These brownies freeze well. Just place them in an airtight container or wrap them in plastic wrap and foil before freezing for up to 3 months.
Q6: Can I use a different type of cheese in the cheesecake layer?
A6: You can try mascarpone or ricotta cheese, but cream cheese gives the perfect tangy flavor that balances the sweetness of the brownies.
Q7: Can I make these brownies gluten-free?
A7: Yes! Use a gluten-free flour blend in place of regular flour to make these brownies gluten-free.
Q8: How can I make these brownies less sweet?
A8: You can reduce the sugar in both the brownie batter and cheesecake layer if you prefer a less sweet treat.
Q9: Can I add chocolate chips to the brownie layer?
A9: Absolutely! Chocolate chips would make a great addition to the brownie batter for even more chocolatey goodness.
Q10: How can I make these brownies more festive for a special occasion?
A10: Try adding sprinkles, edible glitter, or even a drizzle of white chocolate over the top for an extra touch of festivity.
Conclusion
These Red Velvet Cheesecake Brownies are a dream come true—a beautiful, indulgent dessert that combines two beloved treats in one. Whether you’re serving them for a celebration or simply want to treat yourself to something special, these brownies are guaranteed to impress. So, go ahead—make your dessert dreams come true and enjoy every fudgy, creamy bite!
Print
Red Velvet Cheesecake Brownies
- Total Time: 0 hours
- Yield: 16 brownies
- Diet: Vegetarian
Description
Indulge in the perfect fusion of rich, fudgy red velvet brownies and creamy, tangy cheesecake in these irresistible Red Velvet Cheesecake Brownies! With their stunning red color and delicious flavor, they’re the perfect dessert for any occasion.
Ingredients
For the Red Velvet Brownie Base:
- 1/2 cup unsalted butter, melted
- 1 cup granulated sugar
- 2 large eggs
- 1 tsp vanilla extract
- 1 tbsp red food coloring
- 1 1/4 cups all-purpose flour
- 1/4 cup unsweetened cocoa powder
- 1/2 tsp baking powder
- 1/4 tsp salt
For the Cheesecake Swirl:
- 8 oz cream cheese, softened
- 1/4 cup granulated sugar
- 1 large egg
- 1/2 tsp vanilla extract
Instructions
- Preheat the Oven:
Preheat your oven to 350°F (175°C). Grease and line an 8×8-inch baking pan with parchment paper for easy removal of the brownies later. - Make the Red Velvet Brownie Base:
In a medium bowl, whisk together the melted butter and sugar. Add the eggs, vanilla extract, and red food coloring, and mix until well combined.
In a separate bowl, whisk together the flour, cocoa powder, baking powder, and salt. Gradually add the dry ingredients to the wet ingredients, mixing until smooth and well incorporated. - Make the Cheesecake Swirl:
In a separate bowl, beat the softened cream cheese and sugar until smooth and creamy. Add the egg and vanilla extract, and continue to beat until fully combined. - Assemble the Brownies:
Pour the red velvet brownie batter into the prepared baking pan, spreading it evenly.
Drop spoonfuls of the cheesecake mixture on top of the brownie batter. Use a knife or toothpick to swirl the cheesecake mixture into the brownie batter, creating a marbled effect. - Bake the Brownies:
Bake in the preheated oven for 30-35 minutes, or until a toothpick inserted into the center comes out mostly clean (a few moist crumbs are okay). The cheesecake swirl should be slightly golden and set. - Cool and Serve:
Allow the brownies to cool in the pan for about 10 minutes, then transfer them to a wire rack to cool completely. Once cool, cut into squares and serve.
Notes
- For an extra touch, top with whipped cream or a drizzle of chocolate sauce before serving.
- If you don’t want the brownies to be too sweet, reduce the sugar in the cheesecake mixture by 2 tablespoons.
- You can prepare these brownies ahead of time and store them in an airtight container at room temperature for up to 3 days.
- Prep Time: 15 minutes
- Cook Time: 30-35 minutes
- Category: Dessert
- Method: Baking
- Cuisine: American
Nutrition
- Serving Size: 1 brownie (out of 16)
- Calories: 250 kcal
- Sugar: 21g
- Sodium: 200mg
- Fat: 14g
- Saturated Fat: 9g
- Unsaturated Fat: 5g
- Trans Fat: 0 g
- Carbohydrates: 28g
- Fiber: 1g
- Protein: 3g
- Cholesterol: 60 mg


