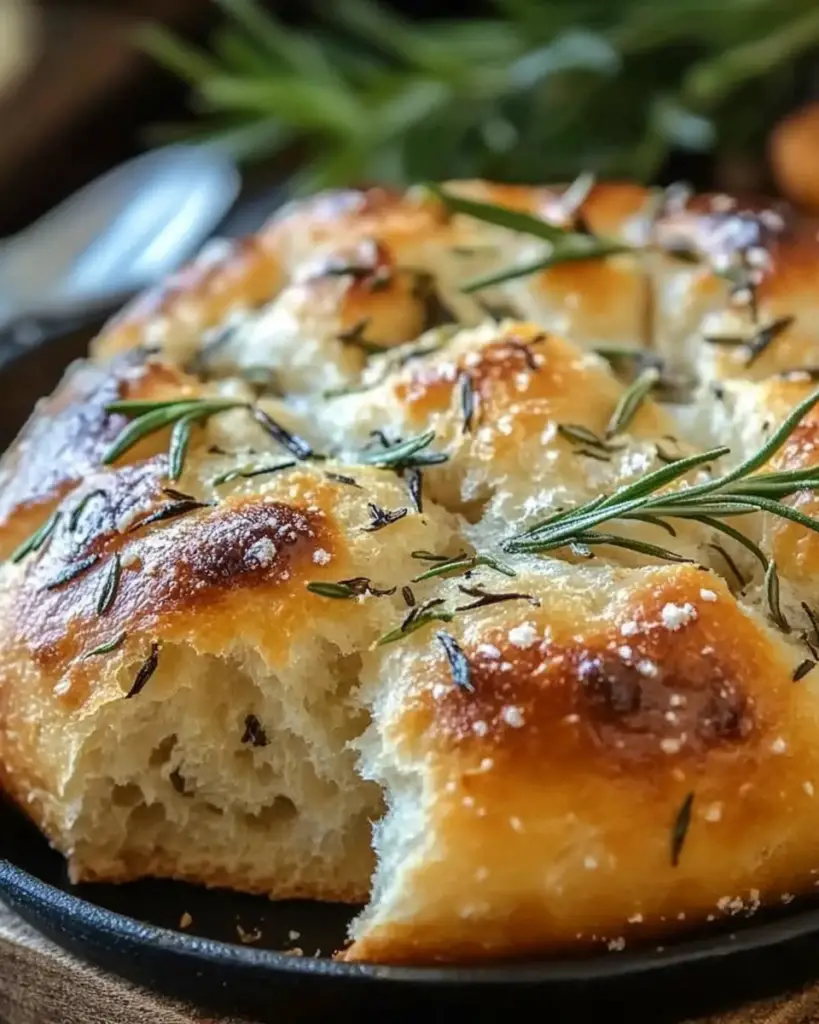
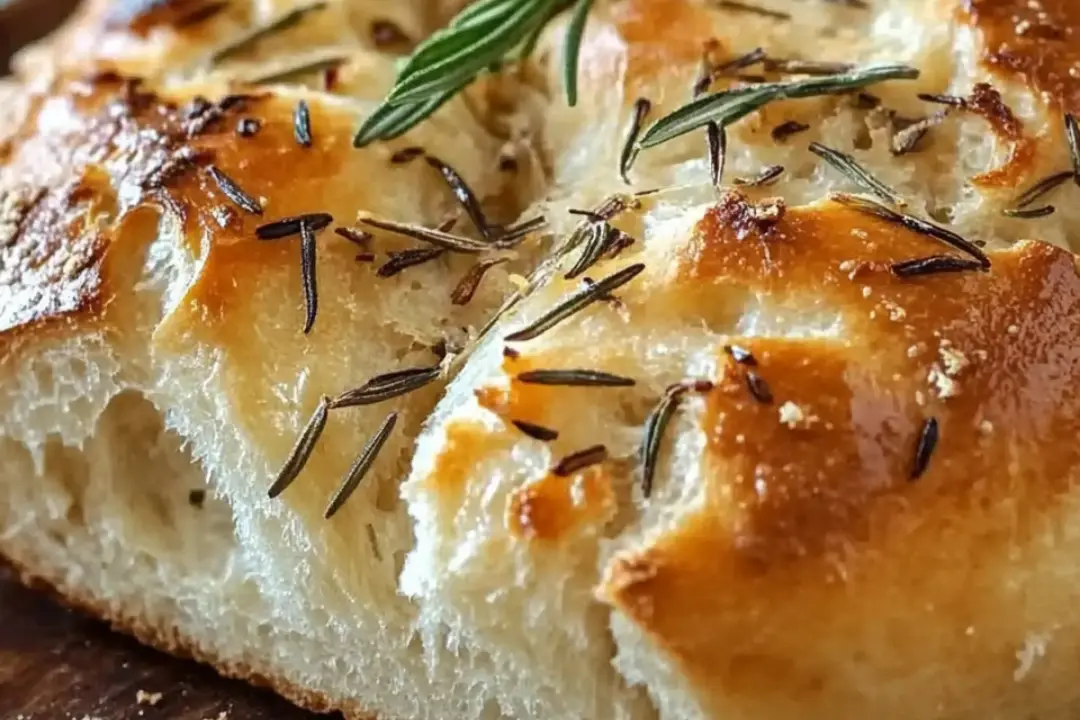
Let me just start by saying, if you’ve never tried making your own bread before, this is the perfect place to start. No kneading, no complicated steps—just the magic of time and a few simple ingredients transforming into the most aromatic, golden, and irresistible loaf of bread you’ve ever had. The combination of garlic and rosemary in this rustic, no-knead bread will fill your kitchen with such a delicious scent, it’ll make you feel like you’ve just walked into a cozy little bakery. Trust me, this one’s a game-changer. Ready to fall in love with bread-making?
Why You’ll Love Rustic No-Knead Rosemary Garlic Bread
Effortless: There’s no kneading involved here, so you don’t need to worry about getting flour all over your kitchen or working up a sweat. Just mix, wait, and bake!
Perfect for Beginners: If you’ve always wanted to try baking bread but were intimidated by the process, this recipe is perfect for you. It’s foolproof and simple—just a few steps, and you’ll have a gorgeous loaf to show off.
Aromatic & Flavorful: The rosemary and garlic combo is absolutely divine. Each bite is bursting with rich, herby flavor that complements the crusty, chewy bread. It’s the kind of bread you’ll crave every time you make it.
Minimal Ingredients: No fancy ingredients here—just pantry staples like flour, yeast, and a few flavor-packed add-ins. Sometimes, the simplest things are the best!
Impressive Results: When you pull that golden, crackling loaf out of the oven, your friends and family will be asking, “How did you make this?” The best part is, it was easy—shh, we’ll keep that our little secret.

Disclosure: This post contains affiliate links.If you click and make a purchase, I may earn a small commission at no extra cost to you.
Ingredients in Rustic No-Knead Rosemary Garlic Bread
Here’s what you need to make this masterpiece. The beauty of this recipe is that you don’t need anything fancy or hard-to-find—just simple, quality ingredients that come together perfectly.
Flour: All-purpose flour works best for a rustic, chewy texture. No need for anything too special!
Yeast: This is what makes the bread rise and get that lovely, airy texture. Make sure to use active dry yeast.
Salt: A pinch of salt to enhance the flavors and bring everything together.
Garlic: Fresh garlic is the key to making this bread extra aromatic. It adds depth and flavor to every bite.
Rosemary: Fresh rosemary gives this bread a wonderfully earthy, fragrant flavor. It pairs perfectly with the garlic and adds a touch of elegance to the rustic bread.
Water: Just enough to bring everything together into a sticky dough. Warm water helps activate the yeast and get things moving.
Instructions
Ready to make this delicious loaf of bread? Let’s get started!
Mix the Dough
In a large mixing bowl, combine your flour, salt, and yeast. Give it a quick stir. Add in the garlic, rosemary, and warm water. Stir everything together until a sticky dough forms. No need to knead it—just mix until it’s combined. The dough will be shaggy and sticky, but that’s exactly what you want!
Let It Rise
Cover the bowl with a clean kitchen towel or plastic wrap and set it in a warm place to rise for about 12-18 hours. Yep, that’s right—no need for constant attention! Just let it rise slowly and develop all those rich flavors. Don’t rush it; the longer it rises, the better the bread will taste.
Preheat Your Oven
About 30 minutes before the bread is done rising, preheat your oven to 450°F (230°C). Place a Dutch oven or heavy oven-safe pot with a lid inside the oven while it’s heating up. This step creates the perfect environment for the bread to bake in—giving it that nice, crispy crust.
Shape the Dough
Once the dough has risen and is all bubbly and puffy, it’s time to shape it. Sprinkle some flour on your countertop and gently turn the dough out onto the surface. Without deflating it too much, shape it into a rough ball. You don’t have to be perfect here—rustic is the name of the game!
Bake the Bread
Carefully remove the preheated Dutch oven from the oven. Place your dough inside (it’s okay if it sticks to your hands a little). Cover the pot with the lid and bake for 30 minutes. Then, uncover the pot and bake for an additional 10-15 minutes, or until the bread is golden brown and sounds hollow when tapped on the bottom.
Cool & Enjoy
Let the bread cool for a bit (if you can resist) before slicing it. It’s best enjoyed warm, with a pat of butter or dipped into olive oil.
Nutrition Facts
Servings: 8
Calories per serving: 180
Total Fat: 1g (2% DV)
Saturated Fat: 0g (0% DV)
Trans Fat: 0g
Cholesterol: 0mg
Sodium: 340mg (15% DV)
Total Carbohydrates: 36g (12% DV)
Dietary Fiber: 1g (4% DV)
Sugars: 0g
Protein: 5g
Vitamin A: 0% DV
Vitamin C: 0% DV
Calcium: 1% DV
Iron: 6% DV
Preparation Time
Prep Time: 10 minutes
Rise Time: 12-18 hours
Cook Time: 40-45 minutes
Total Time: 12-18 hours, 55 minutes
How to Serve Rustic No-Knead Rosemary Garlic Bread
This rustic bread is perfect with just about anything, but here are a few serving ideas to take it to the next level:
As an Appetizer: Serve it warm with a dish of olive oil, balsamic vinegar, and herbs for dipping. It’s a crowd-pleaser!
Soup or Stew: Pair it with a comforting bowl of soup, like creamy tomato or hearty vegetable stew. The bread will soak up all the delicious broth!
With Cheese: For a little snack or light meal, slice the bread and top it with some soft cheese like goat cheese or brie. It’s divine!
As a Side: Serve it alongside roasted meats or grilled vegetables for an earthy, aromatic addition to your meal.
On Its Own: Honestly, this bread is so good you could eat it all by itself. Sliced, warm from the oven, and spread with a bit of butter… yes, please!
Additional Tips
- Use Fresh Rosemary: Fresh rosemary works best for this bread, but if you only have dried, you can use that too—just use about half the amount.
- Let the Dough Rise Longer: The longer you let the dough rise, the more flavor it will develop. If you have time, let it rise for the full 18 hours.
- No Dutch Oven? No Problem!: If you don’t have a Dutch oven, you can use any oven-safe pot with a lid. Alternatively, you can bake the bread on a baking sheet, but it won’t have the same crispy crust.
- Add More Garlic!: If you love garlic like I do, feel free to add more! A little extra garlic will only make this bread more flavorful.
FAQ Section
Q1: Can I use instant yeast instead of active dry yeast?
A1: Yes! If you’re using instant yeast, you can skip the step of proofing it in warm water. Just mix it directly with the dry ingredients.
Q2: Can I make this bread gluten-free?
A2: You could try a gluten-free flour blend, but the results may vary. I recommend using a high-quality gluten-free all-purpose flour for best results.
Q3: How do I store the bread?
A3: Store it in a paper bag or wrapped in a clean kitchen towel at room temperature for up to 3 days. You can also freeze it for up to a month.
Q4: Can I add other herbs to this bread?
A4: Absolutely! You can experiment with other herbs like thyme, sage, or oregano to add your personal touch to the flavor.
Q5: How do I know when the bread is fully baked?
A5: Tap the bottom of the bread—if it sounds hollow, it’s done! You can also use a thermometer; the internal temperature should reach around 200°F (93°C).
Q6: Can I make this bread without a Dutch oven?
A6: Yes! If you don’t have a Dutch oven, you can bake the bread on a baking sheet or in any oven-safe pot. Just be sure to cover it during the first part of baking to create steam.
Q7: Can I make the dough in a bread machine?
A7: You can! Follow the machine’s instructions for mixing and rising, then bake the dough as directed.
Q8: Can I make smaller loaves?
A8: Definitely! If you want smaller loaves, divide the dough into two portions and bake them in separate smaller pans.
Q9: Can I add cheese to the dough?
A9: Yes! Adding cheese to the dough can be a great twist—try sharp cheddar or parmesan for an extra flavor boost.
Q10: How can I get a crispier crust?
A10: If you want an even crispier crust, place a shallow pan of water in the oven while the bread bakes to create steam. This will make the crust extra golden and crunchy!
Conclusion
Rustic No-Knead Rosemary Garlic Bread is the kind of bread you’ll want to make over and over again. It’s easy, flavorful, and will make your house smell incredible. Whether you’re serving it alongside a meal or enjoying it as a snack, this bread is pure comfort and joy in every bite. Don’t be surprised if it becomes your new go-to recipe for homemade bread!
Print
Rustic No Knead Rosemary Garlic Bread Recipe
- Total Time: 0 hours
- Yield: 8 serving
- Diet: Vegetarian
Description
This Rustic No Knead Rosemary Garlic Bread is an easy-to-make, flavorful loaf that requires no kneading. Infused with fresh rosemary and garlic, it’s perfect for accompanying soups, salads, or as a hearty side at any meal. With a golden crust and a soft, airy interior, this bread is a delightful addition to your table.
Ingredients
- 3 cups all-purpose flour
- 3 cloves garlic, minced
- 1 tablespoon finely chopped fresh rosemary (or more, to taste)
- 1 ¼ teaspoons kosher salt
- ¾ teaspoon freshly ground black pepper
- ½ teaspoon instant yeast
- 1 ½ cups water, at room temperature
- 2 tablespoons cornmeal
Instructions
- In a large bowl, combine flour, garlic, rosemary, salt, pepper, and yeast.
- Using a wooden spoon or your hand, add water and mix until a wet, sticky dough forms, about 30 seconds.
- Cover the bowl tightly with plastic wrap and let it stand at room temperature until the surface is dotted with bubbles, about 18 to 24 hours.
- Lightly oil a 10-inch cast iron skillet or coat with nonstick spray; sprinkle with cornmeal.
- On a lightly floured surface, gently shape the dough into a round. Place the dough into the prepared skillet.
- Cover with a clean dishtowel and let stand at room temperature until the dough has doubled in size and does not spring back when poked, about 2 hours.
- Preheat oven to 450°F (230°C). Place the skillet in the oven and bake until golden brown, about 30-40 minutes.
Notes
- Ensure the dough has enough time to rise for the best texture.
- Feel free to adjust the amount of rosemary to suit your taste preferences.
- Prep Time: 10 mins
- Cook Time: 30-40 minutes
- Category: Bread
- Method: Baking
- Cuisine: Italian
Nutrition
- Serving Size: 1 slice
- Calories: 160
- Sugar: 0g
- Sodium: 320mg
- Fat: 0.5g
- Saturated Fat: 0g
- Unsaturated Fat: 0.5g
- Trans Fat: 0g
- Carbohydrates: 34g
- Fiber: 1g
- Protein: 4g
- Cholesterol: 0 mg


