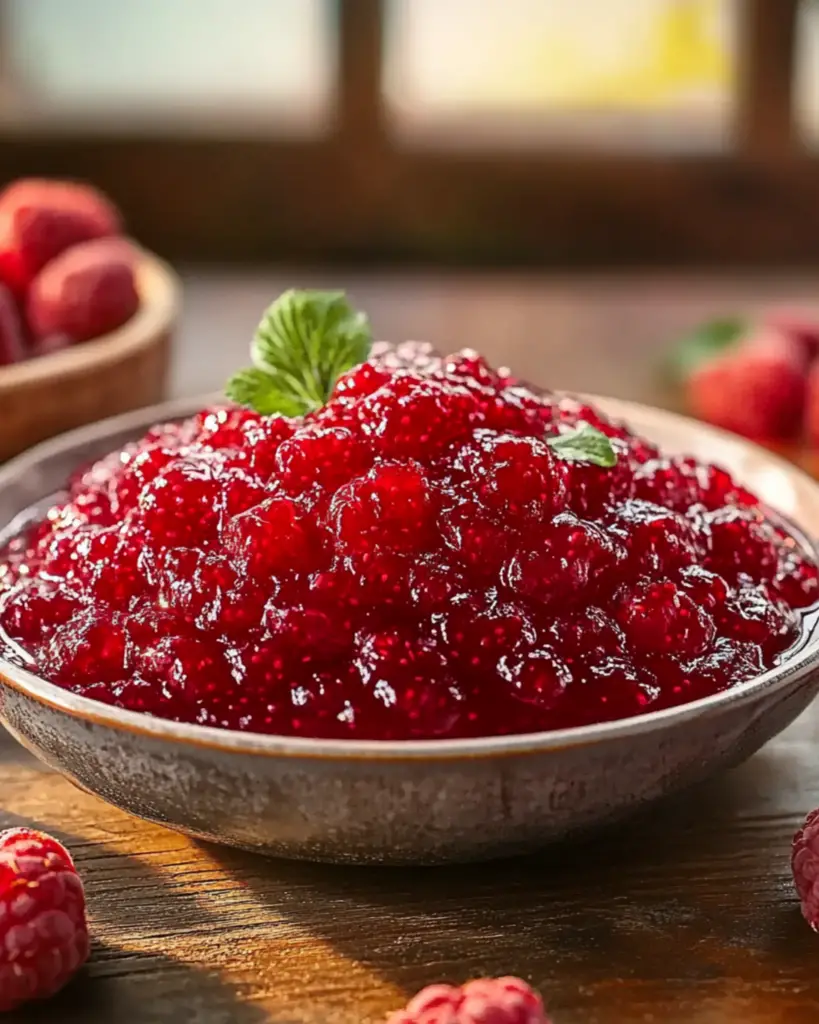
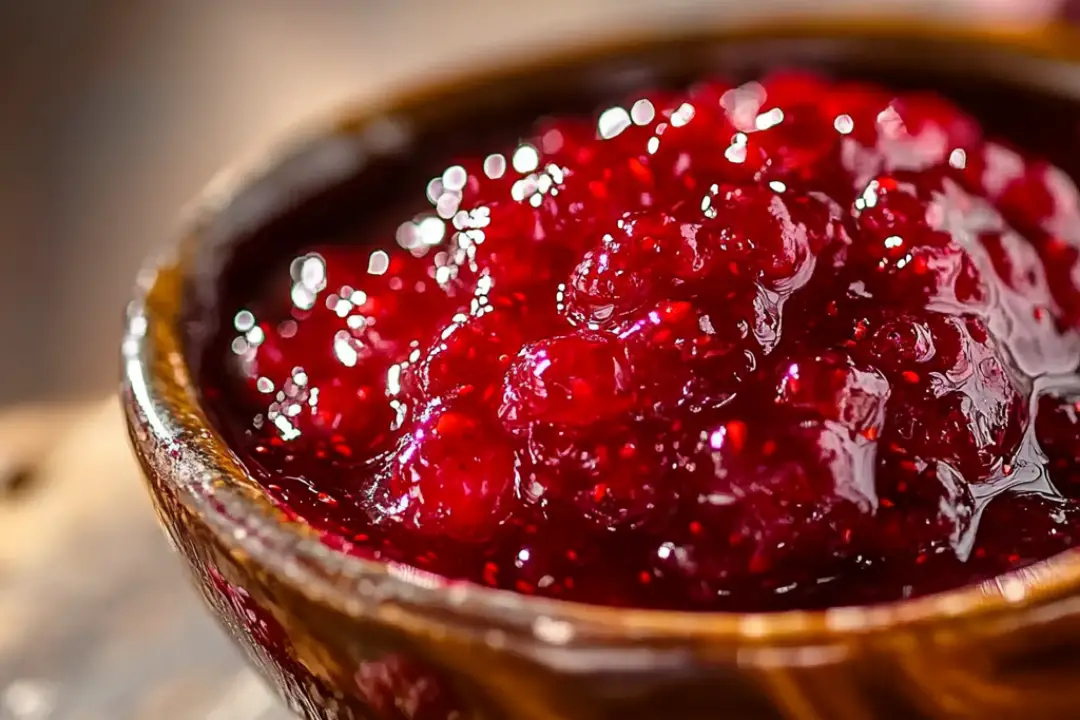
If you’ve ever had the pleasure of spreading homemade jam on a warm slice of toast, you know it’s nothing short of magic. But making jam can seem like an overwhelming process, right? Not anymore! This Small Batch Raspberry Jam is here to change the game. It’s simple, quick, and you won’t need a ton of fancy equipment or a huge amount of fruit. Just a few fresh raspberries, some sugar, and a little time on the stove, and you’ll have a jar of homemade jam that’s bursting with flavor. Trust me, this one is going to become your go-to for whenever you crave that sweet, tangy raspberry goodness. Plus, it’s just the right amount for a small batch, so you won’t have to worry about jars and jars of jam taking up space in your kitchen.
Why You’ll Love Small Batch Raspberry Jam
This Small Batch Raspberry Jam is one of those recipes you’ll turn to over and over again. Here’s why:
Quick and Easy
This isn’t your typical jam-making process with long hours of simmering. In about 30 minutes, you’ll have fresh, homemade jam ready to go. It’s the perfect solution for a quick treat, and you’ll be amazed at how easy it is!
Full of Flavor
The beauty of this recipe is in its simplicity. Fresh raspberries shine in this jam, offering the perfect balance of sweet and tart. It’s like capturing summer in a jar!
Small Batch, Big Taste
If you’re not ready to commit to a massive batch of jam, this recipe is your best friend. You’ll get just the right amount—enough to spread on toast, top your yogurt, or add to a dessert—but not so much that it’s overwhelming.
No Special Equipment Required
You don’t need a fancy canning kit or anything complicated. All you need is a pot, a spoon, and a jar to store your jam. Easy peasy!

Disclosure: This post contains affiliate links.If you click and make a purchase, I may earn a small commission at no extra cost to you.
Ingredients
The ingredients list is short and sweet (just like the jam itself!), but each one brings its own magic to the recipe. Here’s what you’ll need for this Small Batch Raspberry Jam:
For the Jam:
- Fresh Raspberries: The star of the show! You’ll need about 2 cups of fresh raspberries for this recipe. If you’re using frozen, just thaw and drain them first.
- Sugar: A classic jam ingredient to help with both sweetness and setting. Don’t skip it—it’s key to getting the perfect consistency.
- Lemon Juice: Just a little bit to balance the sweetness and brighten the flavor. Plus, the acidity helps the jam thicken.
- Pectin (optional): You can use powdered pectin to help the jam set quicker, or just rely on the natural pectin in the fruit. If you prefer a more natural approach, feel free to skip this ingredient and let the fruit work its magic.
Instructions
Let’s get into the fun part—making your Small Batch Raspberry Jam. You’ll be spreading this on everything in no time!
Step 1: Prepare the Fruit
Start by washing your fresh raspberries and placing them into a large saucepan. Gently mash the raspberries with a potato masher or the back of a spoon until they’re mostly pureed, but still have a little texture.
Step 2: Add the Sugar
Stir in the sugar until it’s completely dissolved. Then, bring the mixture to a gentle boil over medium heat, stirring occasionally.
Step 3: Add Lemon Juice & Pectin (if using)
Once the mixture is bubbling, add in the lemon juice. If you’re using pectin, stir it in now according to the package instructions. Pectin will help the jam thicken, so don’t worry if your mixture seems too thin at first—it will set up beautifully as it cools.
Step 4: Boil and Thicken
Let the jam cook for about 15-20 minutes, stirring frequently. You’ll notice the mixture starting to thicken as it cooks. You can test the consistency by spooning a small amount onto a plate and letting it cool for a minute. Run your finger through it, and if it wrinkles and holds its shape, it’s ready to go! If it’s still too runny, let it boil for another few minutes.
Step 5: Can or Store
Once the jam is at the right consistency, remove it from heat. Allow it to cool slightly before transferring it to a clean jar. Let it cool completely at room temperature, then store it in the fridge. It’ll keep for up to 2-3 weeks, but trust me, it won’t last that long!
Nutrition Facts
Servings: About 1-2 jars (depending on size)
Calories per serving: 50-60 (depends on amount of sugar used)
Preparation Time
Prep Time: 10 minutes
Cook Time: 15-20 minutes
Total Time: 25-30 minutes
How to Serve Small Batch Raspberry Jam
This jam isn’t just for toast, though it’s absolutely perfect on a slice of warm, buttered bread. Here are a few more fun ways to enjoy it:
- Spread on pancakes or waffles: Drizzle it over your morning stack for a fruity twist on your favorite breakfast.
- Swirl into yogurt: Add a spoonful of jam to your yogurt for a creamy, sweet snack.
- Top desserts: Use it as a topping for cheesecake, ice cream, or even on a fresh scone.
- Pair with cheese: It’s delicious served alongside a soft cheese, like brie or goat cheese, for a sweet-savory combo.
Additional Tips
- Use a different fruit: While raspberries are the star here, this recipe can easily be adapted to other berries like strawberries, blueberries, or blackberries.
- Adjust the sweetness: If you like your jam a little less sweet, reduce the sugar by about 1/4 cup.
- No pectin needed: If you don’t have pectin, no worries! As long as you let the jam cook long enough, it will naturally thicken from the fruit’s natural pectin.
FAQ Section
Q1: Can I use frozen raspberries for this jam?
A1: Yes! Just thaw and drain the raspberries before using them in this recipe.
Q2: Can I make this jam without pectin?
A2: Absolutely! The raspberries have natural pectin, and with a bit of patience, the jam will thicken on its own.
Q3: How long will this jam last?
A3: This jam will stay fresh in the fridge for up to 2-3 weeks. If you make more than you can eat, you can also freeze it in small jars for longer storage.
Q4: Can I use other fruits in this recipe?
A4: Yes! You can substitute the raspberries with strawberries, blueberries, blackberries, or even a mix of them. Just adjust the sugar and lemon juice to balance the sweetness of the fruit.
Q5: Do I need to sterilize my jars?
A5: Since this is a small batch and you’re storing it in the fridge, you don’t need to sterilize your jars. Just make sure the jar is clean before using it.
Q6: Can I add more lemon juice for extra tartness?
A6: Definitely! If you like your jam with more of a tangy kick, feel free to add an extra splash of lemon juice to taste.
Q7: Can I make this jam in larger batches?
A7: Absolutely! Just scale up the ingredients accordingly and follow the same process. If you want to can it for longer storage, be sure to follow proper canning procedures.
Q8: How do I know when the jam is done?
A8: To test if your jam is done, spoon a small amount onto a cold plate and let it sit for a minute. Run your finger through it. If it wrinkles and holds its shape, it’s ready!
Q9: Can I make this jam with no added sugar?
A9: You can use honey or maple syrup as a substitute for sugar, but the consistency may vary. If you’re looking for a sugar-free option, there are sugar substitutes that can help thicken the jam as well.
Q10: How can I make this jam smoother?
A10: If you prefer a smoother texture, you can strain the jam to remove the seeds, or blend the mixture before cooking for a silky-smooth spread.
Conclusion
Making your own Small Batch Raspberry Jam is one of those simple joys that can really elevate your meals, desserts, and snacks. It’s quick, it’s easy, and it’s so much better than anything you’ll find in a store. Spread it on your morning toast, swirl it into yogurt, or simply enjoy it by the spoonful. No matter how you use it, this jam is sure to bring a burst of fresh fruit flavor to your day. So grab some raspberries, get cooking, and enjoy the sweet satisfaction of homemade jam!
Print
Small Batch Raspberry Jam
- Total Time: 20 minutes
- Yield: About 1 1/2 cups (1 small jar)
- Diet: Vegetarian
Description
This Small Batch Raspberry Jam is a delightful, sweet spread made with fresh raspberries and just the right amount of sugar. It’s perfect for anyone who wants to enjoy homemade jam without making a huge batch. The vibrant, tangy flavor of raspberries shines through, and the jam is great on toast, in yogurt, or even as a filling for pastries. Quick and easy to make, this recipe requires minimal ingredients and can be stored for weeks to enjoy the taste of summer all year long!
Ingredients
- 2 cups fresh raspberries (or frozen raspberries, thawed)
- 1 cup granulated sugar
- 1 tablespoon lemon juice
- 1/2 teaspoon vanilla extract (optional)
- 1 tablespoon pectin (optional, for thicker jam)
Instructions
- Prepare the Raspberries:
- In a medium saucepan, combine the raspberries and sugar. Stir well to combine, and let the mixture sit for 5-10 minutes to allow the raspberries to release some of their juices.
- Cook the Jam:
- Place the saucepan over medium heat and bring the raspberry-sugar mixture to a simmer.
- Stir frequently, smashing the raspberries slightly with a spoon or potato masher to release more juice and break down the fruit.
- Simmer for about 10-15 minutes, or until the mixture thickens slightly. Stir occasionally to prevent the jam from burning. If you’re using pectin, add it at this point and follow the manufacturer’s instructions.
- Test the Jam Consistency:
- To check if the jam has reached the right consistency, place a small spoonful on a chilled plate and let it cool for a minute. Run your finger through the jam. If it wrinkles and holds its shape, it’s ready. If it’s too runny, continue simmering for a few more minutes.
- Add Lemon Juice and Vanilla:
- Once the jam has thickened, add the lemon juice and vanilla extract (if using). Stir well to combine.
- Cool and Store:
- Remove the saucepan from the heat and let the jam cool slightly before transferring it to a clean jar or container.
- Allow the jam to cool completely at room temperature, then cover and refrigerate.
- Enjoy:
- Once cooled, your raspberry jam is ready to be enjoyed! Spread it on toast, mix it into yogurt, or use it as a filling for pastries.
Notes
- If you prefer a smoother jam, you can strain out the seeds by passing the jam through a fine-mesh sieve before storing it.
- You can adjust the sweetness to your liking by adding more or less sugar.
- This jam is best stored in the refrigerator and used within 2-3 weeks. For longer storage, you can can the jam using traditional canning methods.
- Prep Time: 5 minutes
- Cook Time: 15 minutes
- Category: Jam/Spread
- Method: Stovetop
- Cuisine: American
Nutrition
- Serving Size: 1 tablespoon
- Calories: 50
- Sugar: 13g
- Sodium: 0mg
- Fat: 0g
- Saturated Fat: 0g
- Unsaturated Fat: 0g
- Trans Fat: 0g
- Carbohydrates: 13g
- Fiber: 1g
- Protein: 0g
- Cholesterol: 0g


