Introduction:
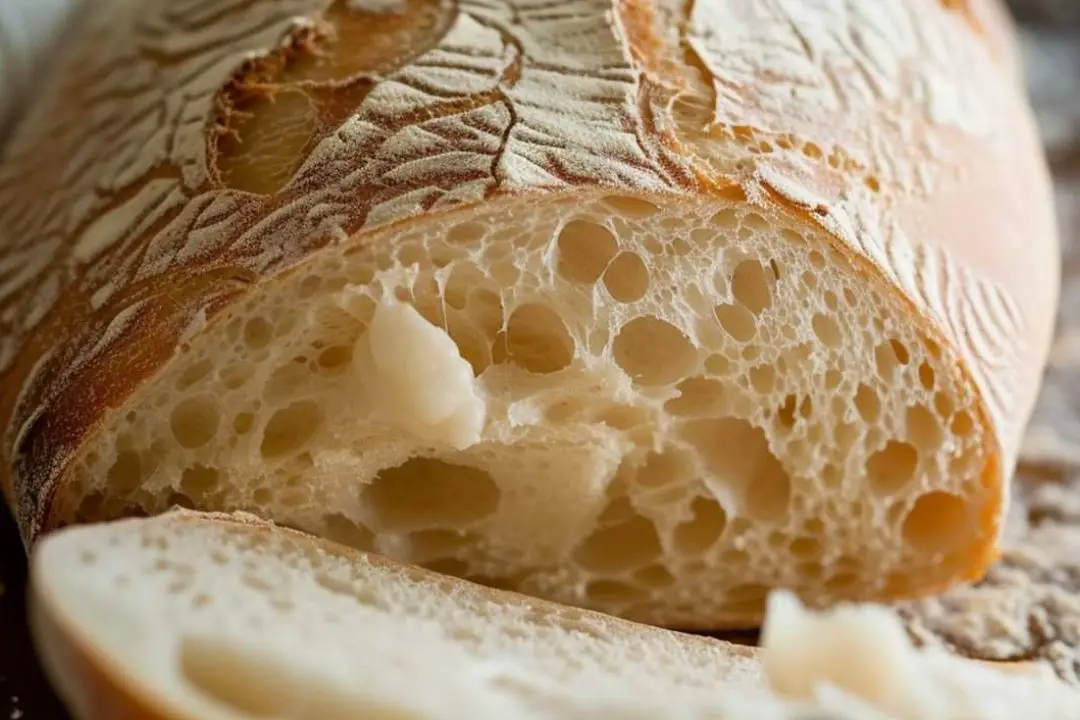
Embark on a journey of culinary discovery and unlock the secret to homemade artisan bread with Sourdough Starter. This magical concoction of flour and water is the key to creating bread with unparalleled flavor, texture, and aroma. In this article, we’ll delve into the art of cultivating your own sourdough starter, step-by-step, and explore why it’s the cornerstone of every baker’s repertoire.
The Art of Sourdough Starter: Sourdough starter is a natural leavening agent made from a simple mixture of flour and water. It harnesses the power of wild yeast and lactobacilli bacteria present in the environment to ferment the dough, resulting in bread with a distinct tangy flavor and airy crumb. Here’s how to create your own sourdough starter from scratch:
Ingredients:
- Flour (1/2 cup: whole wheat or all-purpose)
- Water, 75°F (1/4-1/3 cup)
- Glass Jar or Bowl (32 ounces)
- Paper Towel & Rubber Band
Instructions:
- Initiation Ritual: In a glass jar or bowl, combine 1/2 cup flour with 1/4 cup water to achieve a pancake-batter consistency. Adjust with more flour if needed.
- First Awakening: Mix well and cover the jar with a paper towel secured by a rubber band. Let it rest at room temperature for a day.
- Bubble Hunt: After 24 hours, check for bubbles in the starter. If bubbles are present, proceed to feed the starter with 1/2 cup flour and 1/4-1/3 cup water. If no bubbles are visible, stir the starter and wait another day.
- The Purge & Feed: On the following day, remove half of the starter and discard. Add fresh flour and water to the remaining starter, mix well, and let it ferment for another day.
- The Daily Ritual: Continue feeding your sourdough starter twice daily for the next few days, observing as it bubbles and doubles in volume, signaling its readiness for bread baking.
Prep Time: 5 minutes | Cultivation Time: 5 days | Total Time: 5 days, 5 minutes
Serving and Storage Tips:
- Feeding Schedule: Once your sourdough starter is active and bubbly, it’s important to maintain a regular feeding schedule. Feed your starter with equal parts flour and water at least once a day, or as frequently as twice a day, to keep it healthy and active.
- Portion Control: When feeding your sourdough starter, remember to discard half of the starter before adding fresh flour and water. This helps prevent your starter from outgrowing its container and ensures a balanced fermentation process.
- Room Temperature: Store your sourdough starter at room temperature to maintain its activity and fermentation process. Avoid storing it in the refrigerator, as cold temperatures can slow down fermentation and hinder the development of flavor.
- Use Fresh Ingredients: Always use fresh flour and water when feeding your sourdough starter. Avoid using chlorinated tap water, as it can inhibit the growth of beneficial bacteria and yeast. Instead, opt for filtered or bottled water for best results.
- Cover Loosely: While fermenting your sourdough starter, cover it loosely with a clean kitchen towel or plastic wrap. This allows air to circulate while preventing dust or debris from contaminating your starter.
- Refrigeration: If you need to take a break from baking or are unable to maintain a regular feeding schedule, you can store your sourdough starter in the refrigerator. Simply transfer it to a clean, airtight container and store it in the refrigerator for up to a week. Remember to bring it back to room temperature and feed it regularly before using it again.
- Reviving Dormant Starter: If your sourdough starter has been neglected or left unused for an extended period, it may become dormant. To revive it, discard any discolored or foul-smelling liquid on the surface, feed it with fresh flour and water, and allow it to ferment at room temperature until it becomes active and bubbly again.
- Labeling: To keep track of feeding schedules and starter maintenance, consider labeling your sourdough starter container with the date of feeding and any additional notes. This helps ensure consistency and optimal performance of your starter over time.
By following these serving and storage tips, you can maintain a healthy and active sourdough starter that’s ready to use whenever you’re in the mood for baking delicious artisan bread. Enjoy the journey of sourdough baking and savor the rich flavors and aromas of homemade bread straight from your kitchen!
FAQ’s:
Conclusion:
With just a few simple ingredients and a bit of patience, you can cultivate your own sourdough starter and embark on a journey of bread baking mastery. Whether you’re a seasoned baker or a novice enthusiast, there’s nothing quite like the satisfaction of baking bread from scratch using your homemade sourdough starter. Join the sourdough revolution today and elevate your baking to new heights of flavor and artistry.


Thank you for your sharing. I am worried that I lack creative ideas. It is your article that makes me full of hope. Thank you. But, I have a question, can you help me?
Thank you for your sharing. I am worried that I lack creative ideas. It is your article that makes me full of hope. Thank you. But, I have a question, can you help me?