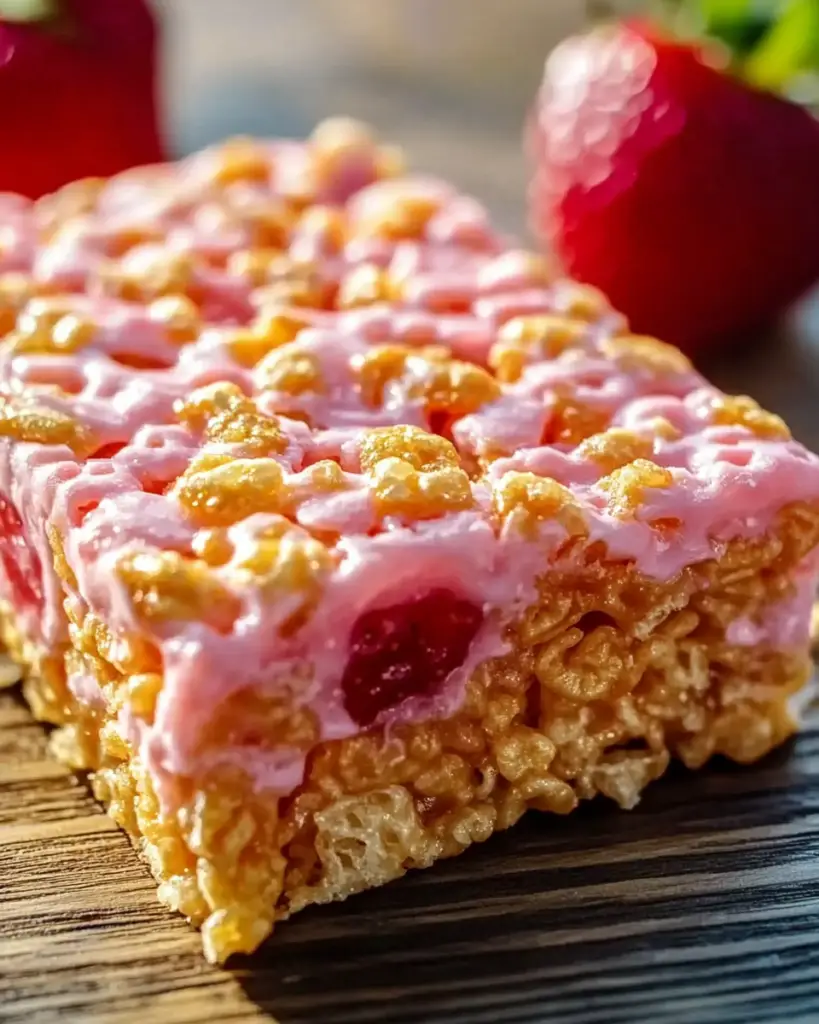
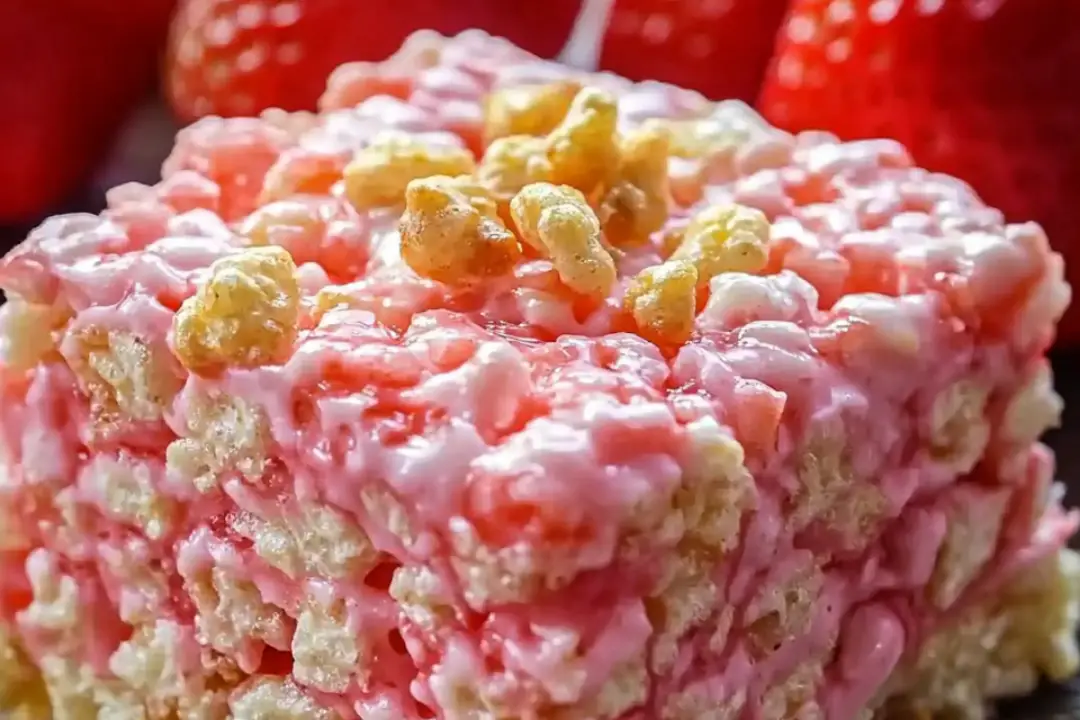
Who doesn’t love a Rice Krispie treat? They’re chewy, crispy, and full of that nostalgic sweetness we all adore. But, imagine turning up the flavor dial by adding a little something extra—strawberry crunch! These Strawberry Crunch Rice Krispie Treats take your classic favorite to a whole new level with the addition of a strawberry twist and crunchy, golden topping. They’re perfect for summer picnics, birthday parties, or just when you want something fun and delicious to snack on. Trust me, once you take a bite, you’ll be hooked on this fruity, sweet, and crunch-filled treat!
Why You’ll Love Strawberry Crunch Rice Krispie Treats
These Strawberry Crunch Rice Krispie Treats will become your go-to dessert for so many reasons:
- Unique Flavor: The strawberry crunch topping adds an extra burst of flavor that turns a classic treat into something special. It’s a sweet and tangy twist that everyone will love!
- Easy to Make: With just a few ingredients and simple steps, these treats come together in no time. If you’ve ever made traditional Rice Krispie treats, you’re already halfway there!
- Perfect for Any Occasion: Whether you’re looking for a quick dessert for a family gathering or something to bring to a potluck, these treats are the perfect addition to any occasion.
- No-Bake Fun: No need to turn on the oven! These Rice Krispie treats set up in the fridge, making them a great no-bake option when you’re short on time or just want to avoid the heat.
- Kid-Friendly: Kids will absolutely love helping you mix, press, and decorate these treats, making them a fun project for the whole family.

Disclosure: This post contains affiliate links.If you click and make a purchase, I may earn a small commission at no extra cost to you.
Ingredients
Here’s what you’ll need to make these delicious Strawberry Crunch Rice Krispie Treats:
For the Rice Krispie Treats:
- Rice Krispies Cereal: The classic base for these sweet treats. They provide the perfect crunch and texture.
- Butter: For that creamy, melt-in-your-mouth goodness that binds the treats together.
- Mini Marshmallows: The key to making the treats perfectly gooey and sweet.
- Strawberry Gelatin: This adds the sweet, fruity strawberry flavor and the vibrant pink color that makes these treats so fun.
For the Crunchy Topping:
- Golden Oreos: These will be crushed and combined with the strawberry gelatin powder to create the crunchy topping.
- Strawberry Gelatin: Again, this flavor will shine in the topping, giving the treat a vibrant color and extra strawberry sweetness.
(Note: The full ingredient list, including measurements, is provided in the recipe card directly below.)
Instructions
Let’s get started on these sweet, crunchy, and fruity treats!
Step 1: Prepare the Rice Krispie Mixture
- In a large saucepan, melt the butter over medium heat. Once melted, add the mini marshmallows and stir continuously until they are completely melted and smooth.
- Stir in the strawberry gelatin mix, and continue to stir until it’s fully incorporated into the melted marshmallow mixture.
- Remove the pan from heat and quickly add the Rice Krispies cereal. Stir everything together until the cereal is evenly coated with the marshmallow mixture.
Step 2: Press Into a Pan
- Line an 8×8-inch baking dish with parchment paper or lightly grease it. Transfer the Rice Krispie mixture into the dish and press it down evenly with a spatula or the back of a spoon. Make sure to press firmly, but gently, to avoid crushing the cereal.
Step 3: Make the Crunchy Topping
- Place the Golden Oreos in a zip-top bag and crush them with a rolling pin until you have fine crumbs. You can also pulse them in a food processor if you prefer.
- In a small bowl, mix the crushed Oreos with the remaining strawberry gelatin until well combined.
Step 4: Top the Rice Krispie Treats
- Sprinkle the strawberry crunch topping evenly over the Rice Krispie mixture in the pan. Gently press it down into the treats to ensure it sticks. You want that beautiful crunch to hold on tight!
Step 5: Let It Set
- Place the pan in the fridge and allow the treats to set for about 30-45 minutes. Once firm, remove from the fridge, slice into squares, and they’re ready to serve!
How to Serve Strawberry Crunch Rice Krispie Treats
- For Parties: These treats are colorful and fun, making them perfect for birthday parties, baby showers, or any celebration that needs a little extra sweetness.
- For Picnics: Pack them up for an outdoor adventure or summer picnic. They’re portable and perfect for sharing!
- As a Snack: Enjoy these as a midday snack when you need a quick sugar fix that’s just the right balance of sweet and crunchy.
Nutrition Facts
Servings: 12
Calories per serving: 200
Total Fat: 9g
- Saturated Fat: 5g
- Trans Fat: 0g
Cholesterol: 10mg
Sodium: 60mg
Total Carbohydrates: 30g - Dietary Fiber: 1g
- Sugars: 19g
Protein: 2g
Vitamin A: 4%
Vitamin C: 0%
Calcium: 2%
Iron: 6%
Preparation Time
- Prep Time: 10 minutes
- Set Time: 30-45 minutes
- Total Time: 40-55 minutes
Additional Tips
- Try Different Gelatin Flavors: You can swap the strawberry gelatin for other flavors like raspberry or cherry for a different twist on the flavor profile.
- Customize the Topping: If you don’t have Golden Oreos, you can use other plain cookies like vanilla wafer cookies or graham crackers.
- Make Them Vegan: For a vegan version, substitute the butter with plant-based butter and make sure to use vegan marshmallows.
FAQ Section
Q1: Can I use a different cereal instead of Rice Krispies?
A1: While Rice Krispies give the perfect texture, you can experiment with other cereals like puffed rice or cornflakes, though it will change the texture slightly.
Q2: Can I use a different flavor of gelatin?
A2: Yes, feel free to swap out the strawberry gelatin for raspberry, cherry, or even lemon! The flavor and color will change, but it will still be delicious.
Q3: How do I store these Rice Krispie treats?
A3: Store these treats in an airtight container at room temperature for up to 3 days or refrigerate them for longer freshness.
Q4: Can I make these treats ahead of time?
A4: Yes, these treats can be made a day or two ahead of time. Just store them in the fridge and serve when you’re ready.
Q5: Can I freeze these Rice Krispie treats?
A5: Yes, you can freeze them. Wrap them tightly in plastic wrap and store in a freezer-safe bag for up to 1 month. Let them thaw at room temperature before serving.
Q6: Can I make these Rice Krispie treats without gelatin?
A6: If you want to skip the gelatin, you can make the treats without it, but the flavor will be less pronounced, and they won’t have the same vibrant pink color.
Q7: What other toppings could I use instead of Oreo crumbs?
A7: You could use crushed graham crackers, animal crackers, or even granola to create a different texture and flavor in your topping.
Q8: Can I use regular Oreos instead of Golden Oreos?
A8: Absolutely! Regular Oreos will work just fine, but the topping will have a darker color and different flavor, so it will be a bit of a variation.
Q9: Can I add fresh strawberries to the recipe?
A9: You can fold in some diced fresh strawberries to the Rice Krispie mixture for extra fruitiness, but make sure to enjoy them soon after making them to avoid the fruit softening.
Q10: Can I make these treats gluten-free?
A10: Yes! Just use gluten-free Rice Krispies and check the packaging of the other ingredients to ensure they’re gluten-free.
Conclusion
These Strawberry Crunch Rice Krispie Treats are the perfect mix of chewy, crunchy, and fruity goodness. With their vibrant color, delicious strawberry flavor, and satisfying crunch, they’re sure to become a family favorite. Whether you’re making them for a party, a picnic, or just because you’re craving something sweet, these treats are the ultimate crowd-pleaser. So grab your ingredients, get ready to crunch, and enjoy every bite of these irresistible treats!
Print
Strawberry Rice Krispies Treats: A Sweet Delight
- Total Time: 38 minutes
- Yield: 12–16 servings 1x
Description
These Strawberry Rice Krispies Treats are a fun and fruity twist on the classic dessert, combining crispy cereal with gooey marshmallows and a delicious strawberry flavor. Perfect for parties, snacks, or a sweet treat any time!
Ingredients
- 6 cups Rice Krispies cereal
- 1 (10 oz) bag marshmallows
- 3 tablespoons unsalted butter
- 1 cup crushed dried strawberries
- 1 cup pink candy melts
- 1 cup white candy melts (reserve ½ cup)
- 2 tablespoons coconut oil or Paramount crystals
Instructions
- Prepare the pan: Grease a 9×13 inch baking pan and set aside.
- Melt marshmallows and butter: In a large bowl, combine marshmallows and butter. Heat in 30-second intervals, stirring until the marshmallows are puffed and melted.
- Mix with cereal and strawberries: Add Rice Krispies and crushed strawberries to the melted marshmallow mixture. Stir until well combined.
- Press into pan: Pour the mixture into the prepared pan and press it into an even layer.
- Melt pink candy melts: In a small bowl, melt the pink candy melts in 30-second intervals, stirring until smooth.
- Pour pink chocolate over treats: Pour the melted pink chocolate over the Rice Krispies treats and spread evenly.
- Melt white candy melts: In the same small bowl, melt the remaining ½ cup of white candy melts and coconut oil (or Paramount crystals) in 30-second intervals, stirring until smooth.
- Pipe white design: Transfer the melted white chocolate to a piping bag with a small tip. Pipe lines horizontally over the pink chocolate layer.
- Create diamond pattern: Use a skewer or toothpick to draw lines vertically, connecting the horizontal lines to create a diamond pattern.
- Chill and serve: Place the treats in the refrigerator for 30 minutes to set. Cut into squares and enjoy!
Notes
- Make sure to press the mixture firmly into the pan for even slicing.
- Feel free to customize the design with different colors of candy melts.
- Prep Time: 8 minutes
- Cook Time: 30 minutes
- Category: Dessert
- Method: No-Bake
- Cuisine: American
Nutrition
- Serving Size: 1 square
- Calories: 180
- Sugar: 10
- Sodium: 70mg
- Fat: 6g
- Saturated Fat: 4g
- Unsaturated Fat: 2g
- Trans Fat: 0g
- Carbohydrates: 30g
- Fiber: 0g
- Protein: 1g
- Cholesterol: 15mg


