

Homemade condensed milk—yep, you can totally make this creamy, sweet goodness right in your own kitchen, and it’s easier than you think! If you’ve ever wanted to skip the store-bought cans and whip up a homemade version of this kitchen staple, then you’re in the right place. Whether you’re planning to use it in a dessert, in your coffee, or as a key ingredient in your favorite recipes, this simple version will knock your socks off. Trust me, once you’ve tried homemade condensed milk, you may never go back to the store-bought stuff!
Why You’ll Love Homemade Condensed Milk
There’s something magical about making your own kitchen essentials, and condensed milk is no exception. Here’s why you’ll be hooked:
Super Simple Ingredients
Condensed milk has only a few ingredients, and most of them are things you probably already have in your pantry. You’ll need whole milk, sugar, and butter—nothing fancy, just a few simple, classic ingredients!
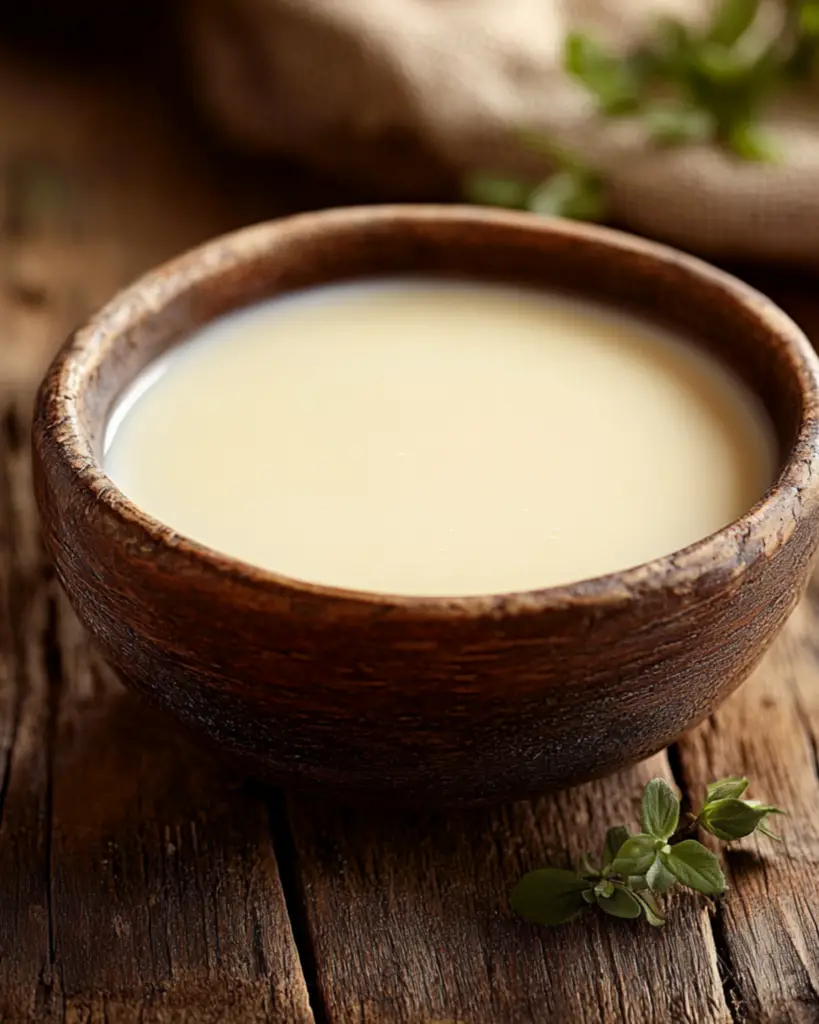
Ultra Creamy Texture
The homemade version is ultra-creamy, and it thickens up just the right amount. It’s smooth, velvety, and adds that perfect richness to any recipe that calls for condensed milk.
Perfect for Baking and Beyond
Condensed milk is such a versatile ingredient. Use it for baking pies, tarts, and cakes, mix it into coffee or tea for sweetness, or even drizzle it over fresh fruit for a quick treat.
No Preservatives
When you make it yourself, you know exactly what’s going into it. No preservatives, no artificial stuff—just pure, homemade goodness.
Quick and Easy
You don’t need any fancy equipment or hard-to-find ingredients. This recipe is as simple as it gets, and it’s ready in just about 20 minutes!
Disclosure: This post contains affiliate links.If you click and make a purchase, I may earn a small commission at no extra cost to you.


Ingredients
The beauty of condensed milk is that it only requires a few simple ingredients:
Whole Milk
This is the base of the condensed milk. Full-fat milk creates a creamy texture that’s perfect for this recipe.
Sugar
Sugar sweetens the milk and helps it thicken as it cooks. The amount of sugar can be adjusted to your taste, but traditional condensed milk is quite sweet.
Butter
Butter adds a little extra richness and helps bring everything together smoothly.
(Note: The full ingredient measurements are provided in the recipe card directly below.)
Instructions
Ready to whip up some creamy condensed milk? Let’s get started!
Combine the Ingredients
In a medium saucepan, combine the whole milk, sugar, and butter. Stir it together over medium heat until the sugar is fully dissolved. This will take just a few minutes, so keep an eye on it!
Simmer the Mixture
Once the sugar is dissolved, turn the heat to low and let the mixture simmer. Stir it occasionally to make sure nothing is sticking to the bottom of the pan. As it simmers, the mixture will thicken and reduce, so be patient—this part usually takes about 15 minutes.
Check the Consistency
After simmering, the mixture should be thick enough to coat the back of a spoon. You can test the consistency by dipping the spoon into the milk and running your finger across the back—if it leaves a trail, it’s ready. If it’s still too runny, keep simmering for a few more minutes until it thickens up.
Let It Cool
Once the condensed milk has thickened, remove it from the heat and let it cool to room temperature. It will continue to thicken slightly as it cools, so don’t worry if it seems a little thin at first.
Store and Enjoy!
Once cooled, transfer your homemade condensed milk to a jar or airtight container. Store it in the fridge, where it will keep for about a week. It’s perfect for your next dessert or to add a little sweetness to your morning coffee!
Nutrition Facts
Servings: 1 cup
Calories per serving: 550
Total Fat: 20g
Saturated Fat: 12g
Cholesterol: 60mg
Sodium: 100mg
Carbohydrates: 87g
Fiber: 0g
Sugars: 85g
Protein: 9g
Preparation Time
- Prep Time: 5 minutes
- Cook Time: 15 minutes
- Total Time: 20 minutes
How to Serve Homemade Condensed Milk
Homemade condensed milk is so versatile and can be used in a variety of ways. Here are a few suggestions:
As a Sweetener
Add it to your coffee or tea for a sweet, creamy twist. It’s perfect for making a delicious iced coffee or sweetened milk tea.
In Baking
Condensed milk is essential in recipes like key lime pie, coconut macaroons, and tres leches cake. It’s also fantastic when swirled into brownies or poured over fresh fruit.
With Desserts
Drizzle it over pancakes, waffles, or even a bowl of ice cream for a simple yet indulgent treat.
In Smoothies
Blend it into your favorite smoothie for a creamy, rich texture and added sweetness.
Additional Tips
Stir Constantly
Make sure to stir the mixture occasionally as it simmers. You don’t want the milk to scorch or stick to the bottom of the pan.
Adjust the Sweetness
If you prefer your condensed milk a bit less sweet, feel free to reduce the sugar slightly. Keep in mind that it’s traditionally quite sweet, so don’t reduce it too much if you want that classic taste.
Store Properly
Once you’ve made the condensed milk, be sure to store it in an airtight container in the fridge. It will last up to a week, but it’s so good, it’ll probably disappear long before then!
Make It Dairy-Free
If you need a dairy-free version, you can use coconut milk and a plant-based butter substitute. The flavor will be a little different but still delicious!
FAQ Section
Q1: Can I use low-fat milk instead of whole milk?
A1: While whole milk gives the best creamy texture, you can use low-fat milk. However, the consistency might be a little thinner, and it may not have the same richness.
Q2: Can I use this condensed milk in my coffee?
A2: Yes! It’s perfect for adding to coffee or tea as a sweet, creamy addition. Just stir it in for a smooth, indulgent treat.
Q3: How do I store homemade condensed milk?
A3: Store your homemade condensed milk in an airtight container in the fridge. It will keep for up to a week.
Q4: Can I make this in advance?
A4: Absolutely! You can make it ahead of time and store it in the fridge. It’ll keep fresh for about a week.
Q5: Can I use this in recipes that call for canned condensed milk?
A5: Yes, this homemade version works perfectly as a substitute for canned condensed milk in any recipe.
Q6: Can I make this without butter?
A6: Butter adds richness and creaminess, but if you need to skip it, you can make condensed milk without it. The flavor and texture may be slightly different, but it will still work!
Q7: How thick should the condensed milk be?
A7: The condensed milk should coat the back of a spoon and leave a trail when you run your finger across it. If it’s still too runny, simmer it for a few more minutes.
Q8: Can I freeze homemade condensed milk?
A8: Yes, you can freeze it! Just store it in a freezer-safe container. To use, thaw in the fridge overnight and give it a good stir before using.
Q9: Can I make this with alternative sweeteners?
A9: Yes, you can experiment with alternative sweeteners like honey, maple syrup, or a sugar substitute. Keep in mind that this might affect the flavor slightly.
Q10: What can I do with leftover condensed milk?
A10: Leftover condensed milk is great for making other desserts, like fudge, ice cream, or caramel sauce. Or simply drizzle it over fruit or pancakes for a sweet treat!
Conclusion
Making your own condensed milk at home is not only incredibly easy but also so satisfying. With just a few simple ingredients, you can create a creamy, sweet treat that elevates any dessert, drink, or dish. Once you try it, you might just find yourself making this homemade version all the time!
Print
This Homemade Condensed Milk Is So Creamy and Delicious!
- Total Time: 0 hours
- Yield: Approximately 1 1/2 cups (12 tablespoons)
Description
This Homemade Keto Condensed Milk is the perfect sugar-free, low-carb substitute for traditional condensed milk. Rich, creamy, and easy to make, it’s perfect for your keto desserts, coffee, or even drizzling over fresh berries. Sweetened with a powdered sweetener and made with simple ingredients, you’ll love how it satisfies your cravings without the carbs!
Ingredients
- 1/4 cup unsalted butter
- 2 cups heavy cream
- 1/3 cup powdered sweetener (erythritol, monk fruit, or stevia blend)
Instructions
- Heat the Cream:
Place a medium saucepan over medium heat and pour in the heavy cream. Bring it to a gentle boil, stirring occasionally. - Add Butter and Sweetener:
Once the cream starts to boil, reduce the heat to low. Add the unsalted butter and powdered sweetener. Stir well until the butter has fully melted and the sweetener has dissolved. - Simmer and Thicken:
Let the mixture simmer for 15-20 minutes, stirring constantly. The cream will reduce by half and thicken. Be sure to keep an eye on it so it doesn’t burn. - Cool and Store:
Remove the pan from the heat and let the condensed milk cool for a few minutes. Once cooled, transfer it to a jar or airtight container and refrigerate. It will thicken further as it cools. - Serve:
After cooling, your homemade Keto Condensed Milk is ready to use in keto desserts, coffee, or as a topping for your favorite treats. Store it in the fridge for up to a week.
Notes
- Storage: This Keto Condensed Milk can be stored in an airtight container in the refrigerator for up to 7 days.
- Sweetener Options: You can use any powdered sweetener that you prefer, such as erythritol, monk fruit, or stevia blends. Adjust the amount based on your sweetness preference.
- Consistency: The mixture will thicken as it cools. If you want it thicker, you can simmer it a little longer, but be careful not to over-reduce it.
- Dairy-Free Option: For a dairy-free version, you can replace the heavy cream with full-fat coconut cream and the butter with coconut oil.
- Prep Time: 5 minutes
- Cook Time: 15-20 minutes
- Category: Dessert, Keto, Low-Carb, Homemade
- Method: Stovetop
- Cuisine: Keto, Sugar-Free
Nutrition
- Serving Size: 2 tbsp
- Calories: 80 kcal (approx)
- Sugar: 0g
- Sodium: 150mg
- Fat: 8g
- Saturated Fat: 5g
- Unsaturated Fat: 3g
- Trans Fat: 0g
- Carbohydrates: 1g
- Fiber: 0g
- Protein: 0g
- Cholesterol: 0mg