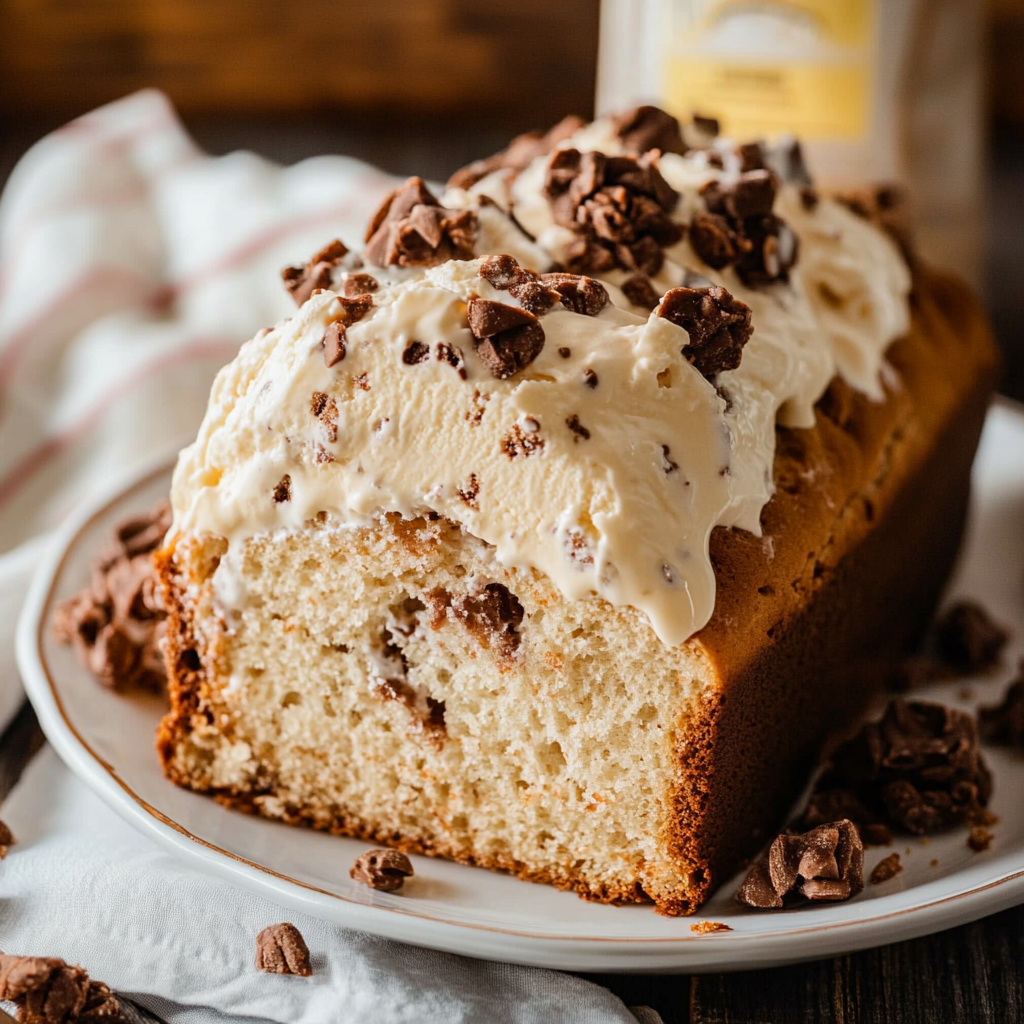
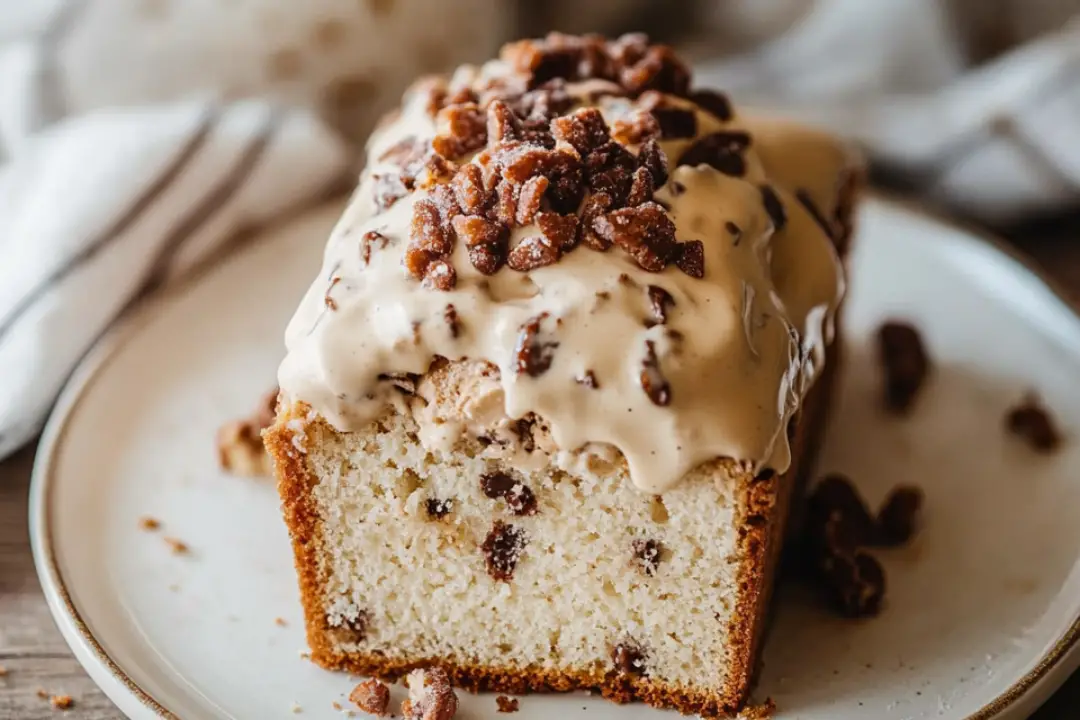
You know those recipes that feel like a delicious secret, passed down through generations? Well, this Vintage Ice Cream Bread Recipe is one of those gems. With just three simple ingredients, it’s a total game-changer—soft, slightly sweet, and with just a hint of that nostalgic ice cream flavor we all know and love. You won’t believe how something so easy can be so irresistible!
Imagine pulling out a loaf of warm, golden bread from the oven, and it smells just like your favorite ice cream. The texture is light and airy, and it’s perfect for slathering with butter, jam, or even a scoop of more ice cream (why not?). This is the kind of recipe that’s perfect for beginner bakers or anyone who just wants to try something fun and tasty. Seriously, it’s one of those things that makes you say, “Why didn’t I think of that?”
Why You’ll Love Vintage Ice Cream Bread
This bread isn’t just about satisfying your sweet tooth—it’s about celebrating simplicity and flavor. Here’s why you’ll want to make it today:
Minimal Ingredients: You only need three ingredients! That’s right, no complicated shopping lists or lengthy prep.
Quick and Easy: It comes together in minutes and bakes in just under an hour. A great last-minute treat for when you’re craving something fresh out of the oven.
Nostalgic Flavor: The ice cream adds a creamy, dreamy richness, and it’s a fun way to enjoy an old-school dessert in a whole new form.
Customizable: You can use any flavor of ice cream you like, making it adaptable to your taste. Chocolate, vanilla, strawberry, or even mint—go wild!
No Mixer Required: This is a no-fuss recipe that doesn’t require any special equipment—just a mixing bowl and a spoon.

Disclosure: This post contains affiliate links.If you click and make a purchase, I may earn a small commission at no extra cost to you.
Ingredients in Vintage Ice Cream Bread
Here’s what you need to make this simple, irresistible bread:
Ice Cream (Any Flavor You Like!)
Choose your favorite flavor, whether it’s classic vanilla, rich chocolate, or a fruity twist. The flavor of the ice cream will determine the bread’s final taste, so pick one that makes your heart happy.
Self-Rising Flour
The self-rising flour is what makes this bread rise beautifully. If you don’t have self-rising flour, you can easily make your own by combining all-purpose flour with baking powder and salt (see substitutions below).
Sugar
A little sweetness to enhance the flavor of the ice cream. It helps balance the bread’s slight savory notes and adds to that comforting, dessert-like quality.
Instructions
Ready to bake? Let’s get started and turn those three ingredients into a warm loaf of ice cream bread!
Preheat Your Oven
Preheat the oven to 350°F (175°C) and grease a loaf pan (or line it with parchment paper) to make sure your bread doesn’t stick.
Mix the Ingredients
In a large mixing bowl, combine the ice cream, self-rising flour, and sugar. Stir everything together until well combined. It will be a thick batter, and that’s perfectly normal!
Pour into the Pan
Transfer the batter to your prepared loaf pan, spreading it evenly. You’ll notice that the batter won’t rise much while baking, but don’t worry—the result is a dense, tender loaf that’s totally delightful.
Bake
Place the pan in the preheated oven and bake for 45–50 minutes, or until the bread is golden brown and a toothpick inserted in the center comes out clean.
Cool and Serve
Let the bread cool in the pan for about 10 minutes, then transfer to a wire rack to cool completely. Slice and serve—enjoy it warm, room temperature, or toasted with a pat of butter.
Nutrition Facts
Servings: 8–10
Calories per serving: [To be added]
Preparation Time
Prep Time: 5 minutes
Cook Time: 45 minutes
Total Time: 50 minutes
How to Serve Vintage Ice Cream Bread
This bread is simple but special, and there are so many ways you can enjoy it:
With Butter: A classic combo. Spread some soft butter on a warm slice, and you’re good to go.
With Jam or Nut Butter: Add a dollop of strawberry jam, raspberry preserves, or peanut butter for an extra layer of flavor.
As a Dessert: Pair it with a scoop of ice cream, or drizzle with a little chocolate or caramel sauce for a sweet finish.
For Breakfast: Enjoy a slice with your morning coffee or tea—who says you can’t have ice cream for breakfast?
Additional Tips
Flavor Combinations: Feel free to get creative with your ice cream flavor! You can even swirl in chocolate chips, fruit, or nuts for extra texture.
Make Your Own Self-Rising Flour: If you don’t have self-rising flour, you can substitute with 1 cup all-purpose flour, 1 ½ teaspoons baking powder, and ¼ teaspoon salt.
Don’t Overmix: Stir the ingredients just until combined. Overmixing can affect the texture, making it too dense.
Keep It Fresh: The bread is best when fresh, but you can store it in an airtight container for up to 3 days. You can also freeze slices for later!
FAQ Section
Q1: Can I use regular flour instead of self-rising flour?
A1: Yes! Just add 1 ½ teaspoons of baking powder and ¼ teaspoon of salt for every cup of all-purpose flour to make your own self-rising flour.
Q2: What kind of ice cream works best?
A2: You can use any flavor, but I recommend using a creamy variety, like vanilla, chocolate, or strawberry. Avoid ice creams with lots of mix-ins (like fudge or cookie dough), as they might change the texture of the bread.
Q3: Can I make this bread gluten-free?
A3: Yes, you can use a gluten-free self-rising flour blend instead. Just make sure to check the packaging for any other ingredients you may need to add.
Q4: Can I add mix-ins, like chocolate chips or nuts?
A4: Absolutely! Gently fold them into the batter before baking. Just keep in mind it might slightly affect the rise of the bread, but it’ll still taste amazing!
Q5: How do I store leftovers?
A5: Store any leftover bread in an airtight container at room temperature for up to 3 days. You can also freeze slices for later enjoyment.
Conclusion
This Vintage Ice Cream Bread is a fun, quick, and utterly delicious recipe that makes the most of simple ingredients. It’s an old-school treat that brings out the best in the ice cream you already love, and it’s just so easy to make! Whether you’re baking it for a family gathering, a sweet snack, or simply because you’re curious to try something new, this bread is sure to bring a smile to your face with every bite. Give it a go—you won’t regret it!
Print
Vintage Ice Cream Bread Recipe
- Total Time: 50-55 minutes
- Yield: 1 loaf (8 servings) 1x
- Diet: Vegetarian
Description
Vintage Ice Cream Bread is a nostalgic and simple recipe that combines two ingredients—ice cream and self-rising flour—into a delicious, soft, and airy loaf. With endless flavor possibilities depending on the ice cream you choose, this bread is an easy, unique treat that’s perfect for a quick dessert or snack.
Ingredients
- 2 cups ice cream (any flavor, softened)
- 1 1/2 cups self-rising flour
Instructions
- Preheat your oven to 350°F (175°C). Grease a loaf pan with butter or non-stick spray.
- In a large bowl, combine the softened ice cream and self-rising flour. Stir until fully incorporated; the batter will be thick.
- Pour the batter into the prepared loaf pan and smooth the top with a spatula.
- Bake for 45-50 minutes, or until the bread is golden brown and a toothpick inserted into the center comes out clean.
- Allow the bread to cool in the pan for 10 minutes, then transfer to a wire rack to cool completely before slicing.
Notes
- This bread works best with ice cream that has a high fat content. Feel free to experiment with different ice cream flavors to create new combinations.
- You can add mix-ins like chocolate chips, crushed nuts, or sprinkles to personalize your ice cream bread.
- Self-rising flour can be substituted with 1 1/2 cups all-purpose flour and 2 1/4 teaspoons baking powder if you don’t have self-rising flour on hand.
- Prep Time: 5 minutes
- Cook Time: 45-50 minutes
- Category: Dessert
- Method: Baking
- Cuisine: American
Nutrition
- Serving Size: 1 slice
- Calories: 180 kcal
- Sugar: 20g
- Sodium: 75mg
- Fat: 8g
- Saturated Fat: 5g
- Unsaturated Fat: 2g
- Trans Fat: 0g
- Carbohydrates: 27g
- Fiber: 1g
- Protein: 2g
- Cholesterol: 35mg


